Use headings to introduce new sections and subsections, break up the text, organize content, and populate the table of contents. Headings help organize and structure your content and make it readable to visitors and search engines.
In this guide
To add the Heading block, click the + Block Inserter icon and search for “heading”. Click it to add the block to the post or page.
💡
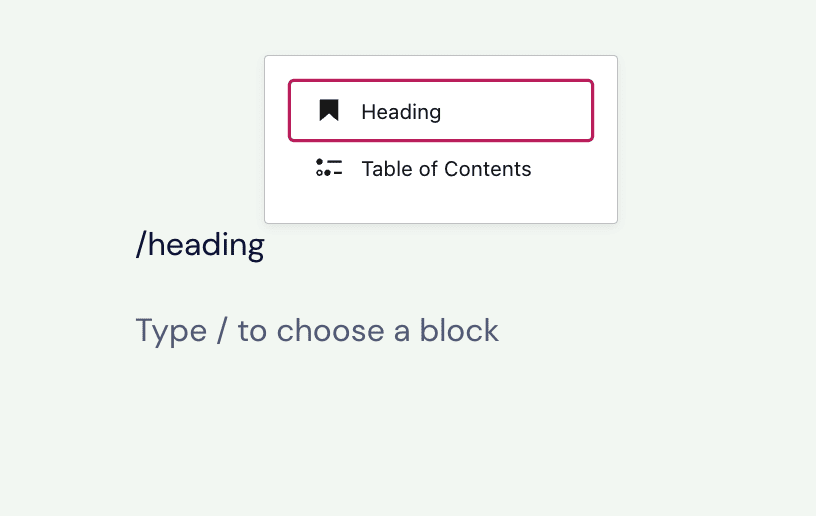
Using your keyboard, you can also type
/headingon a new line and press enter to quickly add a new Heading block.
To add a specific heading level, you can also type /h1 /h2 /h3 /h4 /h5 /h6 and press enter to insert the different levels of headings.
For more information, visit our detailed instructions on adding blocks.
Headings follow a six-level hierarchy to rank them by importance and give order to your content. The most important heading level is level 1 (H1), and the least important is level 6 (H6).
H1 headings should be reserved for the page title to ensure Search Engine Optimization. WordPress automatically assigns H1 to the title of your pages and posts. Therefore, your first heading on the page will be H2. H3 headings are subheadings. H4 headings are sub-subheadings, and so on.
You can choose your heading level in the toolbar. If you want to adjust the size and appearance of the heading text, use the block settings.
When you click on the block, a toolbar of options will appear above it:

The Heading block has the following options in its toolbar:
- Change to another type of block
- Drag block handle to move the block
- Move the block up or down
- Change alignment (wide and full widths if supported by the theme)
- Select the heading level (H1, H2, H3, H4, H5, and H6 heading level tags)
- Align the text to the left, center, or right
- AI Assistant
- Text formatting (bold and italic)
- Insert hyperlink
- More text options
- Block options
The additional options for text formatting in the Heading block are:
- Footnote
- Highlight (text color)
- Inline code
- Inline image
- Keyboard input
- Language
- Strikethrough
- Subscript
- Superscript
- Underline
- Uppercase
You can use the above options to apply formatting to your text or a set of characters in a Heading block. To do so:
- Highlight the words or characters you’d like to apply the formatting to.
- Select the desired option from the toolbar to apply.

Use the Highlight option to change the color of a few specific words or characters, or set a colored background behind specific words or characters in a Heading block.
- Select the text you’d like to format.
- Click the downward arrow in the block toolbar.
- Click Highlight.
- A small window with color options for Text and Background will pop up. This shows a set of predefined color options to choose from, as well as a color picker where you can choose the specific color you want.
The Inline image adds an image to your heading. To add an inline image to your Heading block:
- Click the downward arrow in the block toolbar
- Choose Inline image
- Select the image you wish to use from the Media Library window.
- Click the Insert button to add the inline image.
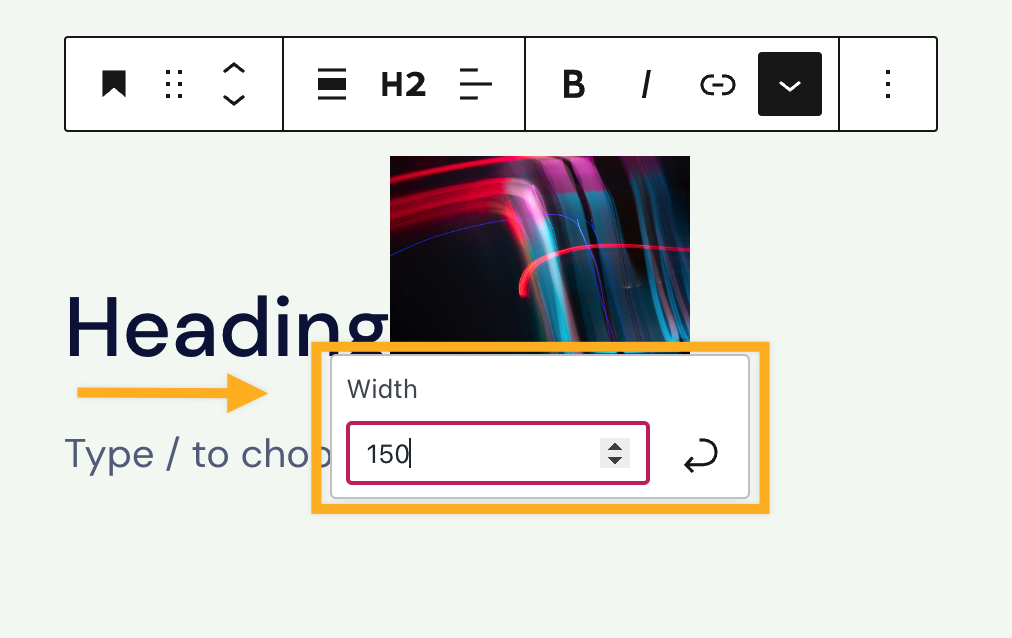
To change the size of an inline image:
- Click on the image.
- Type or select a number for the image width.
- Click the curved arrow button to apply the changes.
Use the keyboard input option to add the <kbd> HTML tag to selected text.
The <kbd> tag is used to define keyboard input. It is typically used when writing a keyboard command. The content inside the <kbd> tag is displayed in the browser’s default monospace font. As an example, the CTRL + C text is a keyboard input:
To copy the content, highlight it, and press CTRL + C on your keyboard.
When you select a block, you will find additional block settings in the right sidebar. If you do not see the sidebar, you may need to click the Settings icon in the top-right corner to bring up the settings. This icon looks like a square with two uneven columns:
The Heading block includes the following settings to adjust the appearance of all the text in that block:

