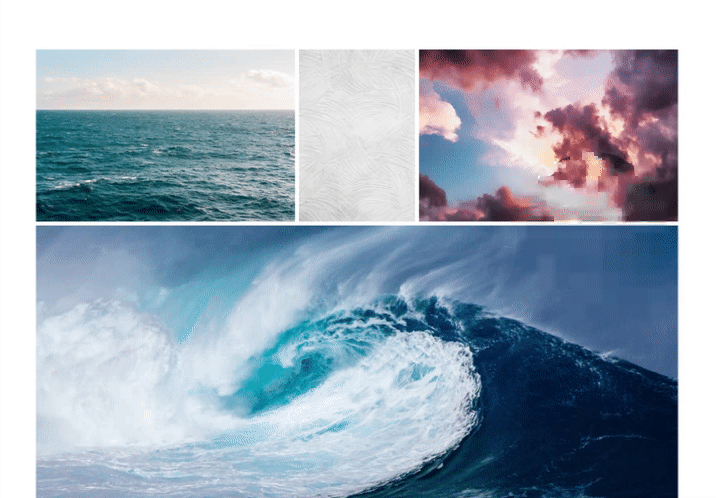
Use the Tiled Gallery block to display multiple images in an elegantly organized tiled layout. This guide will show you how to add a tiled gallery to your website.
In this guide
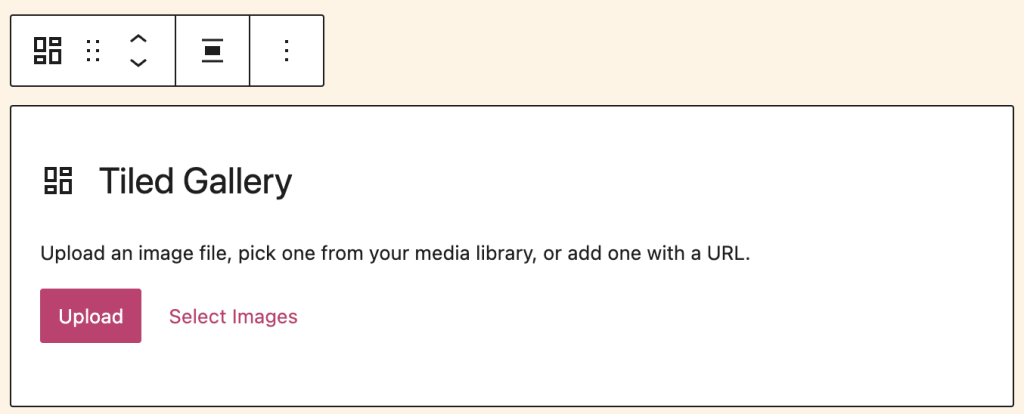
To add the Tiled Gallery block on WordPress.com, click on the + Block Inserter icon and search for “tiled”. Click to add the block to a page, post, or template.
💡
If you’re running a WordPress.org website, you can install the Jetpack plugin to add this Tiled Gallery block functionality to your site.
For more information, visit our detailed instructions on adding blocks.
After you add the Tiled Gallery block, you’re given two options:
- Upload: Add new images from your computer to your website.
- Select Images: Choose an image from:
- Existing images in your site’s Media.
- Your phone, via the Jetpack Mobile App.
- Your Google Photos account.
- The Pexels Free Photo library.
- The Openverse library of free photos.
After adding images to the Tiled Gallery block, you can reorder them by clicking on an image, then clicking the left or right arrows:
After adding the images, when you click on the block, a toolbar of options will appear:

The Tiled Gallery block has the following options in its toolbar:
- Change to another type of block.
- Drag handle to change the block position.
- Move the block up or down.
- Change alignment (center, plus wide and full widths if supported by the theme).
- Edit the gallery to add or remove images.
- Here, you can also change the title, caption, alt text, and description of each image.
- Apply an image filter like Black and White, Sepia, and more.
- More options.
When you select a block, you will find additional block settings in the right sidebar. If you do not see the sidebar, you may need to click the Settings icon in the top-right corner to bring up the settings. This icon looks like a square with two uneven columns:
The Tiled Gallery block has the following settings:
The Tiled Gallery block includes an option for rounded corners that can be applied to all images added to the gallery. Drag the slider to the right to increase the roundedness of the corners of the images.

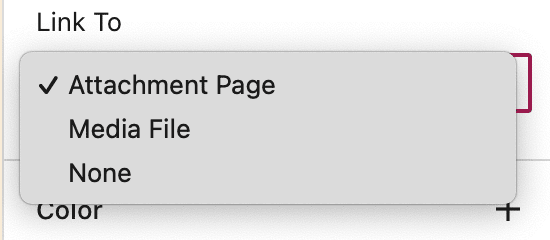
In the Tiled Gallery block settings, there are three options for linking the gallery:
- Attachment Page: This will lead anyone who clicks on the images in the gallery to an informational page about the image, which includes the image, the caption, the image description, and a comment field.
- Media File: This loads the images in a full-screen carousel, which your visitors can go through one image at a time. View Media Settings to adjust the carousel settings.
- None (default): This makes your images unclickable, so they don’t link to anything at all.

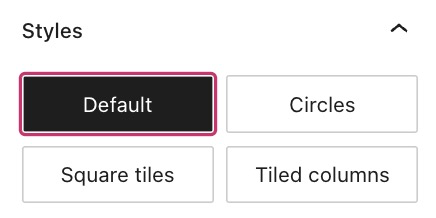
In the block settings sidebar, click on the Styles icon to access the design settings for the block. The Styles icon is in the shape of a circle with half of the circle filled in:
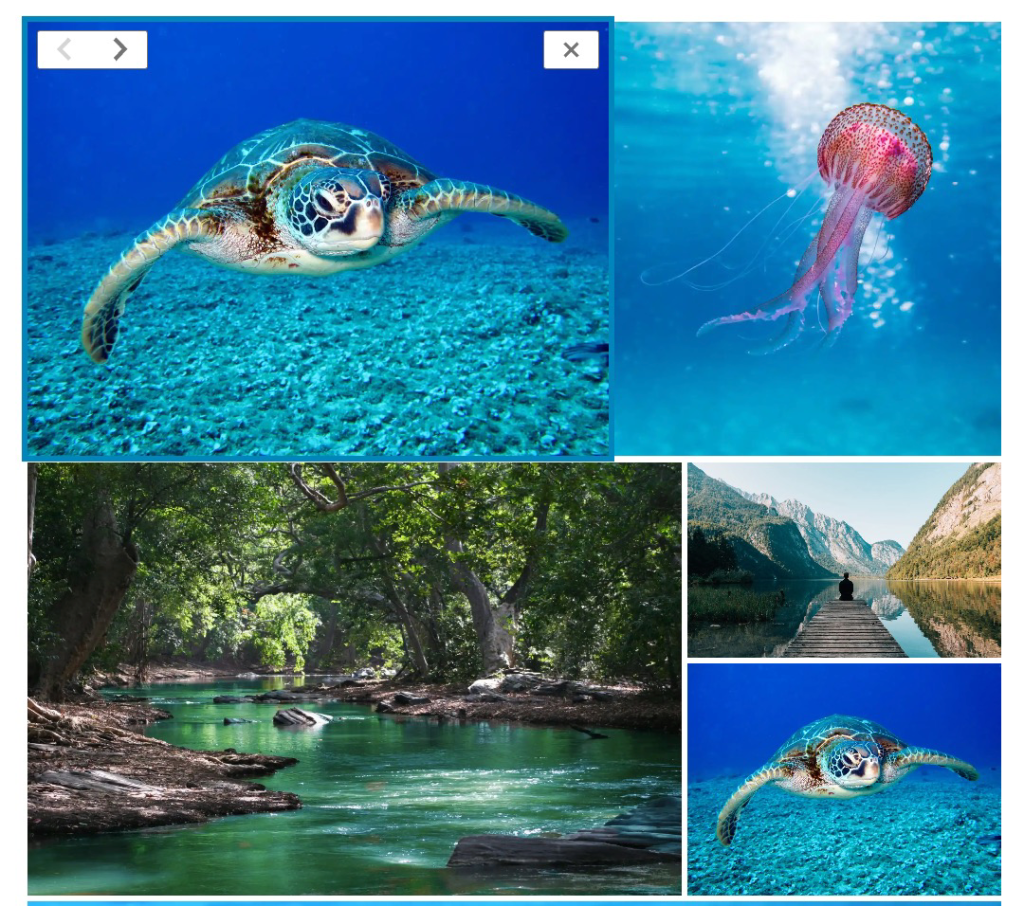
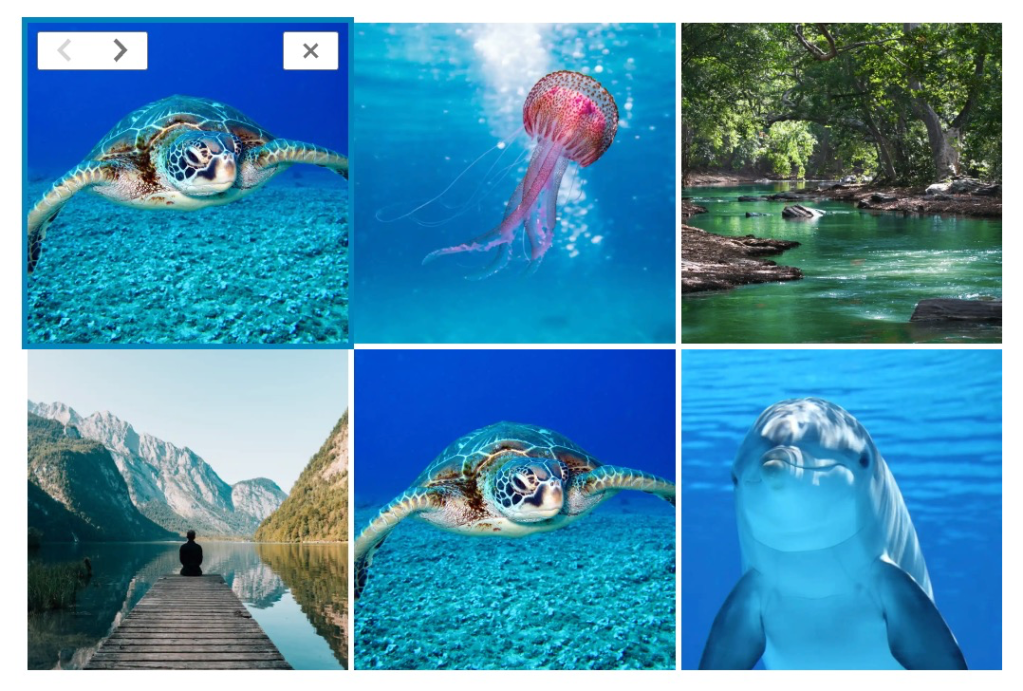
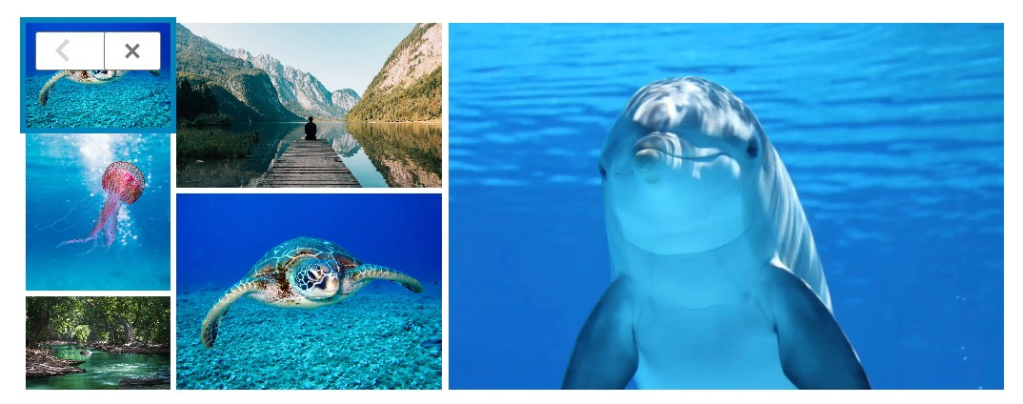
With the Tiled Gallery block you can display your image galleries in four styles:
- Tiled mosaic (default)
- Circles
- Square tiles
- Tiled columns

More details for these standard block styles can be found in the following guides:
