The header is the top part of a website that typically shows the site title, a logo, and a navigation menu. This guide will show you how to customize your website’s header.
In this guide
To follow the steps in this guide, choose a theme that supports the site editor. A quick way to determine if your site uses the site editor is to check for Appearance → Editor in your site’s dashboard.
To customize your header, you’ll edit the Header template part. By editing this template part once, the changes will take effect on all pages of your site where this header is shown.
Follow these steps to access the header template part:
- Visit your site’s dashboard.
- Navigate to Appearance → Editor to open the Site Editor.
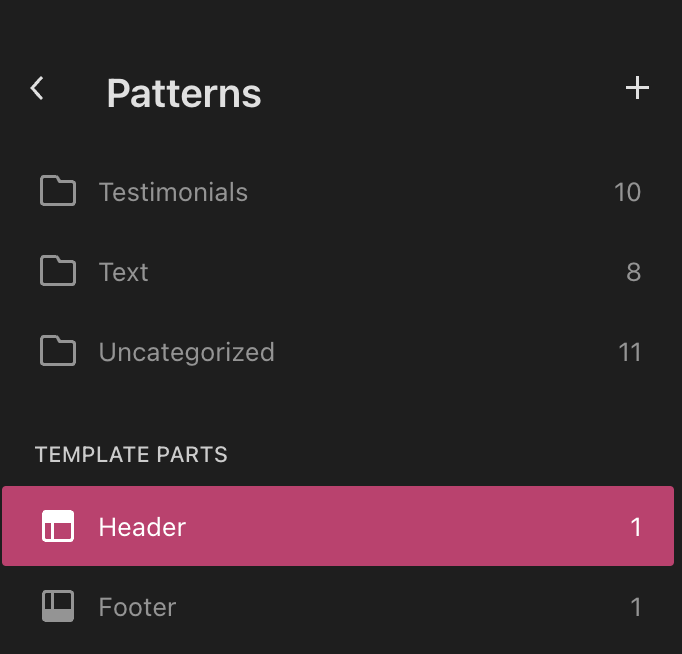
- Click Patterns to view all of your site’s template parts.
- Scroll down below the list of pattern categories to the “Template Parts” section and select the Header template part:
- Select your active header template part. Your theme may include multiple variations of your header to choose from here.
- Click the pencil icon to close the left sidebar and open the editing interface.
- Open List View to see a list of all blocks in the header. You can add, remove, and rearrange the content here, as described in the remainder of this guide.
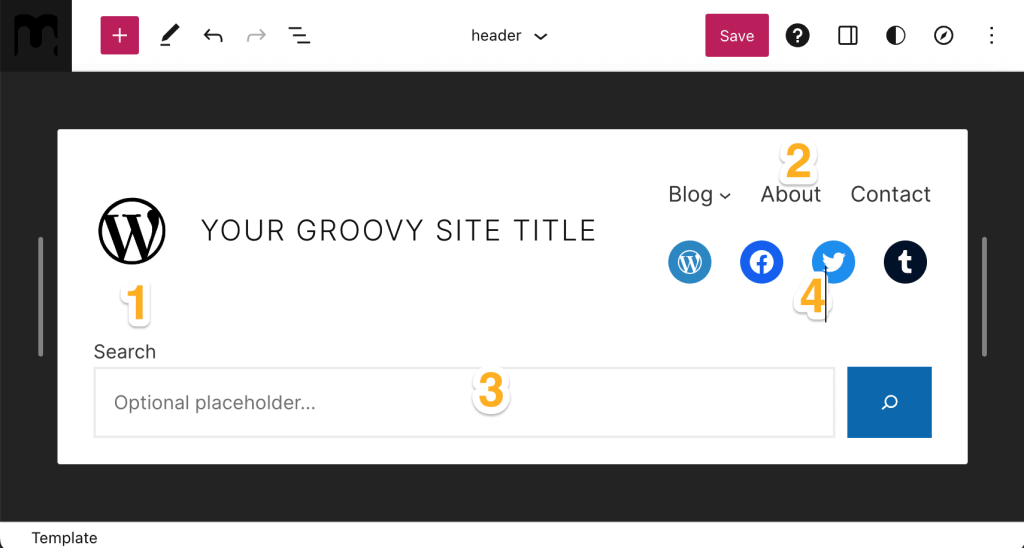
You can add several elements to your header. This guide will cover the most frequent: a logo, menu, search bar, and social menu.
💡
You can use List View to keep track of all the blocks in your header, quickly select the exact blocks you need, and move them around as desired.
To add a logo to your header:
- While editing the header, click on the + Block Inserter button.
- Search for the Site Logo block.
- Click the Site Logo block to insert it.
- Upload your logo image.
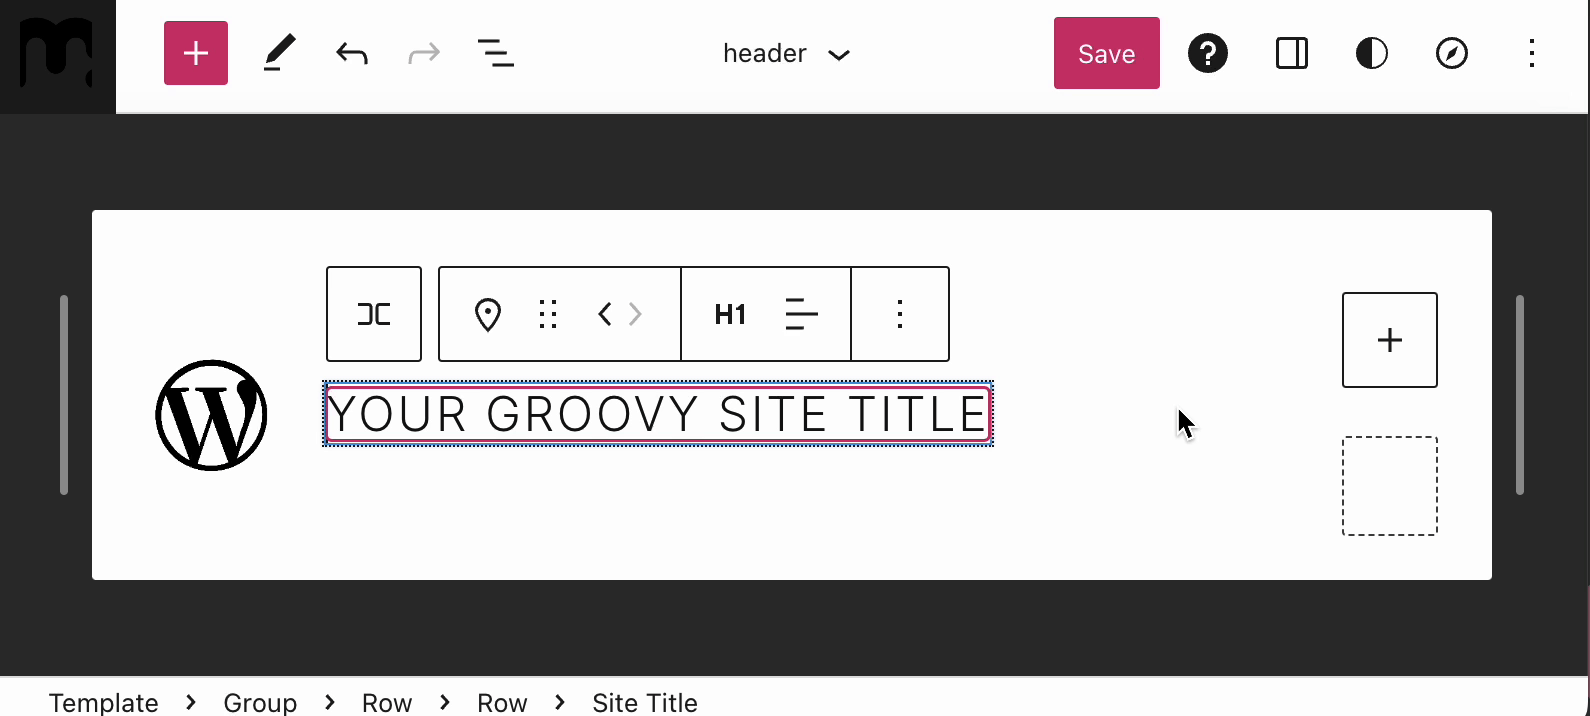
Once you’ve added the Site Logo, you can use the left and right navigation arrows to change the position relative to the other header elements:
Finally, you can change its size by dragging the selection points in and out until the size is suitable:
When you’re finished, click Save to save your changes.
To add a menu to your header:
- While editing the header, click on the + Block Inserter button.
- Search for the Navigation block.
- Click the Navigation block icon to insert it.
Once the Navigation block is added to your header, you can customize it following our detailed guide on using the Navigation block. You’ll learn how to insert a navigation block, add links, create submenus, modify link settings, and more.
When the menu is ready, you can reposition it using the left and right arrows. When you’re finished, click Save to save your changes.
To add a search bar to your header:
- While editing the header, click on the + Block Inserter button.
- Search for the Search block.
- Click on it to insert it:
Once you’ve added the Search block, you can use the left and right navigation arrows to change the position relative to the other header elements. You can also change its size by dragging the selection points in and out until the size is suitable.
When you’re finished, click Save to save your changes.
Read more about using the Search block. You’ll learn how to add the block, change the search button text, change the font and the colors, change the search box width, change the alignment of the search box, and more.
To add social icons to your header:
- While editing the header, click on the + Block Inserter button.
- Search for the Social Icons block.
- Click on it to insert it.
Once you’ve added the block, you can start adding social profiles following the steps in our Social Icons block guide.
Once all your icons are added, you can select the block by clicking the Social Icons block in the List View, then use the left and right navigation arrows to change the block’s position relative to the other elements of the menu:
When you’re finished, click Save to save your changes.
Read more about using the Social Icons block. You’ll learn how to insert the icons, add your social profiles, change the type of icons, style or remove your icons, and more.
You can customize where elements in your header appear by moving, grouping, and adding blocks to your header.
A header often uses Group blocks and Row blocks to determine how elements appear next to or below other elements:
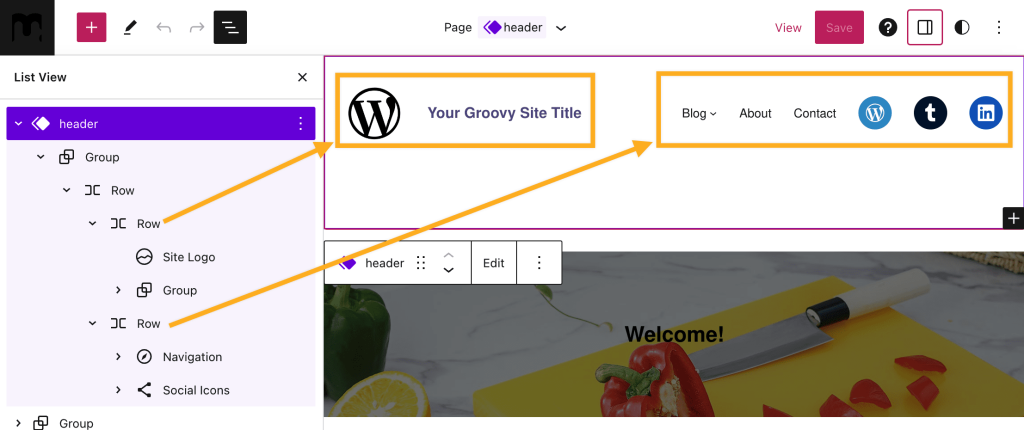
In the example image above, the two rows indicate that the content contained within each row should appear side-by-side.
You can move elements around by dragging them to a new section within the header:
- Open the List View.
- If you see a > to the left of a block name, that means there are blocks nested within that block. Click the > to expand the block until you locate the block you want to move.
- Drag the block name to the section where you want it to appear in your header.

This brief video displays the Social Icons block being moved to a new section using the List View. Also included are steps to open the block settings sidebar to center the icons.
A header is typically included with your site’s theme. However, you may wish to add a new header when creating your own template or if you accidentally removed the header from a template. To add a header, follow these steps:
- Visit your site’s dashboard.
- Navigate to Appearance → Editor → Templates.
- Choose the template you want to add a header to.
- Click the Edit button (pencil icon beside the template name) to edit the template.
- Alternatively, click the + icon to add a new template.
- Click the + block inserter and search for the template part Header. Click to add it.
- Make sure the Header is added to the top of the template. If not use the move button on the toolbar to move it to the top of the template.
- Click Save.
Choose a premade header block pattern to quickly insert a beautiful and professionally-designed header layout. The video below demonstrates the process of editing the header and replacing it with a block pattern following these steps:
- In your site’s dashboard, go to Appearance → Editor.
- On the left sidebar, choose the Template with the header you want to change.
- Click the pencil icon next to the template name to open the editor and close the left sidebar.
- Open List View.
- Click the three dots to the right of the header template part, and select Replace header.
- Browse through the header patterns and choose the one you like. The pattern will be added to your site’s header area.
- You can then replace text and images in the new header pattern with your content.
You may wish to display different header content on one page (such as the homepage) compared to other pages. Here’s how:
- Visit your site’s dashboard.
- Navigate to Appearance → Editor to open the Site Editor.
- Click Patterns to view your site’s template parts – small pieces of content that can be reused across your site.
- Click the + icon next to Patterns to create a new template part.
- Type a name for your new header that describes what it’s for.
- Select Header as the area.
- Click Create.
- Click the + block inserter icon to insert any blocks or patterns you wish to use.
- Once you have finalized your new header design, click Save.
- Edit any page or template on your site where you wish to display this new header.
- Click the + block inserter and search for the name of the new header you created in step 4. Click to add it to your site.

