Use the More block to shorten your blog entries so that only the first part of a post is displayed. This guide will show you how to use the More block to display just a portion of the post followed by a “read more” link.
In this guide
The More block can be used to keep your blog posts concise. It displays only the initial part of your post content in places where an excerpt is more appropriate than the full post content. This can include the homepage, archive pages, and subscriber emails.
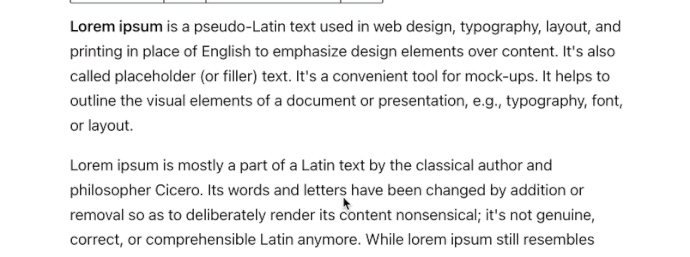
This is an example of what the More block could look like after you have customized it and published the post. The final design will depend on your site’s theme:

If your theme is built to display the post’s full content on archive pages, then the More block will insert a “Read more” link below the text. If your theme is built to display excerpts on archive pages, the More block will be ignored. If you use a classic theme that supports Content Options for Blog Display, be sure to choose “Full post” if you’d like to add the “read more” option to posts manually.
To add the More block, click on the + Block Inserter icon and search for “more”. Click it to add the block to the post.
💡
Using your keyboard, you can also type /more on a new line and press enter to quickly add a new More block.
For more information, visit our detailed instructions on adding blocks.
When you add the More block, a link is placed directly after the text above the block, pointing the reader to the full post. You can put this link anywhere in the text and customize it to say whatever you want.
To change the “read more” text to something else (like “Continue reading” for example), click into the text area and type to customize the wording:

When you click on the block, a toolbar of options will appear above or below it:
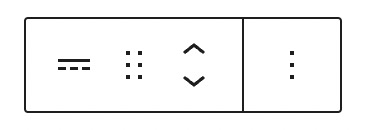
The More block has the following options in its toolbar:
- Change block type.
- Drag the block.
- Move the block up or down.
- More options.
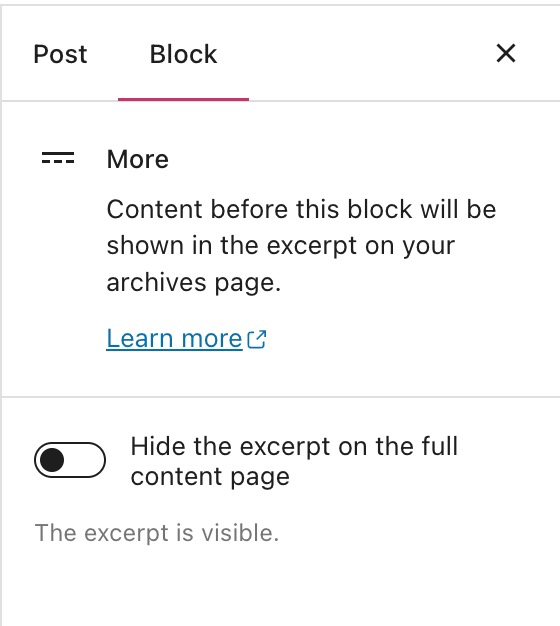
When you select a block, you will find additional block settings in the right sidebar. If you do not see the sidebar, you may need to click the Settings icon in the top-right corner to bring up the settings. This icon looks like a square with two uneven columns:
When you toggle on the option to “Hide the excerpt on the full content page“, all the text that’s above the More block in your post will not appear once the reader clicks the “Read more” link to view the full post.
If you’re using the classic editor, the equivalent of the More block is the More tag. You can add a More Tag anywhere in your post so that only the first part of the post is displayed on the homepage, archive pages, and in subscriber emails.
When you do this, a link will be placed directly after your excerpt, pointing the reader to the full post.
You can add the More Tag following the instructions below:
- Create a new post and add content to it as needed.
- Point your cursor to the spot in the post where you want the More Tag to appear.
- In your toolbar, click on the “Insert Read More tag” button. You can find the “Insert Read More tag” button in the first row. Once you click it, the split will appear in your post:

To customize the text that shows after you’ve inserted the More Tag, follow the instructions below:
- Click on the Text tab in the upper right corner of the post editing area to open the HTML Editor.
- Look for
<!--more--> - Add a space after “more” and then type in a custom message, like
<!--more Keep on reading!--> - This will insert a read more link that says “Keep on reading!” instead of the default message.


