The Content Block is part of your site’s template, designed to show the content you add to your posts or pages. This guide will show you how to use this block when creating your website.
In this guide
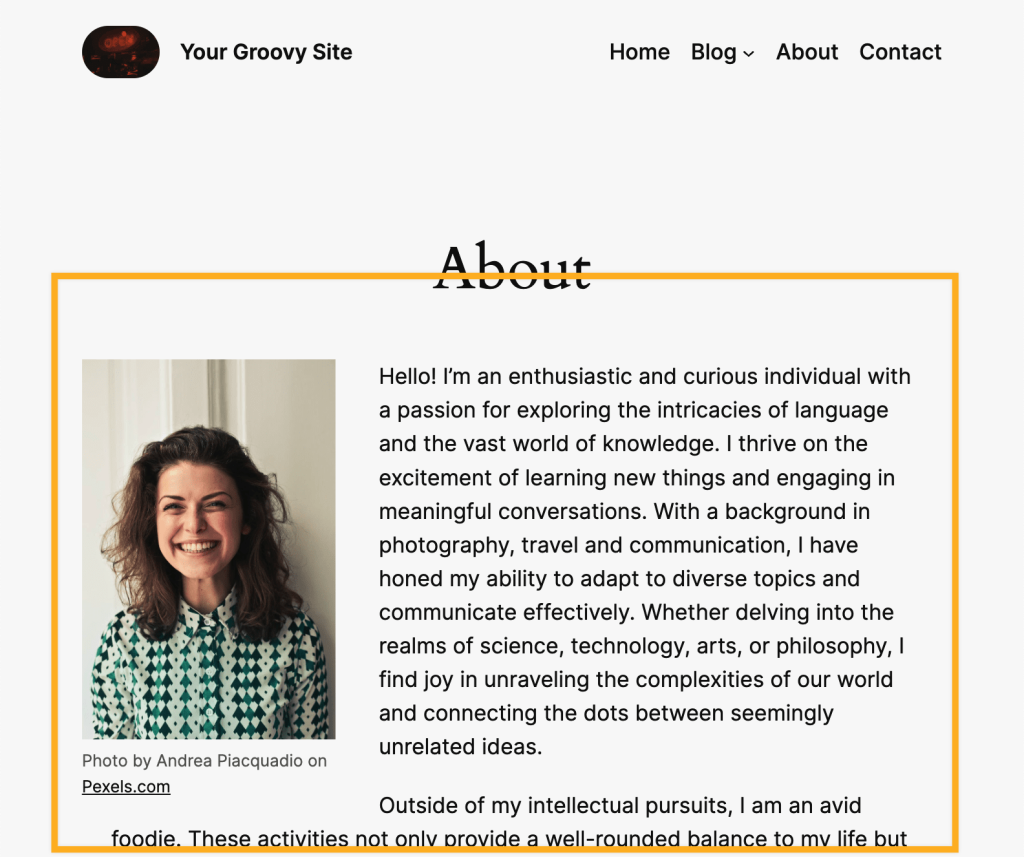
When you’re working on your website, think of the Content block as the section that controls what shows up on your pages and posts. Whether it’s an About page or a Contact page, they might use the same header, footer, and structure (called a template.) The Content block displays the unique content you’ve added to your pages and posts.
You can’t directly change the content within this block — it automatically shows the right content for each page or post based on the template you choose.

⚠️
Without the Content block in your template, the content you add through your pages and posts will not show up on your live website or blog. Instead, every page will show the same page with the same content.
Dive into our in-depth self-paced Learn course on Templates Explained, or jump directly to the section on multi-use templates to learn more.
The Content block should already exist in your template. You may wish to add the block if creating your own template or if you accidentally removed the block from a template.
- Visit your dashboard.
- Navigate to Appearance → Editor to open the Site Editor.
- Click Templates and select the template you wish to edit.
- Alternatively, click the + icon to add a new template.
- Click on the + Block Inserter icon and search for “content”. Then, click it to add the block to the template.
For more information, visit our detailed instructions on adding blocks.
When you click on the block, a toolbar of options will appear above it:
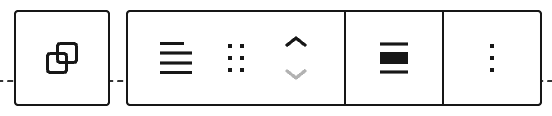
The Content block has the following options in its toolbar:
- Select the parent Group block (if the block is inside of a group)
- Change block type.
- Drag the block.
- Move the block up or down.
- Align the block: none, wide, or full-width.
- More options.
When you select a block, you will find additional block settings in the right sidebar. If you do not see the sidebar, you may need to click the Settings icon in the top-right corner to bring up the settings. This icon looks like a square with two uneven columns:
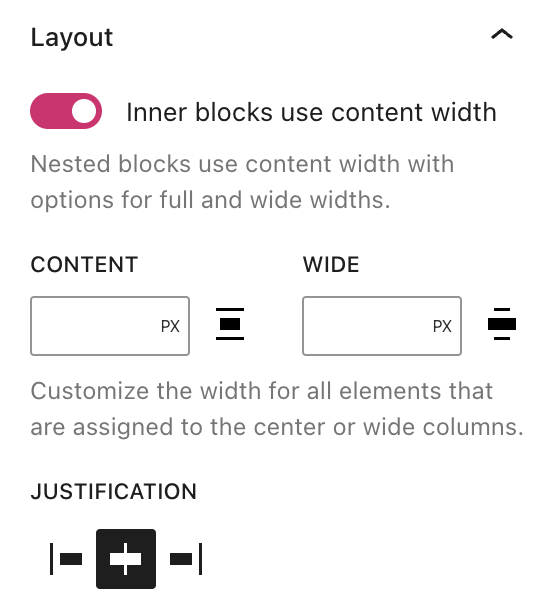
When the option Inner blocks use content width is toggled OFF, blocks inside the content will fill the width of the page’s default content area.
For more control over the width of the inner blocks, toggle the “Inner blocks use content width” option to the ON position. You can then specify the width of the inner blocks using the following options:
- Content: The width of the content area for blocks not set to wide or full-width.
- Wide: The width of the content for blocks set to wide width.
There is no option for Full because blocks set to full-width will span 100% of the screen.
The Content block also includes the following settings:
To control the width of the content area:
- In the Site Editor, click the Styles button in the top right corner. The icon looks like a circle with one white and one black half, as shown in the image on the right.
- Click on Layout.
- Under Dimensions, use the boxes provided to set the width of the main content area:
- Content: Control the width of blocks when the alignment is set to “None” in the block’s toolbar.
- Width: Control the width of blocks when the alignment is set to “Wide” in the block’s toolbar.
- Click the “Save” button.

If you remove the Content block, the template will not display any content for any pages and posts that use that template. If you attempt to remove the Content block, a warning will appear to confirm you wish to delete it.

