Pexels provides your WordPress.com website with a vast library of beautiful and useful copyright-free images. This guide will show you how to add Pexels images to your site.
While editing a page or post on your site, you can add free images from Pexels by taking the following steps:
- Edit any page or post in the WordPress editor.
- Add any block that uses images, such as the Image block, the Gallery block, or the Cover block.
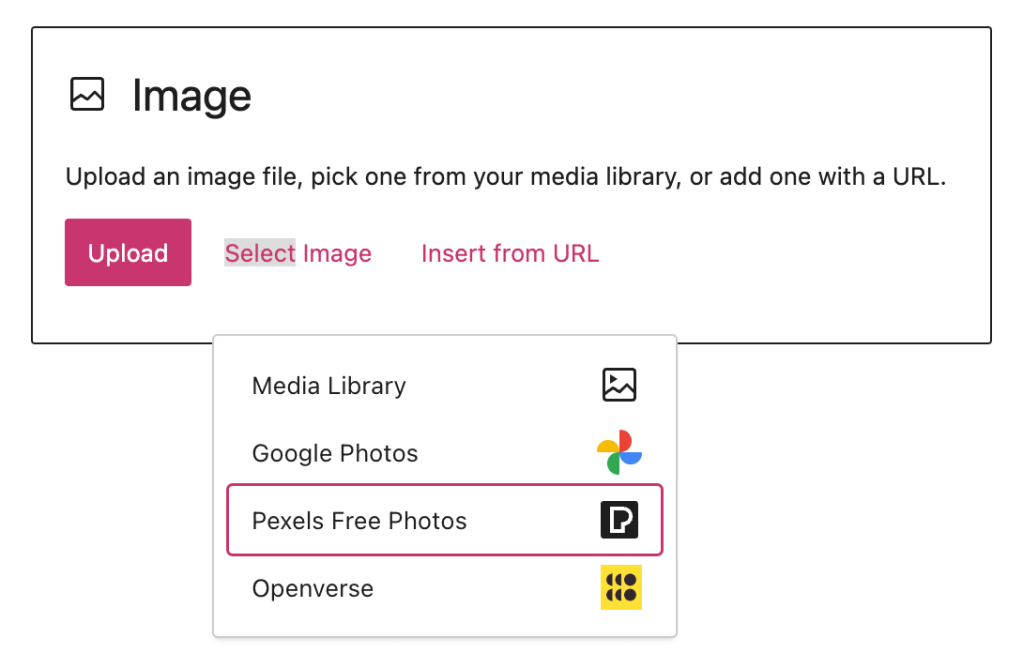
- Click the “Select Image” option.
- Select “Pexels Free Photos”:
- Type your search term into the box at the top to browse available images:
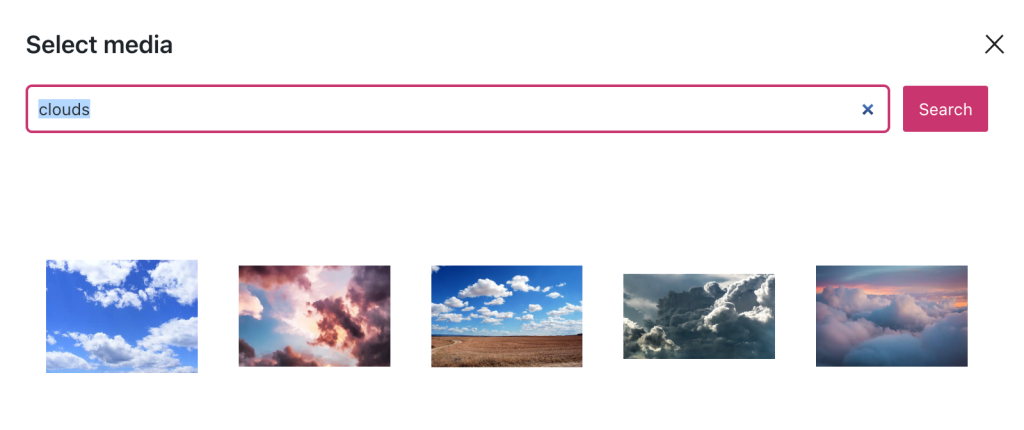
- To choose an image, click on it and then click the “Select” button. If you’re creating a gallery, you can select multiple images at once.
You’ll notice that the photographer’s credit gets added to the caption of each image. It is not necessary to keep the credit on your site.
Any images you select are added to your site’s Media and will count against your site’s storage capacity.
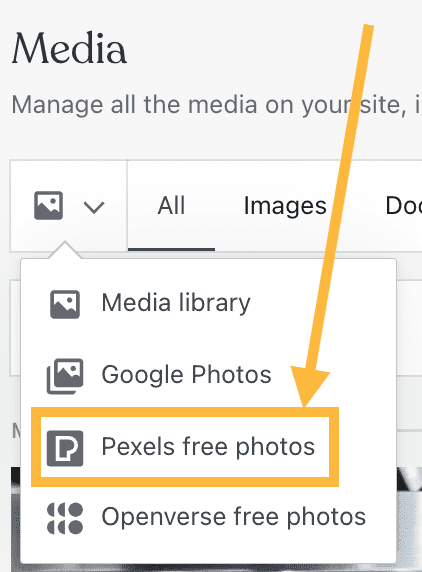
You can access the same free images from Pexels via your site’s Media by taking the steps below. (This option is available if using the Default View, not WP-Admin.)
- Visit your site’s dashboard.
- On the left side, click on Media.
- Select the image icon in the upper-left corner and select “Pexels free photos“:
- Add a term to the search box. Select as many photos as you want and click the “Copy to media library” button:

Any images you select are added to your site’s Media and will count against your site’s storage capacity.

