You can set up custom-branded email addresses with our Professional Email service. In this guide, you will learn how to purchase email and access your mailboxes.
In this guide
To add a professional email address to your domain, follow these steps:
- Visit your site’s dashboard.
- Navigate to Upgrades → Emails (or Hosting → Emails if using WP-Admin).
- Choose between a monthly or annual subscription at the top of the page.
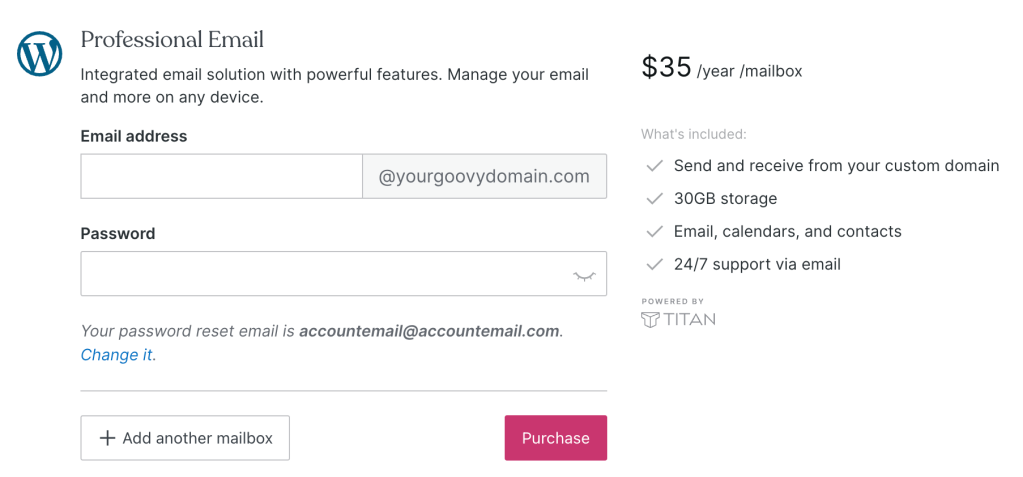
- Under Professional Email, enter the following details:
- The name of the email address you wish to create (the part before the @ symbol.)
- A password for your email account (minimum 10 characters.)
- To create multiple email addresses, click “Add another mailbox” and enter the details for the new mailbox. Note that pricing is per mailbox.
- Click the “Purchase” button and complete the checkout process. If your domain is eligible for a free trial, you will not be charged until the end of the trial period.
If you have email forwarding set up with your domain, it will stop working. You cannot use email forwarding and a full email service like Professional Email at the same time. Instead, set up forwarding within your mailbox settings.
If you previously created a Titan email for your domain with another provider, you cannot purchase Professional Email on WordPress.com.
We offer three months of Professional Email for free to any registered or connected domains that have not tried Professional Email before. To claim your free trial, follow the steps above to purchase Professional Email. If eligible, the charge will show as $0.
When the trial ends, you will be charged based on the billing schedule you selected:
- Annual: Your account will be charged for 9 months instead of 12.
- Monthly: Your account will be charged the standard monthly price.
You can add as many mailboxes as you need during the free trial. All mailboxes will be free during the trial period. At the end of the trial, each mailbox will be charged at the standard price.
To access your email inbox:
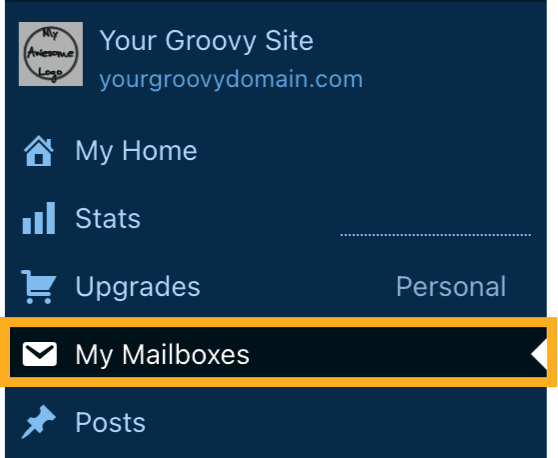
- Visit your site’s dashboard.
- Navigate to Upgrades → Emails (or Hosting → Emails if using WP-Admin).
- Click the mailbox you wish to open.
- Enter your email address and password on the login screen to check your email.
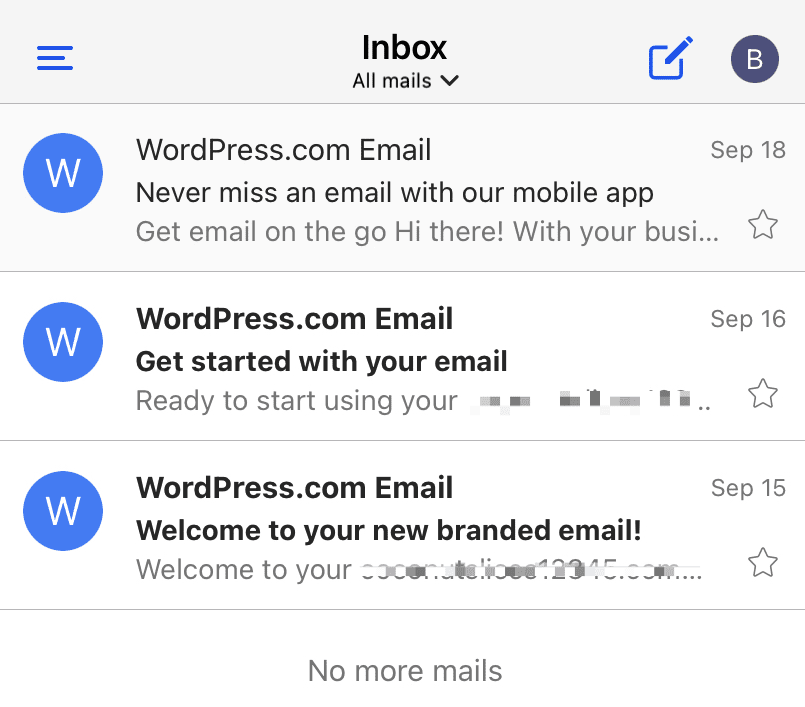
You can also access your mailbox by visiting https://wp.titan.email/login/ and entering your email address and password.
You can access your mailbox on mobile using the Titan mobile app and other email apps:
When you purchase Professional Email, WordPress.com automatically adds DNS records to your domain (if your domain uses WordPress.com name servers). These records ensure you can send and receive emails using your domain’s email address.
If you accidentally removed or lost these DNS records, you can restore your Professional Email (Titan) account to a working state. Here’s how you can reset your Professional Email DNS records back to their default settings:
- In your dashboard, go to Upgrades → Domains (or Hosting → Domains if using WP-Admin).
- Click the domain name the email is associated with.
- Click “DNS records” and then click the “Manage” button.
- At the top right, next to the “Import BIND file” button, click the three dots, and choose the “Restore DNS records for Professional Email” option:

If you don’t have the “Restore DNS records for Professional Email” option, this is because of one of two reasons:
- Your email records are set up correctly, so you don’t need to do anything!
- Your DNS is not managed through WordPress.com, so you should follow the steps in the next section to manually add the DNS records for Professional Email.
If your domain’s DNS is managed by another provider, you will need to add the following DNS records to your domain to ensure a working Professional Email (Titan) account:
| Type | Value | Priority |
|---|---|---|
MX | mx1.titan.email | 10 |
MX | mx2.titan.email | 20 |
TXT | v=spf1 include:_spf.wpcloud.com include:spf.titan.email ~all | N/A |
Adding DKIM and DMARC records can help combat spam. Learn how to set up a DKIM record and a DMARC record.
For more information about authenticating emails sent from your WordPress.com site, visit our detailed instructions to Set Up Email Authentication For Your Domain.
