
Postbot is a photo scheduling app that allows you to quickly upload and schedule multiple photos.
Postbot will create a post for each photo and schedule it to appear at a certain time over a given number of days. This is the ideal way to share a lot of photos without having to manually create and schedule each of them.
It is a stand-alone application that works with your WordPress.com blog, and your Jetpack-powered WordPress.org blog (with the JSON API module enabled).
If you want to create a single post with a gallery of photos then you may be interested in the gallery feature.
To login to Postbot just click the Connect with WordPress.com button. You will be prompted to authorise the login with your WordPress.com details. This is the same procedure if you are connecting to a WordPress.com blog, or to your WordPress.org blog via Jetpack.
Once logged in your primary blog will be shown in the top right corner. Clicking on it allows you to connect another blog:

You can connect as many blogs as needed, and swap between them using the dropdown. Each time you connect a blog you will need to authorize it.
Photos can be dragged from your desktop anywhere onto the Postbot screen.
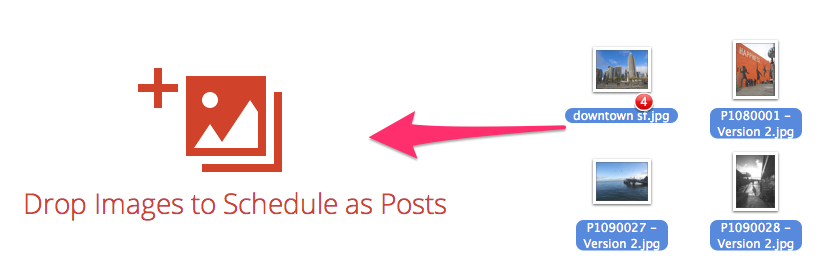
You can also click the red upload button and select photos from the file dialog.
Note that multiple files can be uploaded. Full support is provided to mobile devices (iOS requires version 6 or greater) where you will be able to select from your camera or existing photo albums.
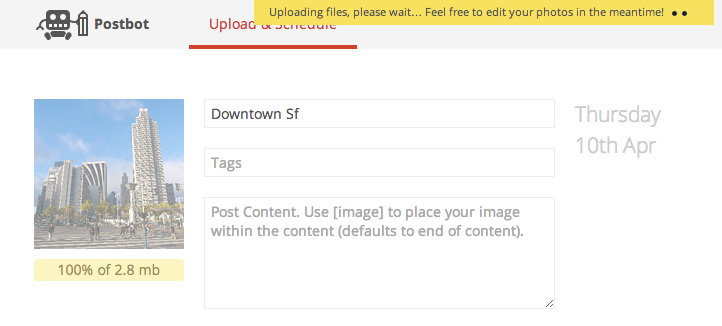
You can begin editing your photos as soon as they start uploading. A notice is shown to indicate data is still being uploaded, and the photo will be greyed out until complete.
Uploaded photos are stored on Postbot – they are not stored on your blog until you schedule them.
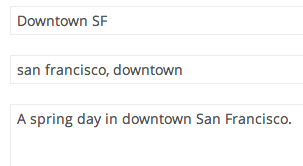
You can change the title, content, and tags for a photo. These reflect the title, content, and tags of the post that is created.
Photos can be editing while uploading, and can be reordered by dragging the photo and dropping it in the desired position.
Note that by default Postbot will place your content first, followed by the photo. If you wish to change this arrangement then use the special shortcode [image] in your content:

Once you have uploaded photos you can pick your schedule details. Select the number of days between each post, along with the start date and time.

Additionally you can ignore weekends. For example, if you have five photos to be scheduled starting on a Thursday, with an interval of one day, then the first two photos will be scheduled on Thursday and Friday, and the rest will be scheduled on the following Monday, Tuesday, and Wednesday.
When you press the schedule button the photos, along with photo details, will be sent to your chosen blog.

Once you have scheduled photos you can then view the ones still to be published by clicking on the pending tab:
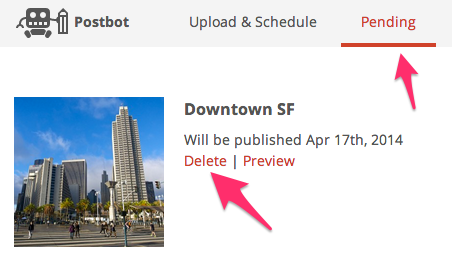
Photos can be deleted before they are published and the post and photo will be removed from your blog.

