
To retain site visitors, you should provide content that meets their expectations. However, even when your site offers the right information, you’ll still need to direct readers to other resources when necessary. In that respect, you should highlight your site’s most important elements so visitors know where to go next, and what to do once they get there.
Adding CSS hover effects is one way to distinguish crucial site elements and streamline user experiences. Thanks to the variety of pre-made hover effects available, adding one to your site can be a straightforward process.
First, understand what CSS hover effects are and when they’re appropriate to use.
Hover effects highlight important site elements
In a nutshell, Cascading Style Sheets (CSS) are the pieces of code that tell web browsers how to display a web page’s content. Hover effects animate designated site elements, such as links or buttons, whenever a visitor hovers over them. To create a hover effect, apply CSS code to the element that you want to highlight.
A common hover effect use case is when you place your mouse over a line of text, and its background changes color. Hover effects can be used to highlight a specific action, like the “Don’t Miss Out” button on the eBay homepage, or to distinguish a menu label, which you can see in action on the Village Voice website. Similar to the Angry Birds homepage, many sites combine header and button hover effects to increase visitor engagement.
Guide your visitors and promote your CTAs
Hover effects are more effective when applied sparingly to elements that you want visitors to click on.
One of the most common ways to use this effect is to combine it with a call-to-action (CTA). According to the CreativeMMS blog, CTAs are directive statements that facilitate your prospective customer or client’s journey by telling them what to do next.
By applying hover effects, you can guide visitors and increase the likelihood that they’ll act on your CTA.
Get started with CSS hover effects
If you have a WordPress.com Premium or Business plan, you can add custom CSS to your website. Here’s how to add a hover effect.
1. Find a hover effect you want to employ
CodePen is an online repository of free CSS styles and animations that you can browse through to find a hover effect you like. Alternatively, you can also perform a Google search to find other CSS resources. But, if you’re going to use CSS effects from the web, look for ones that only use HTML and CSS. Avoid JavaScript, as it adds an extra layer of complexity (and is not allowed on WordPress.com, unless you have a plugin-enabled plan).
2. Add the HTML to your content
Once you pick an appropriate CSS hover effect, add its HTML to your post or page. You can do this by switching to the HTML editor.

Add the HTML to the appropriate location and save the page.
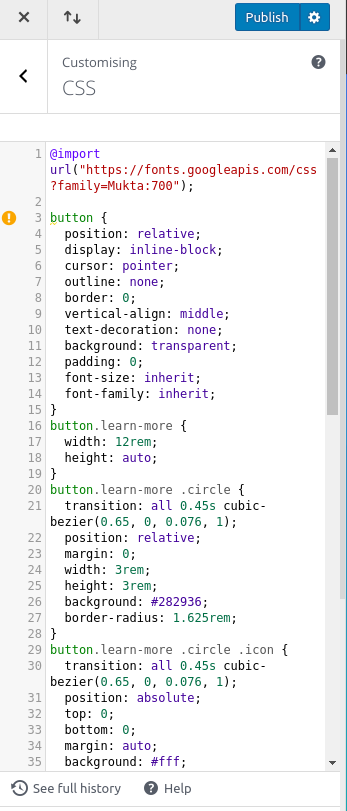
3. Add the CSS to your Customizer
The next step is to add the CSS, which will apply the hover effect once live. To access the Custom CSS feature, click the Customize menu item to open the Customizer, then select CSS.
Next, copy the CSS from the hover effect example that you chose, and paste it into the CSS editor. Hit the Publish button to save the changes and your CSS hover effect will be active on the HTML element that you added earlier.
Working with custom code can be intimidating at first, but once you understand the basics, you can shine a spotlight on what you want visitors to do while providing a more engaging user experience.

