When it comes to creating and managing a website, WordPress has undoubtedly been the leading content management system (CMS) for many years, with a market share that currently stands at 65.1%.
On the other hand, Webflow is a relatively newer solution rising steadily in the industry, with a market share of 0.5%. Moreover, it’s best suited for people with a background in web design or development.
Building a site or e-commerce store with the Webflow design tool may seem like a good idea in the beginning. But if your business needs have outgrown the functionality provided by Webflow, it’s better to switch to the more powerful WordPress platform.
A CMS like WordPress can deliver advanced flexibility and features, along with robust integration options. WordPress has hundreds of free and premium plugins you can use to extend its features without any technical knowledge or HTML skills. All in all, it’s a simple and intuitive platform.
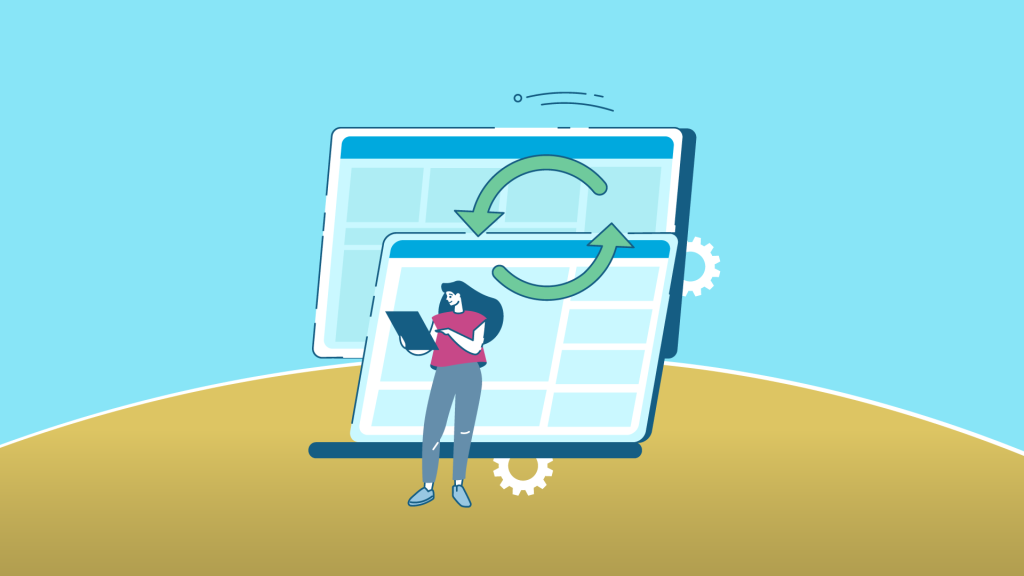
So in this guide, we’ll take a look at the process of migrating your Webflow website to WordPress.
Migrating from Webflow to WordPress
The following step-by-step tutorial will help you move your blog or website from Webflow to WordPress in the most efficient way possible.
Get Hosting & Install WordPress
To move your website from Webflow to WordPress, the first thing you need is high-quality WordPress hosting.
As you might know, WordPress is an open-source piece of software. You have complete freedom on how you use and customize it. But that also means that you’ll have to handle a few things on your own.
For example, WordPress does not come with hosting by default as Webflow does. You’ll need to get a web hosting provider separately, download the core software from WordPress.org, and then install the software on your hosting server. In addition, you’ll also be responsible for the security, backup, and maintenance of your WordPress site.
However, there’s a way to skip all this manual work and get a WordPress website with great hosting and automatic management. WordPress.com is a separate brand that helps you get up and running with a WordPress website quickly.
With the WordPress.com plugin-enabled plan, you get a complete website-building solution with everything automatically managed for you. You get hosting, domain name, security features, WordPress installation, freedom to add premium WordPress themes and plugins, 3rd-party integrations, automatic software updates, e-commerce payment processing, and more in one neat package.
All you need to do is to get the WordPress.com plugin-enabled plan and complete the signup process. A helpful setup wizard will then walk you through launching your website step by step.

Although it’s optional to use the wizard, we highly recommend it if you have no previous blogging experience with WordPress. As a WordPress.com plugin-enabled plan customer, you can also book a one-on-one session with a WordPress expert to set up your website and learn more about using WordPress.
Once the initial setup is complete, you can make further changes through the WordPress.com custom dashboard.

This WordPress.com dashboard is simpler than the default WordPress admin dashboard of self-hosted WordPress websites. It helps you customize your website and settings with ease and allows you to create pages with a range of pre-built templates and a powerful drag and drop page builder.
However, to migrate Webflow to WordPress, you’ll need to access the main WordPress admin dashboard.
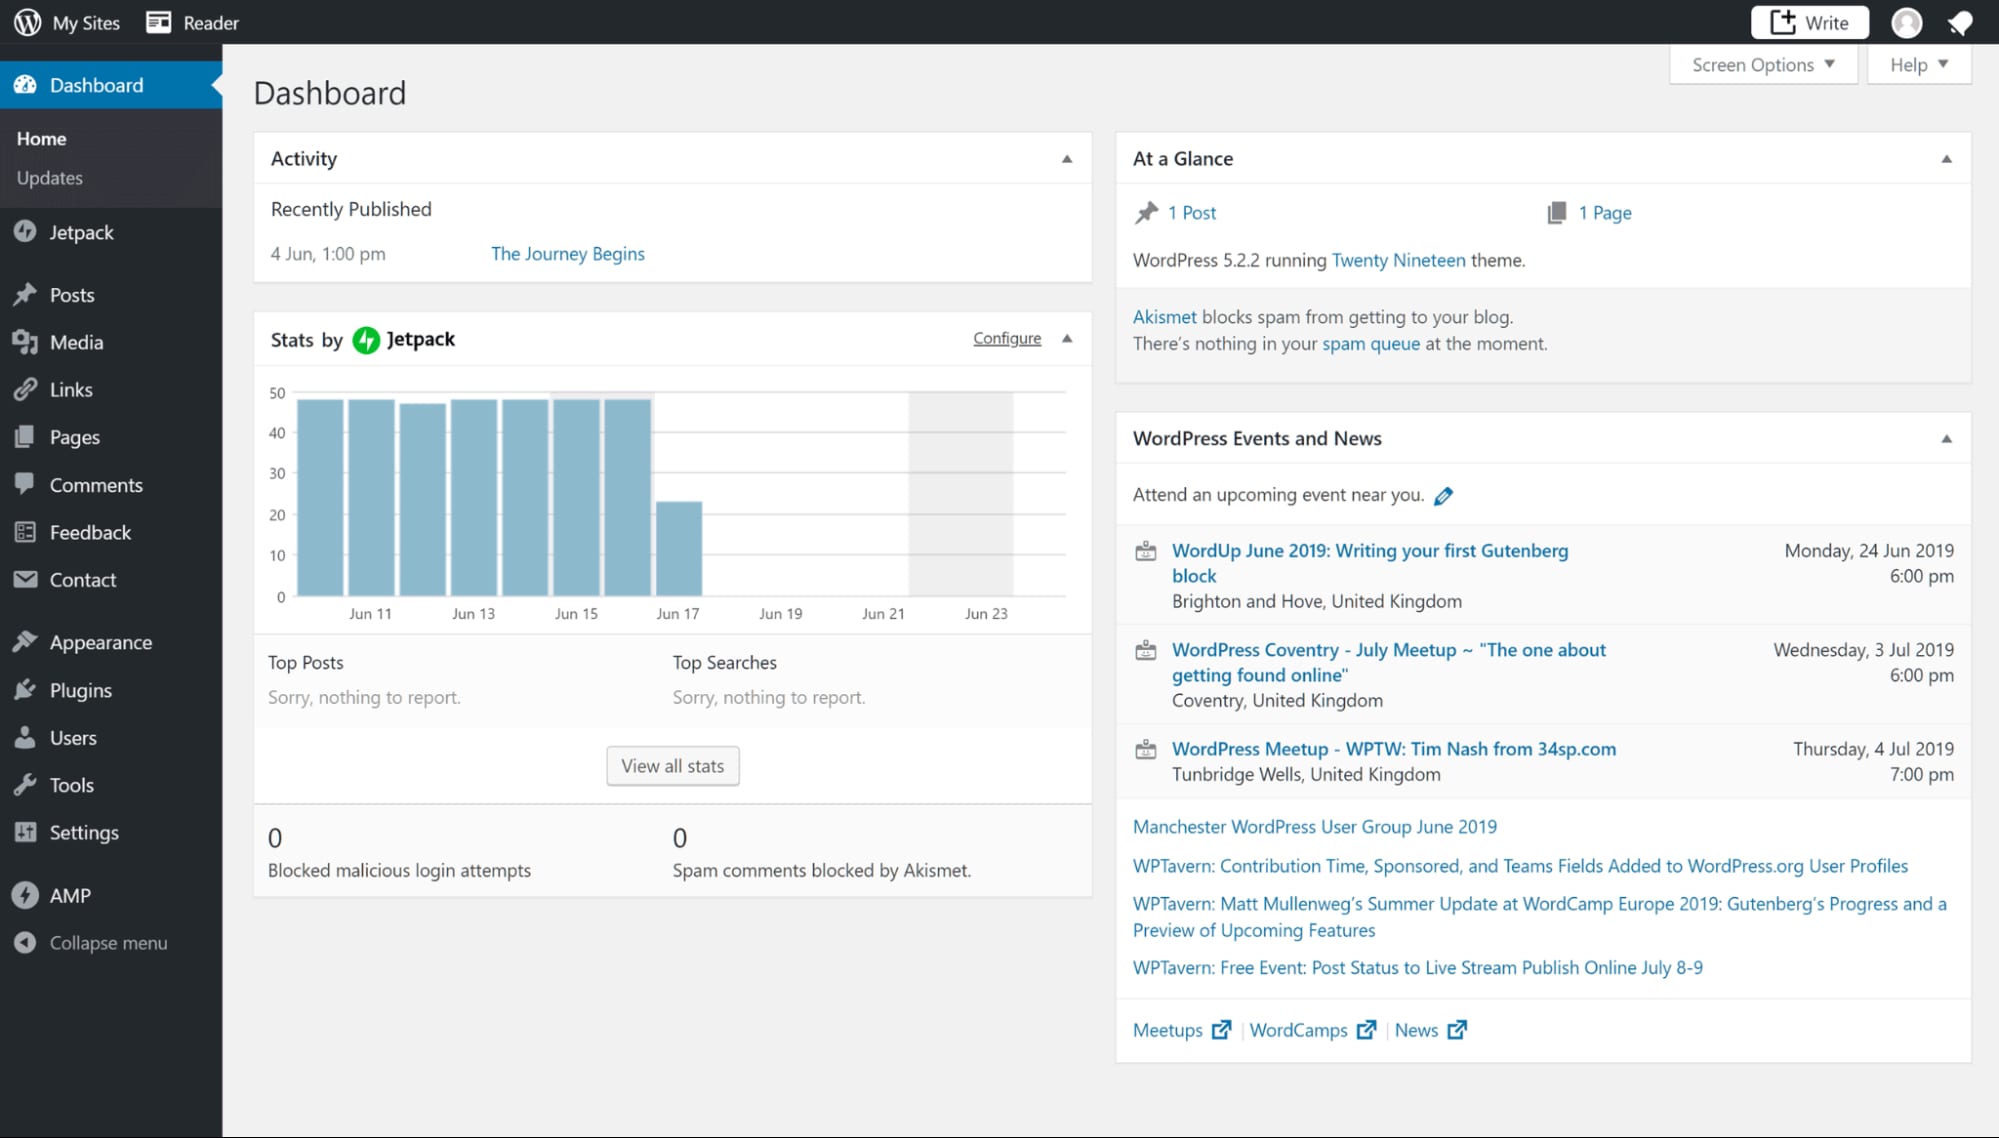
This is the main area in the backend from which you’ll be customizing your website. It’s typically accessed by going to the URL yourdomain.com/wp-admin from your browser address bar.
Export Content from Webflow Dashboard
Once you have set up WordPress, the next step is to export your website’s files from Webflow. Go to Webflow Designer > Collections panel. This is the part of your Webflow dashboard showing all the websites and files stored on the server.

From there, you can select and transfer any Webflow project (collection) using the CMS export/import feature. Open the collection you want to download and click the “Export” button. You can do the same with as many collections as you require.
However, there are a few caveats you need to keep in mind about what can or cannot be exported. Content that can be exported automatically includes standard web pages, blog posts, gallery pages, texts, embedded blocks, and images.
On the other hand, content such as event pages, product pages, album pages, audio files, video blocks, product blocks, index pages, custom CSS, and styling will not be transferred automatically. So you’ll need to migrate these elements manually.
Import Content to WordPress
Now that you have a backup of your Webflow content, it’s time to return to your WordPress admin dashboard. To import the files you downloaded into your WordPress website, go to Tools > Import and select WordPress from the importing options.

WordPress will then install the importer plugin automatically, and all you need to do is activate the plugin. Using this plugin, you can upload and import the backup files you exported from your Webflow dashboard.
Next, you’ll see the import settings page, asking you to pick a username with which these files are to be associated. This will usually be your own name as you’re the administrator, but you can also choose a different user if you want.
That’s it. Most of your Webflow data is now automatically migrated. However, there are some peculiarities associated with moving Webflow to WordPress that you’ll need to handle.
Import Images: WordPress does not support the automatic import of images from other website builders. So you can either upload images manually or use a WordPress plugin to facilitate the process.
Customize Permalinks: One of the biggest concerns about moving your website from Webflow to WordPress is keeping the traffic intact and not impacting the SEO benefits. So you need to make sure that the URLs of all your posts and pages remain the same as what they were in Webflow. To check or optimize your permalink structure, go to Settings > Permalinks.
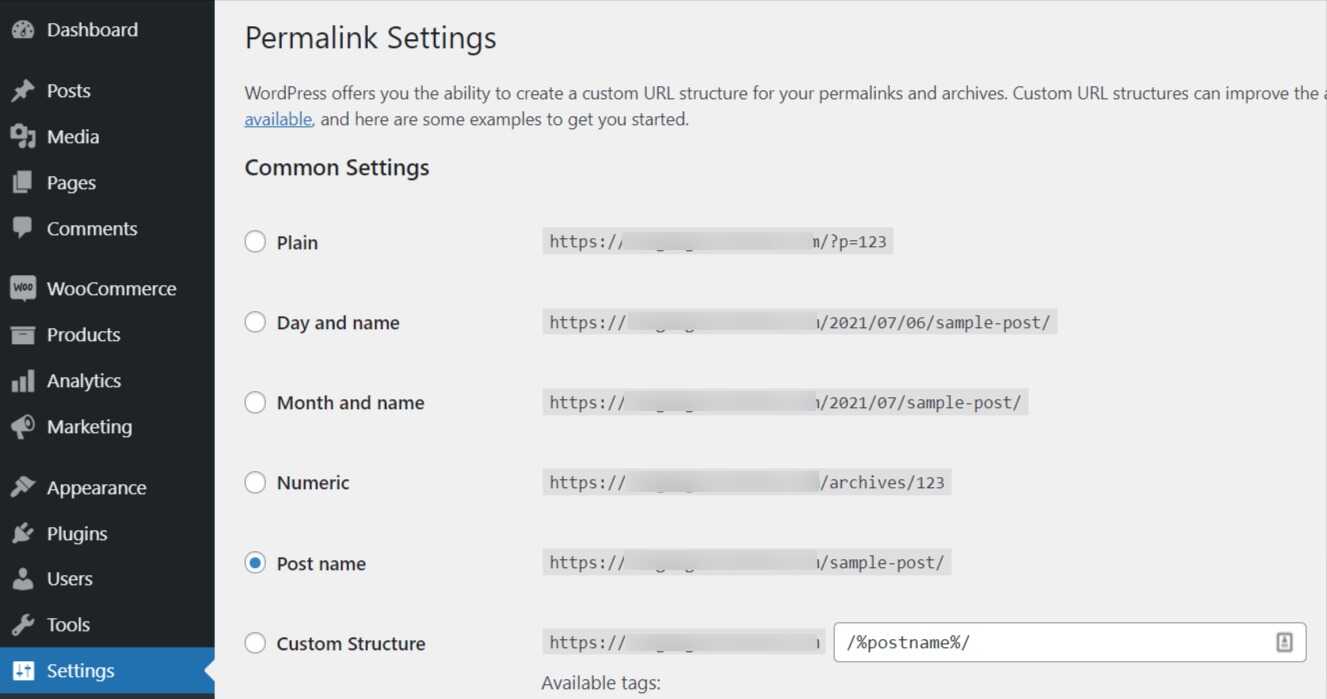
Here, you can select the URL structure to match it with the structure on your Webflow website.
Double-Check All The Content: No matter how much you plan the migration process in advance, there can always be some minor pieces of content that get overlooked. So make sure to take some time to carefully check if all the content in your Webflow site has been accounted for and migrated successfully.
Conclusion
There you go! You have successfully moved your website from Webflow to WordPress. Now that you’re done, you can also take some time to familiarize yourself with WordPress and its further customization. This will shorten your learning curve and let you take advantage of WordPress’s powerful features: creating an online store with WooCommerce or Stripe, Search Engine Optimization, adding contact forms, and more.
Moving from Webflow to WordPress can seem daunting at first. Both the platforms have considerable differences in their approach and functionality. But with the right planning and execution, you can make this migration a success.
Hopefully, the above steps will eliminate a lot of guesswork and mistakes and get you up and running with a WordPress-based website smoothly. And as we discussed, the WordPress.com plugin-enabled plan can make it even easier to not just launch your WordPress website but also to manage and maintain it afterward.

