Every website needs an About page — it’s one of the most-visited pages on any site. If you’re ready to work on yours, you’ll be happy to know that the new WordPress.com editor has everything you need when building a new website.
In this quick tutorial, we’ll show you what the new WordPress.com editor can do and how to build a high-quality, attractive About page of your own.
Getting started
To fire up the new editor, log in to WordPress.com and go to My Sites. Next, click the Add button next to Site Pages.

Then, you should decide what story you want to tell your visitors. A good About page should perform a few key functions:
- Introduce the person or business behind the website.
- Explain what the website is about and why the visitor should read it.
- Highlight the top products or content.
- Have a call to action (CTA) that suggests the next step.
- Provide contact info.
- List basic business info.
The best way to get started is to add all the text, then go back and add visual elements. We’ll guide you through the process!
Adding text content
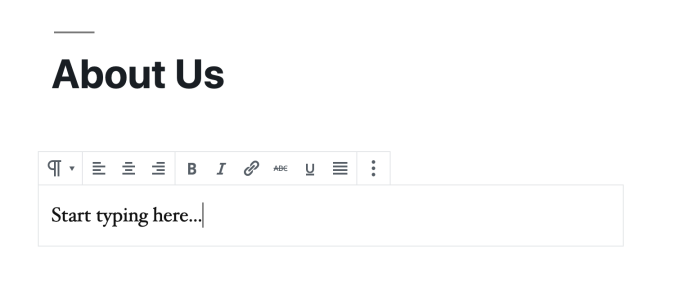
First, set a title for your About page. This will probably be something simple and obvious like “About Us” or “About Our Team.” Next, start typing your page’s text content right below the title – the editor will automatically create a Text block for you.

As mentioned before, aim to cover all the elements listed above, focusing on what your business or personal brand is about, what you do, the products you offer, and, especially, what differentiates your brand.
The next step is making it look good.
Adding extra blocks of content
There are specific blocks you can use to make your About page shine. Most notably:
1. Great Photos: Image or Cover blocks
About pages tend to feature various photos displaying the products, the staff, the business owner, the location, or other business-related photos.
To add images via the new WordPress.com editor, click the “+” button in the top left corner and select the Image block.

Then, you can either pick the image you want to feature from the Media Library or upload a new one from your computer.
An alternate way of using images is to with the Cover block, which adds a text overlay to a background photo.

2. Key Info: Business Hours block
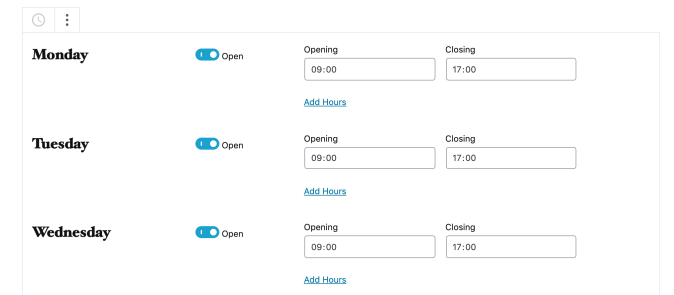
Consider including a block called Business Hours. Once you add it to the page, you’ll see a pre-filled list of days and corresponding hours you can customize.

3. Top Products: Media & Text block
If you want to showcase either your top content or products in a visually pleasing way, the Media & Text block is a solid option.
When you add this block to the page, you’ll be able to place an image (your product photo, for example) on one side and text (the product description) on the other.

4. CTA: Cover or Button block
If you want to end your About page with a bang, include a final CTA and point people to their next step, whether that’s making a purchase or joining your mailing list. You can add an eye-catching CTA using either the Cover block, to place your CTA on top of an image, or a Button block that directs people to click.

The new WordPress.com editor has many more content blocks to offer than the ones we’ve shown you. Go ahead, test them all out! With a few minutes of work, you can design a very appealing About page that’ll please both you and your audience.
Photo Source: Unsplash

