Use the Contact Info block to display an email address, phone number, and physical address with improved markup for better SEO results. This guide will show you how to display your contact details on your website.
In this guide
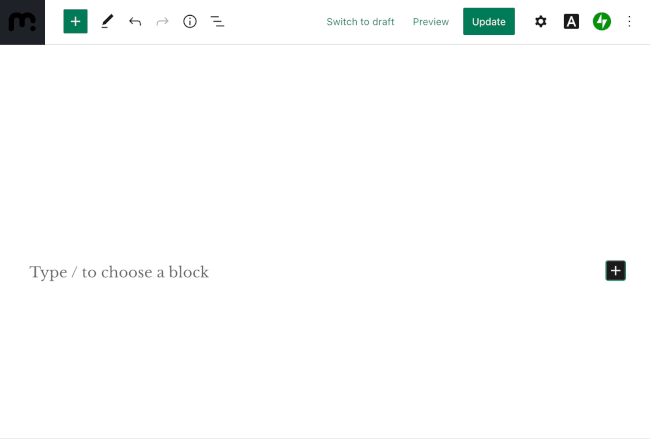
To add the Contact Info block, click on the + Block Inserter icon and search for “Contact Info”. Click it to add the block to the post or page.
💡
Using your keyboard, you can also type /contact info on a new line and press enter to quickly add a new Contact Info block.
For more information, visit our detailed instructions on adding blocks.
After adding the Contact Info block, a list of boxes will appear for you to type your email address, phone number, and physical address. You can edit existing details by clicking on it once and typing what you would like to display.
The information you type in the Contact Info block will be specially formatted using Schema markup which will be recognized as contact information by search engines.
The email address and phone number will automatically turn into clickable contact links which will open the visitor’s email or phone program to contact you.
At the bottom of the block, you can toggle on the “Link address to Google Maps” option so that your physical address will link to your location on Google Maps.

You can remove any field by clicking on it, then clicking the three dots in the toolbar and selecting the “Delete” option. For more, see our guide on how to delete a block.
When you click on the block, a toolbar of options will appear:
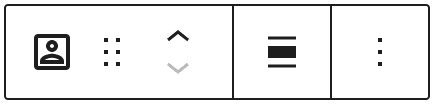
The Contact Info block has the following options in its toolbar:
- Change block type.
- Drag the block.
- Move the block up or down.
- Change alignment.
- More options.
When you select a block, you will find additional block settings in the right sidebar. If you do not see the sidebar, you may need to click the Settings icon in the top-right corner to bring up the settings. This icon looks like a square with two uneven columns:
The Contact Info block settings include the following:
