The Entrepreneur plan, powered by WooCommerce, includes everything you need for a powerful, profitable website. This guide will walk you through how to set up an online store on your plan.
In this guide
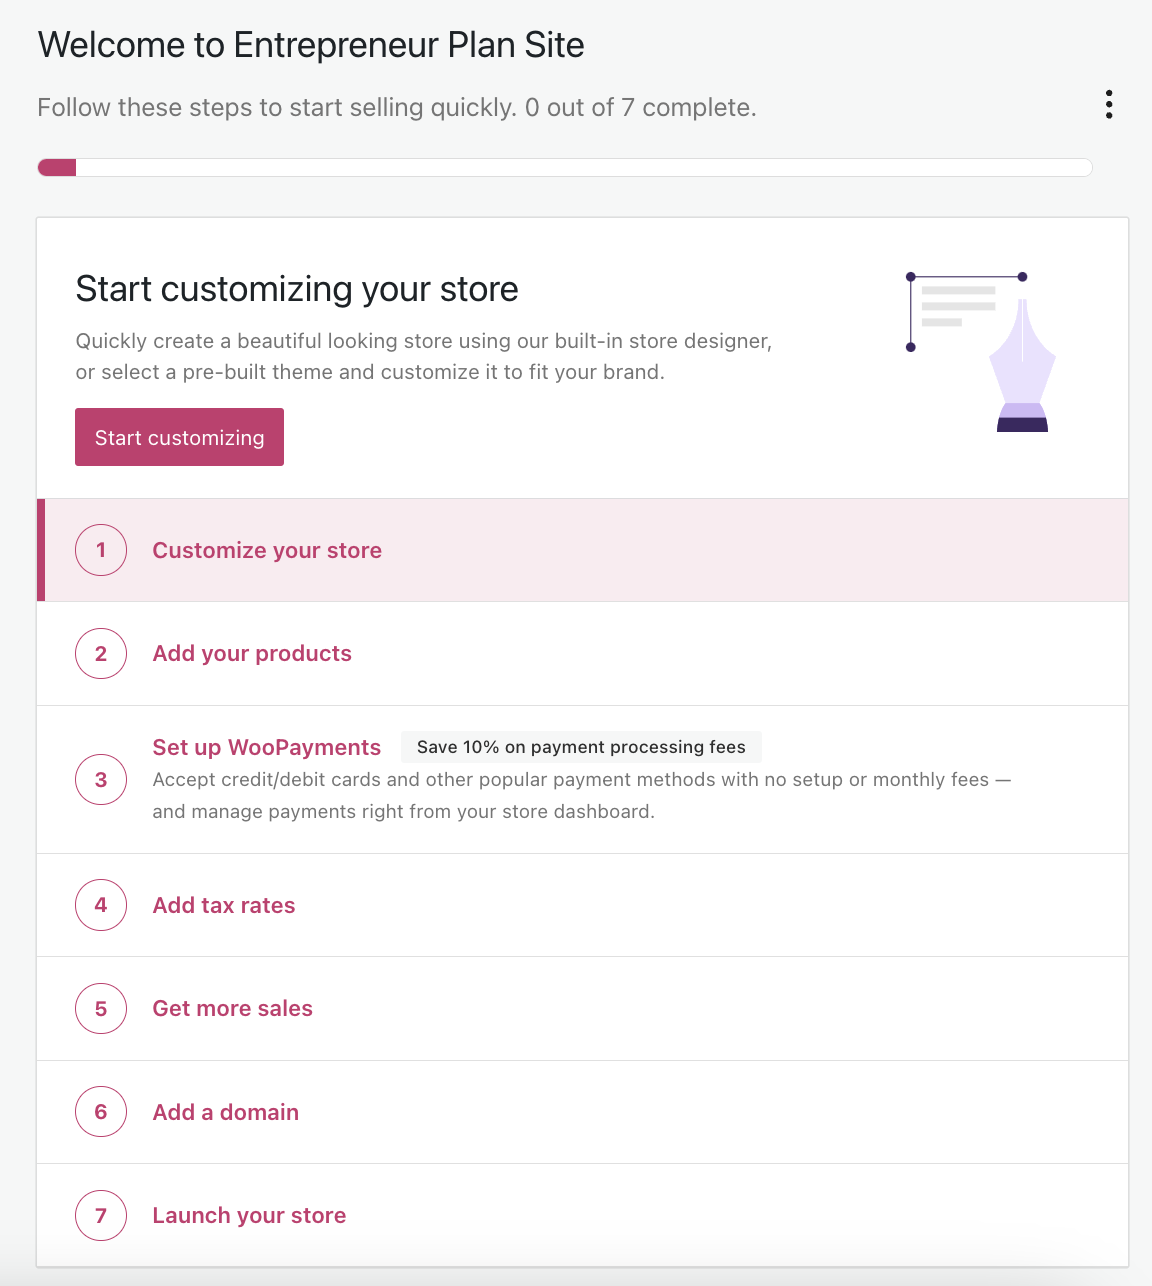
Once you have purchased the Entrepreneur plan, your site’s dashboard will guide you through a checklist to help you prepare to start selling. If you wish to skip this checklist, click the ellipses (three dots) and selecting “Hide setup list“.
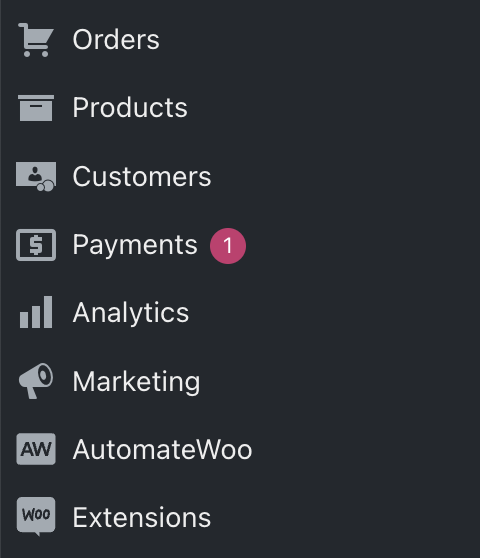
In your WordPress.com dashboard, your Entrepreneur plan site will include navigation options on the left side that other plans do not have.
These options include Orders, Products, Payments, and more. We’ll cover the main options later in this guide.
Additionally, you’ll find your store’s settings under Settings → WooCommerce, containing options for your shop address, tax, shipping, emails, and more.
In the following sections of this guide, we’ll share additional information to help you create your e-commerce website and make the most of your Entrepreneur plan.
Take control over your website’s appearance and feel with the store editing and customization features built into WordPress. Take the following steps to personalize your store on WordPress.com:
Themes are ready-to-use design layouts that you can install to design and launch your website — no coding required.
To explore themes designed for selling online, click the “Start customizing” button in the checklist.
You can also navigate to Appearance → Themes in your dashboard. You can use any of the themes listed for your store, but the themes in the Store category are optimized to work best with WooCommerce.

Once you’ve chosen a theme (you can always change it later), navigate to Appearance → Editor. You’ll be taken to the Site Editor, where you can swap out the sample text and images for your own.
When editing in WordPress, you’ll come across the word “blocks” a lot. Blocks are every piece of content on your website. There are blocks for text, headings, images, banners, galleries, buttons, menus, and more. Click the + block inserter icon to explore blocks you can add.
With an online store, you’ll also use WooCommerce blocks to display your products (which you’ll create in the next step) in attractive ways.
For now, we recommend spending some time getting familiar with the WordPress editor and then moving onto the next step to add your first product to your store.
Your Entrepreneur plan is powered by a plugin called WooCommerce, the most popular e-commerce solution for WordPress sites.
To create your first product:
- Visit your site’s dashboard.
- On the left side, click on “Products“.
- You’ll notice some sample products have been created for you. You can hover your mouse over any product and choose to:
- Edit: See how the product is set up.
- View: Visit the public product page to see what customers see.
- Trash: Delete the sample product.
- Click the “Add New” button to start a new product from scratch.
- If you have a CSV list of products exported from another service, you can click the “Import” button to upload it. Visit the Product CSV Importer and Exporter guide to learn more.
On WooCommerce, you can create the following types of products:
- Simple products: This is a standard product, for example, a book or a water bottle with only one color and size. You set a price, add a product description, upload product images(s), and publish the product for sale.
- Variable products: Variable products are simple products that also include variations, for example, a T-shirt that you wish to sell in different sizes and colors. It’s a single product where the buyer can choose the size, color, and any other attributes you determine. Each variation can have its own price, stock, and SKU.
- Virtual products: Virtual products are products that don’t require shipping, such as a service. When a customer proceeds to checkout with a virtual product, their order won’t include shipping costs for that product.
- Downloadable products: When customers purchase a downloadable product, they receive digital downloads for files like a PDF, ZIP, audio, or video.
- Affiliate/external products: If you are selling some products on a different platform, you can create affiliate links that redirect customers to purchase those products on the external site.
In addition to these standard types of products, the extensions included in the Entrepreneur plan allow you to sell:
- Product bundles: Group existing simple, variable, and subscription products — and sell them together. Learn more about the wide range of possibilities this product type has in the Product Bundles extension documentation.
- Products with custom options and fields: Create products with different product options to sell with your products. Add checkboxes, multiple-choice options, and text inputs to let customers personalize your products. Learn how in the Product Add-Ons extension documentation.
- Products with special quantity requirements: Learn how to add minimum, maximum, and grouping rules to your products in the Min/Max Quantities extension documentation.
- Gift cards: Check out the Gift Cards guide to learn more about the supported gift card types and take a deep dive into the features of the Gift Cards extension.
For more about WooCommerce product types, visit the Adding and Managing Products guide.
WooCommerce Payments lets you accept payments via credit cards, debit cards, Google Pay and Apple Pay. Additionally, you can offer international buyers the option to shop in their local currency and pay via international payment methods like Giropay, Sofort, iDeal, P24, EPS, and Bancontact.
To set up and access WooCommerce Payments:
- Visit your site’s dashboard.
- On the left side, click on “Payments“.
- Click the “Finish setup” button to complete the necessary information to start accepting payments.
WooCommerce Payments uses a pay-as-you-go model and is available in 18 countries. Visit the WooPayments Startup Guide to learn more.
WooCommerce aims to make tax setup as straightforward as possible. You can choose to handle tax on your store in one of the following ways:
You can enable automated tax calculations using WooCommerce Shipping and Tax, which comes pre-installed with the Entrepreneur plan. Take the following steps:
- Visit your site’s dashboard.
- Navigate to Settings → WooCommerce → General.
- Ensure that you have entered your full store address, which is required for accurate tax calculation.
- Tick the box next to “Enable tax rates and calculations” and then click the “Save changes” button at the bottom.
- A new tab will appear at the top for “Tax“. Click this.
- In the “Automated taxes” dropdown, select the “Enable automated taxes” option and click the “Save changes” button at the bottom.
Learn more about Automated taxes here.
You can configure tax rates manually. Follow this guide to set tax-inclusive product prices and define tax rates for locations (for each state, country, etc.) of your choice.
Alternatively, you can use a third-party service to calculate sales tax rates automatically. Popular options include TaxJar and AvaTax.
Before you can start taking orders for products, it’s important to set up shipping on your WooCommerce store correctly.
A Shipping Zone is a geographical area to which you ship items. You can be as specific as you need, right down to regions and zip codes, or you can leave it more general – whichever suits you best.
Visit Settings → WooCommerce → Shipping to create a shipping zone. You can then add shipping method(s) (see next section) to each zone you create.
Visit the Setting up Shipping Zones guide for more detailed instructions.
WooCommerce includes three shipping methods by default:
- Flat rate lets you charge a fixed rate for shipping.
- Local pickup allows customers to pick up orders themselves from your physical location.
- Free shipping is a special method that can be triggered with coupons and minimum spends.
Depending on your store’s location, you can also configure one or several of the included premium shipping extensions for live rate calculation: UPS, USPS, Canada Post, Royal Mail, or Australia Post. These extensions are included in the Entrepreneur plan but not pre-activated on all stores. If you intend to use one of them, you can activate it with the following steps:
- Visit your site’s dashboard.
- Navigate to Plugins → Installed Plugins.
- Locate the shipping extension you wish to use.
- Check if it has been activated. If not, click the “Activate” link.
Ready to launch your store to the world? Make sure you’ve picked a unique name and domain, then launch your store with the following steps:
- Visit your site’s dashboard.
- In the Getting Started Checklist, click the “Launch your store” task.
- Click the Launch button.
If you change your mind later and wish to un-launch, navigate to Settings → General (or Hosting → Settings if using WP-Admin) and choose the “Coming soon” privacy setting.
💡
Having a custom email address for your domain name gives your business a unique identity, and it looks great on your business cards and contact pages. You can create a custom email address, such as
info@yourgroovydomain.com, using our Professional Email solution. Learn more about getting a custom email address.
When a new order is placed, it appears under the Orders section of your dashboard. You can also create orders manually to track the orders you receive outside your site, send invoices, or assign orders to customer accounts.
Read more about managing orders with WooCommerce.
WooCommerce Analytics gives you insights into your store’s performance. You can view reports on products, orders, customers, coupons, stock, and taxes – and segment your data using filters.
The Entrepreneur plan also comes with the free WooCommerce Google Analytics extension preinstalled. If you wish, you can use Google Analytics to get a more in-depth view of key site metrics, including traffic and enhanced Commerce tracking.
The Entrepreneur plan includes several tools to spread the word about your new store. These options include:
- Create coupons and coupon codes for social media, coupon sites, and email. You can set conditions and restrictions for coupons to ensure discounts are used in the best way possible.
- Sell prepaid e-gift cards that your customers can redeem online. Make gift cards a part of your marketing strategy to attract new customers, increase sales, and promote brand loyalty. Here’s how to create gift cards.
- Use Google Listings & Ads to easily advertise your products across Google’s network.
- Build a strong social media presence for your business and product catalog with integrations such as Facebook, Instagram, and TikTok.
Visit the Marketing section of your dashboard for more tools and tips to market your store.
With the Entrepreneur plan, there is a huge range of plugins/extensions you can use on your website.
The plan includes a large list of extensions for free to set up your store. For additional features, the WooCommerce.com marketplace offers extensions to supercharge your store by integrating features such as subscriptions, bookings, memberships, payment gateways, B2B sales, shipping, taxes, advanced inventory management, and more.
Check out this curated list of extension collections to get you started.
