A menu contains links to pages, blog posts, and other content so that your visitors can easily navigate around your site. This guide will show you how to add links to your menu.
In this guide
Here is a list of each type of content you can add to your menu:
- Pages: a link to a page on your site.
- Posts: a blog post on your site.
- Custom Link: a URL linking to another website.
- Testimonials: a link to testimonials.
- Projects: a link to a page of your portfolio projects.
- Project Types: a link to a specific portfolio project type.
- Project Tags: a link to a specific portfolio project tag.
- Buttons: a button-style link (via the Site Editor method only.)
If you have any plugins installed on your site, these may add extra menu options.
When you publish new content to your website, you want your visitors to be able to find it easily. Here you will learn how to add links to your navigation menu. If you’re using a Site Editor theme, you can even customize the menu with buttons and other design elements.
To determine which section of this guide to follow, visit your dashboard and check under Appearance on the left side. If you see Editor, use the Site Editor section of this guide. Otherwise, use the WP Admin or Customizer instructions.
Select the appropriate tab for your design interface:
In the Site Editor, your menu is created using the Navigation block. Follow these steps to add a new menu item:
- Visit your dashboard.
- Go to Appearance → Editor.
- Select the Template or Template Part you want to edit, or click the preview of your site to open the Site Editor.
- Open List View at the top-left corner of your screen (it’s the icon that looks like three horizontal lines above each other.)
- Select the Navigation block, which may be nested inside other blocks like Header, Group, and Row.
- Click the “+ Block Inserter” icon that now appears on the Navigation block.
- A pop-up will appear for you to add a new link. Choose from one of the following options:
- Choose from any of your recently updated pages.
- Search by name and select any published page, post, category, or tag. Private or draft content will not appear here.
- Manually type or paste to add any link (including an external one from a different site) to your menu.
- Click the “+ Add block” link to add buttons, custom links, spacers, social links and more.
- After adding a menu item, you can click on the text to customize what it says, as shown in the next section.
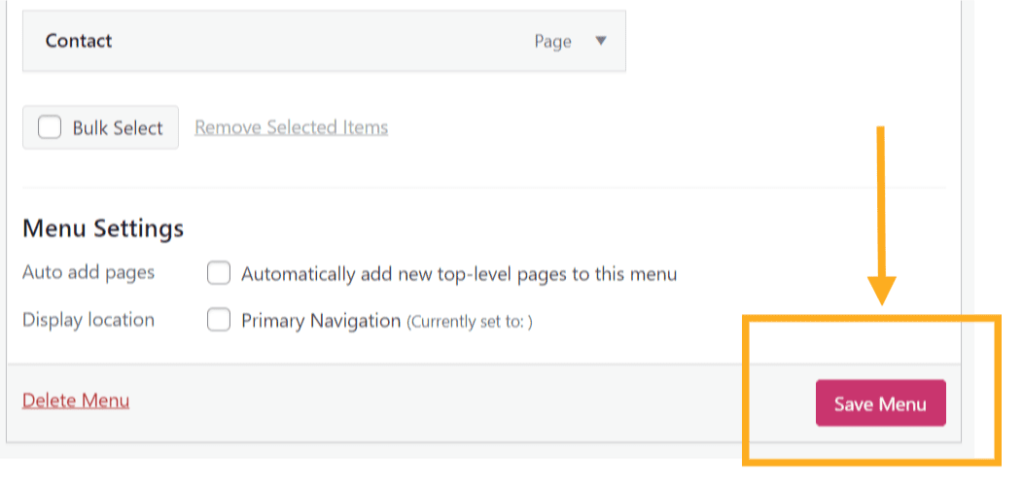
- Click the “Save” button to publish your changes.
Now that you have added the menu items, you can reorder the items, create dropdown menus, and do much more.
Video Tutorial


In this section you’ll learn how to change the text that appears on a link, create a submenu, delete a menu item or make other edits to your menu items. If you’re using one of our Site Editor themes, you can even change the color and style of specific menu items.
To determine which section of this guide to follow, visit your dashboard and check under Appearance on the left side. If you see Editor, use the Site Editor section of this guide. Otherwise, use the WP Admin or Customizer instructions.
Select the appropriate tab for your design interface:
In the Site Editor, you can edit an existing menu item in a Navigation block by following these steps (also shown in the video below):
- Visit your dashboard.
- Go to Appearance → Editor.
- Select the Template or Template Part you want to edit, or click the preview of your site to open the Site Editor.
- Open List View at the top-left corner of your screen (it’s the icon that looks like three horizontal lines above each other.)
- Click the List View icon (the three horizontal lines above each other) at the top of your screen.
- In the List View, locate the Navigation block and the menu items within it.
- Click on an existing menu item to select it.
- Make your changes, which can include:
- Typing new text for the menu item.
- Editing the link of the menu item.
- Changing the position of a menu item.
- Re-arranging items into submenus.
- Changing the color and style of a menu item.
- Deleting a menu item.
- Click the “Save” button to save your changes.
