To give your website visitors the best experience, it’s important for your website’s images to load quickly. This guide will show you how to optimize your images by decreasing the file size while retaining the image’s quality.
In this guide
A WordPress website can have any number of themes, layouts, and other factors that determine the recommended image size. Therefore, there’s no one-size-fits-all approach we can recommend here. Generally, you can set your image sizes to be as big as they need to be, and no bigger than that.
Nowadays, digital cameras and smartphones take high-quality images with large file sizes. If you wish to display these images on a website, the file size typically does not need to be as large as what is created by your device. You can often downsize the image by 50% or more while retaining the quality expected by website viewers.
Take a look at an image on your site. Does it appear in high quality but load slowly? If it’s 5000px wide, try uploading a smaller version that is 2500px wide and observe the result. If it’s still looking good, try going down to 2000px or 1800px wide until you find a balance where the image size is small while the image still looks good.
The following sections in this guide will show you how to reduce the image size with different tools.
There are lots of methods you can use to resize images. In the following sections, we’ll cover tools available on your computer, online programs, and more advanced software.
On a Windows computer, you can use Microsoft Paint. Open your image with that program, then click Resize at the top of the Paint window. You can size the image down by percentage and save the new, smaller version.
On a Mac computer, you can use the app called Preview. Open your image with the app, then click on Tools, then “Adjust size“.
If you’re looking for a quick way to reduce the image size, you can use one of many free online tools, such as:
With these services, you can upload your image, choose a new size, and export the new version. Please note that these services are not affiliated with WordPress.com.
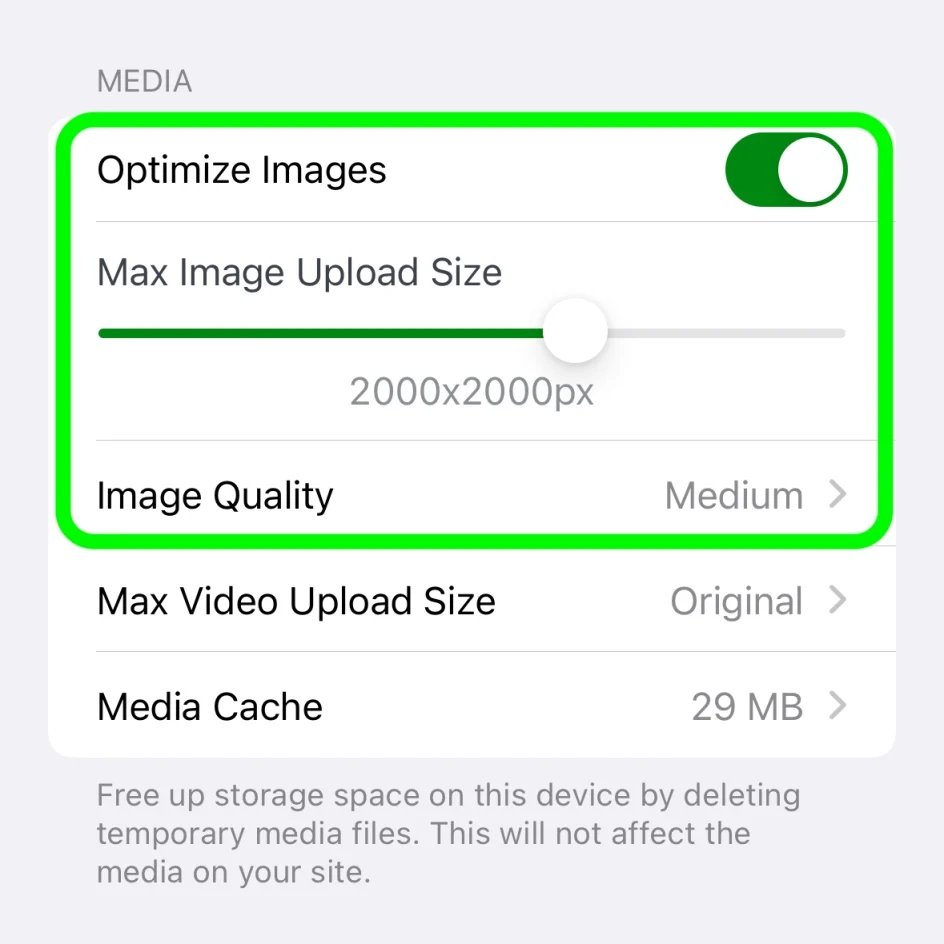
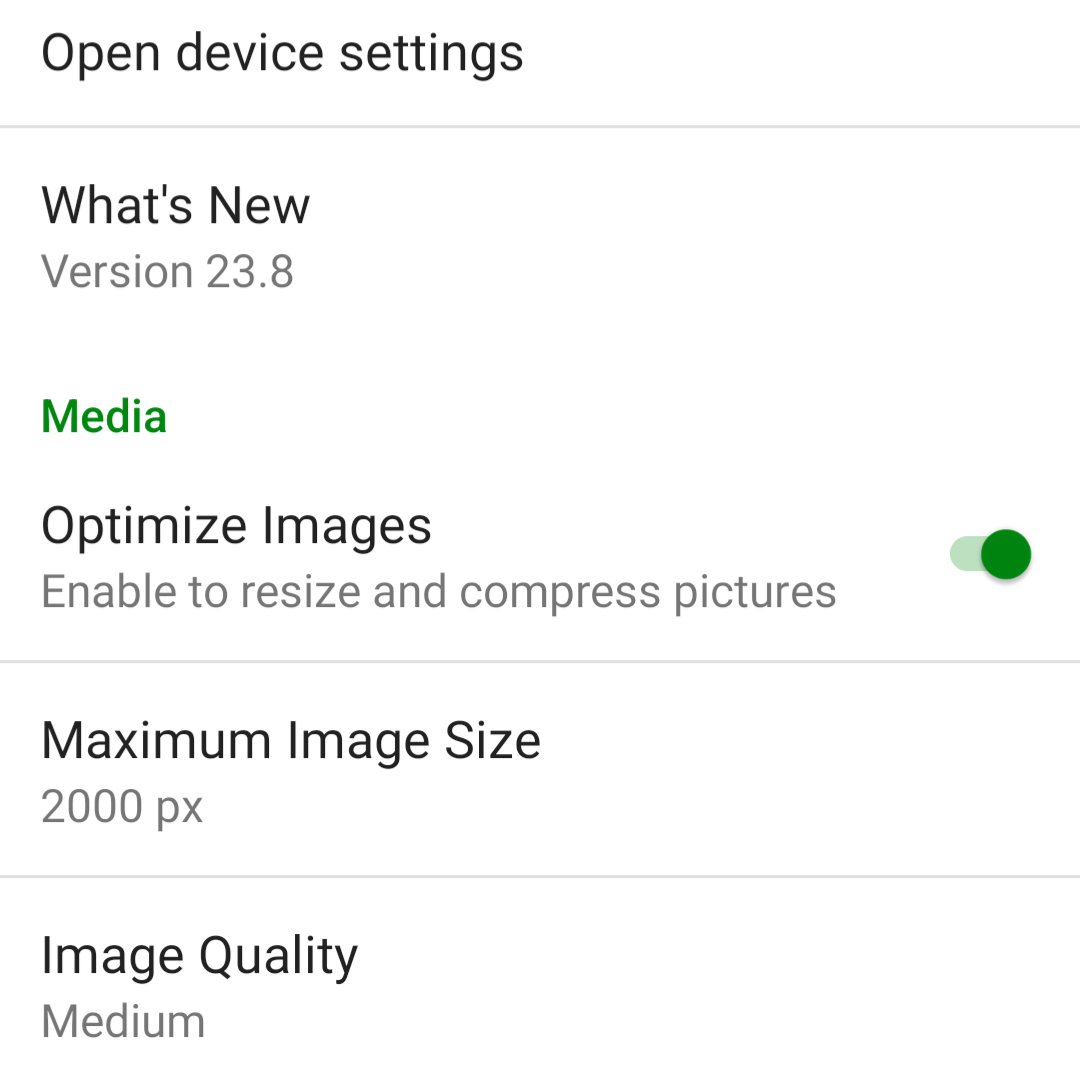
If posting to your site using the Jetpack App, the app can optimize images. By default, the “Optimize Images” option is turned on. You can set the “Max Image Upload Size” so the original file is resized automatically when you upload it.
In the Jetpack app for iPhone and the Jetpack app for Android, if you want to adjust the settings, you can follow these steps:
- Log into the Jetpack app on your phone.
- Click your profile icon in the bottom right.
- Click “App Settings“.
You can toggle “Optimize Images” off (not recommended) or adjust the “Max Image Upload Size“. The default is 2000 x 2000px.
If you want more control over how the image is optimized, you can reduce the image size using GNU Image Manipulation Program (GIMP), a free alternative to Photoshop that can be installed on Windows, Mac, Linux, and more operating systems.
To reduce the image size using GIMP:
- Open the image in GIMP.
- Click on Image in the toolbar, then select “Scale Image“.
- In the image size, change the width value to your desired size.
- Click Scale.
- Select File in the toolbar. Then select “Export As“.
- Name your file ending with a “.jpg”.
- Select Export.
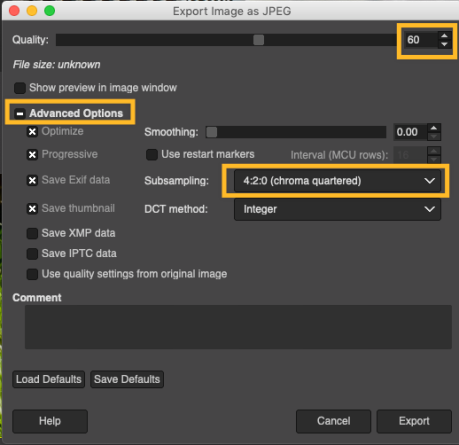
- In the dialog box that opens, change Quality to 60 (or your desired level).
- Click Advanced Options.
- Change Subsampling to 4:2:0 (chroma quartered).
- Click Export.
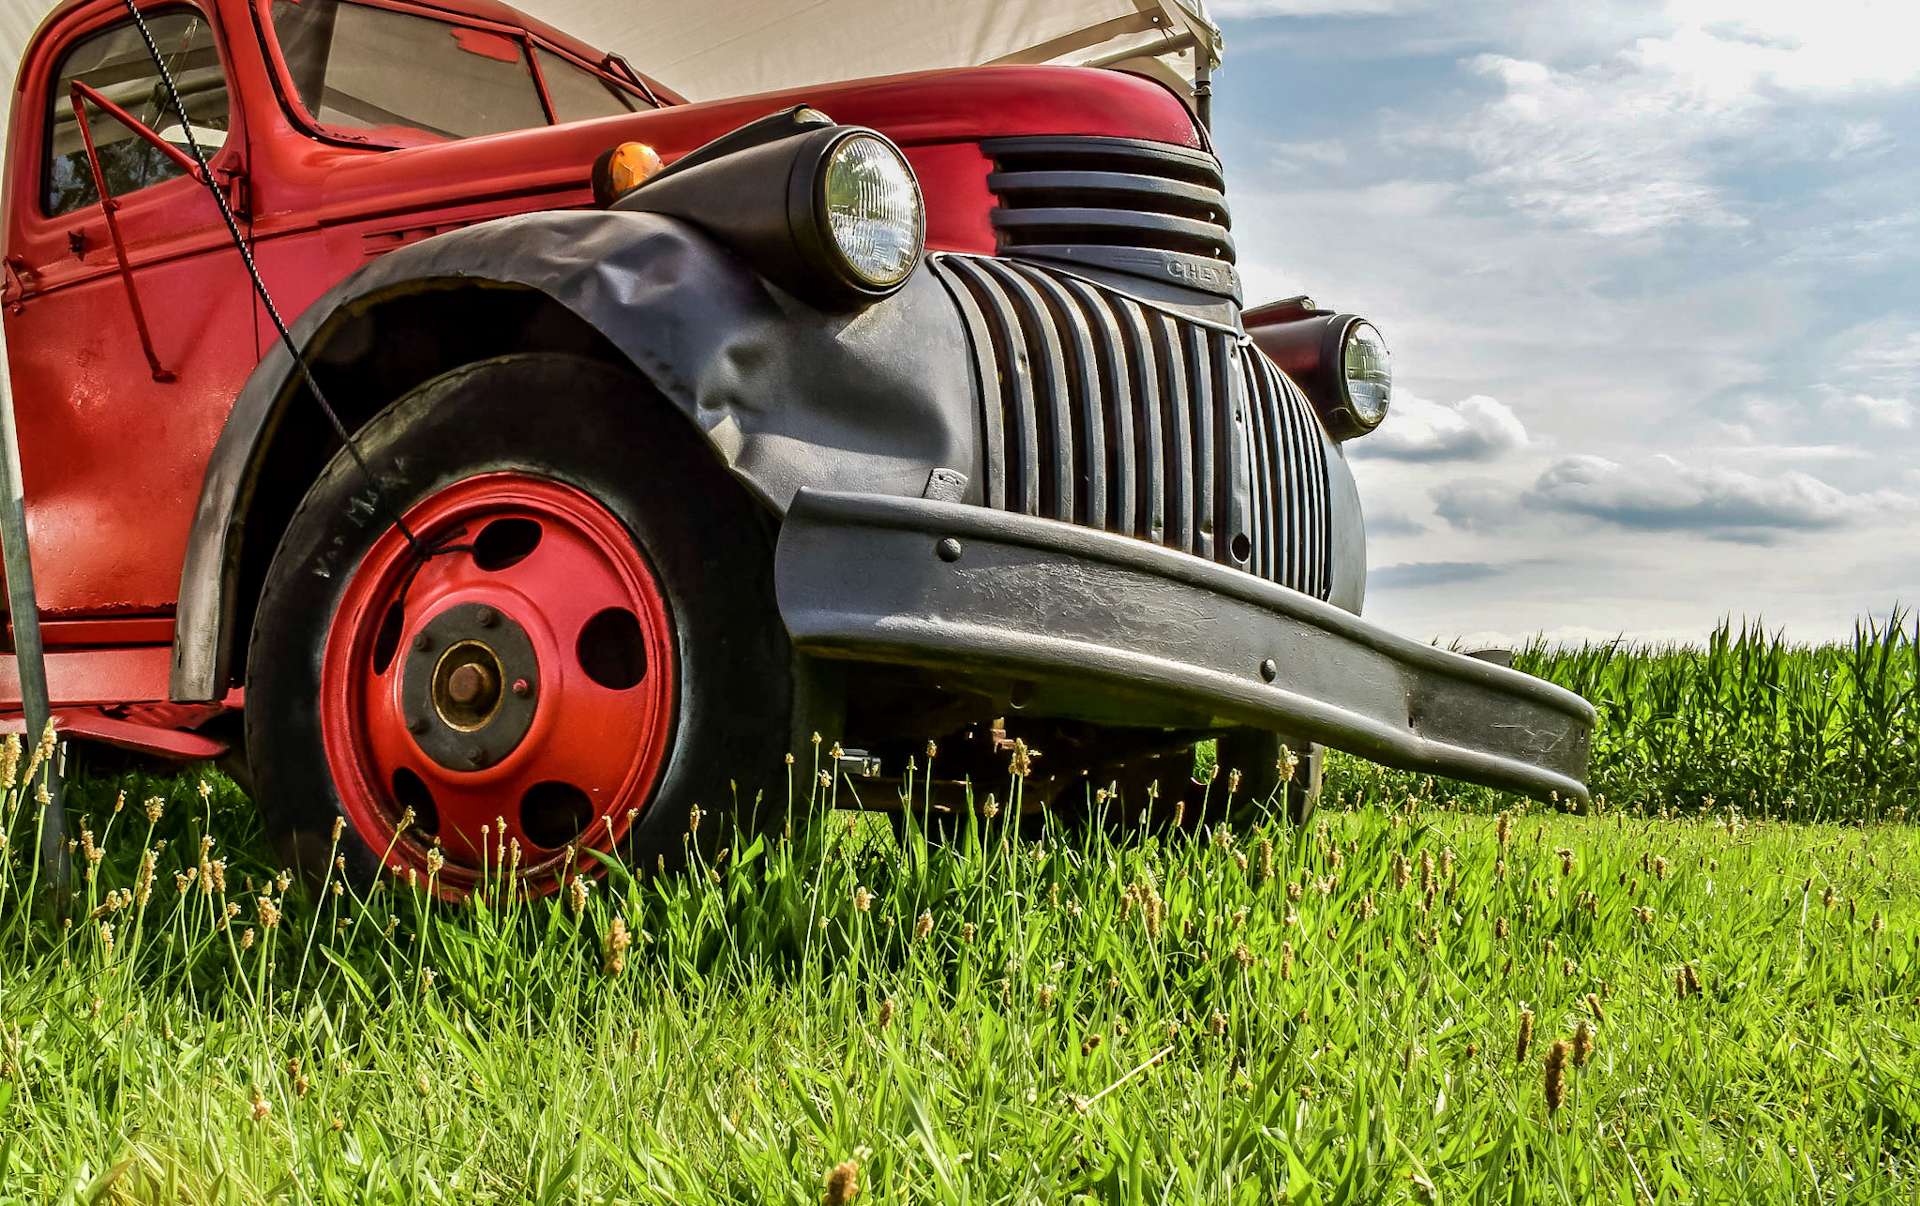
Here’s a comparison of the results. Use the slider to view each image in full:

Other image editing software tools may have easy options to quickly size and compress a batch of photos:
There are also web-based services you can use:
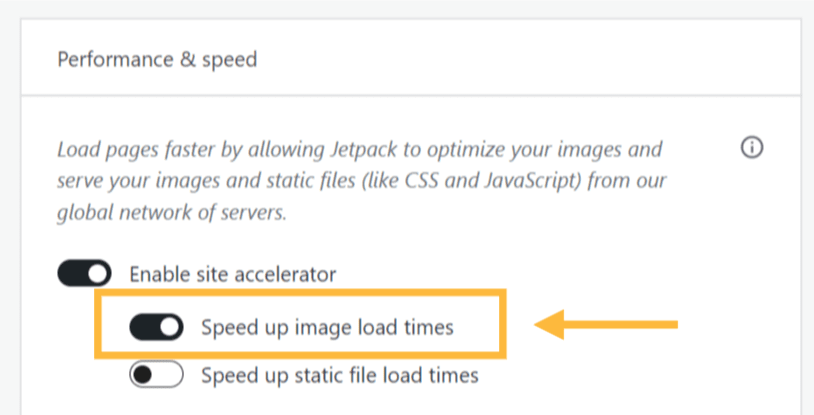
If your WordPress.com plan supports plugins, you can take advantage of our built-in Jetpack Site Accelerator (CDN) to automatically speed up image load times. Go to Settings → Performance (or Jetpack → Settings → Performance if using WP-Admin) to enable this option:
Retina displays have a much higher pixel density than regular displays, which can cause images with a regular pixel density to appear fuzzy. To prevent this, if we detect a Retina display, we serve the image at double the size so it displays maximum sharpness. This only works if the image in your Media Library is larger than the size on your site.
Even at double the maximum display size on your site, an image file should still be significantly smaller than at the full resolution used by your camera so you can optimize your images and have them look good on Retina displays.

