Contrary to popular belief, you don’t need expensive equipment to take professional-quality product photos. Nor do you need to hire photographers who might charge you an arm and a leg.
Sound too good to be true? This post will walk you through the steps of taking the kind of photos that you can be proud of — and the kind that you can feature on your website to promote sales.
What you need to get started
If you happen to own a next-generation DSLR, mirrorless, or point-and-shoot camera, then make good use of it.
Don’t worry if you don’t own a camera. Here’s what you’ll need for comparable results:
- A smartphone
- A free app to process photos
- Some daylight
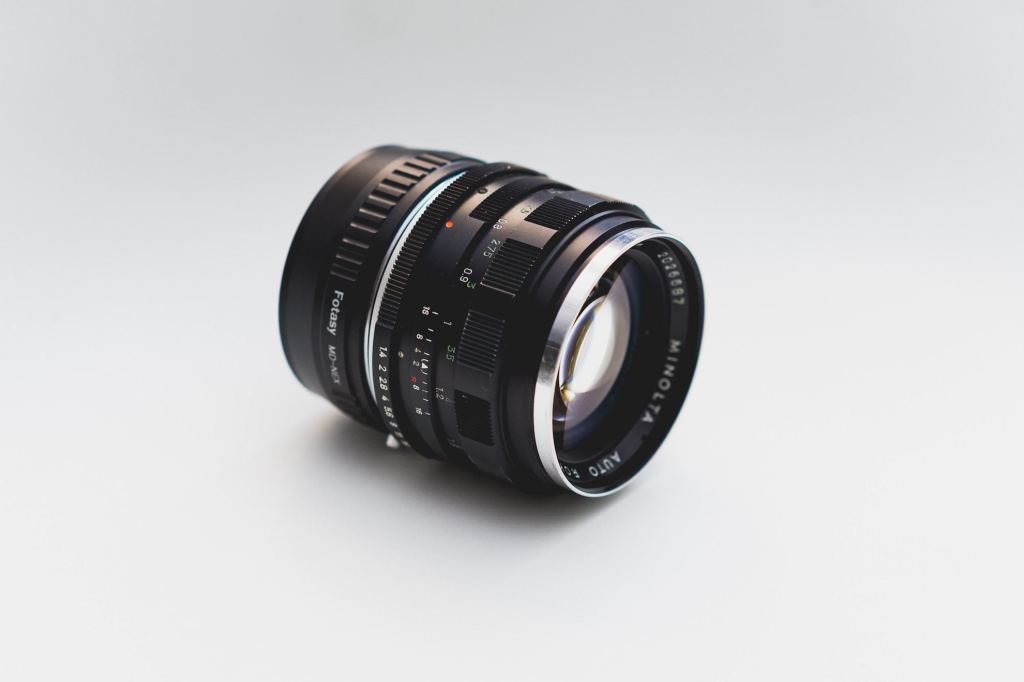
Need proof? Here’s an example photo taken with the above resources:

Great product photos in three steps
Begin by grabbing the products that you want to take photos of. Once you have them on-hand, proceed with the following steps:
Step 1: Setup
There’s a very good reason why the lights in professional photography studios aim to replicate natural sunlight — sunlight is simply the best kind of light. So, why not take advantage of the real thing?
Set up your stage near a window (three to four feet from it) during the day. Use a table, chair, or even the floor. This will also take care of the backdrop.
Next, set up the camera at an angle that gives you the most natural sunlight when taking the photo. Having the source of light (your window) off to the side usually works best.
Step 2: Take your photos
Taking great product photos is all about preparing to release the shutter, not the physical act of pressing the button itself.
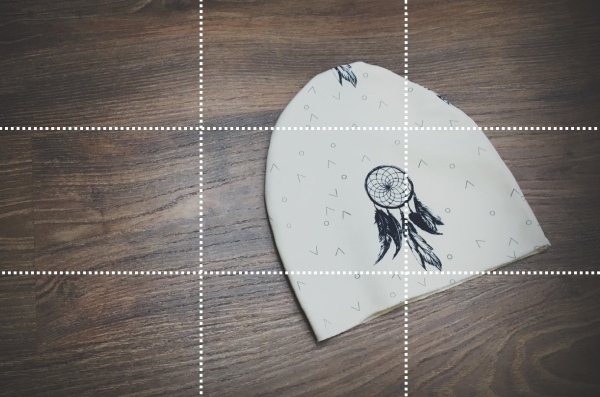
There are a handful of photo composition rules that you should learn before taking your photos. Remember that it’s always best to position your subject along the lines of an imaginary 3×3 grid, like so:
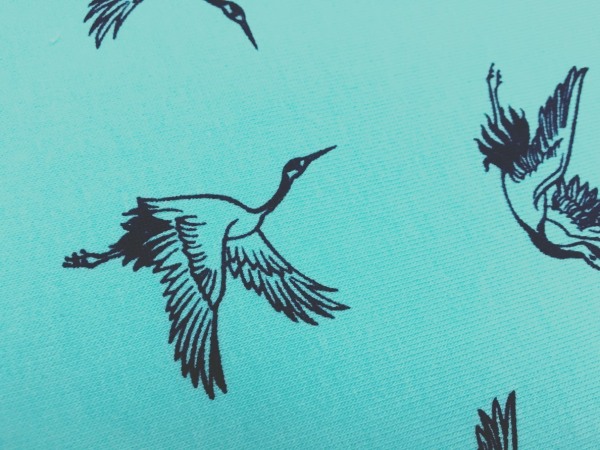
For close-up photos, you can fill the entire frame and not worry about the composition too much.
When it comes to taking the photo, you’ll get the best results by using your phone’s native camera app.
Step 3: Post-processing
One of the best life hacks in terms of post-processing photos is to use one of the popular camera apps, like Retrica or Instagram, to place a nice effect on your photos.
Those photo effects even out the color schemes of your photos, creating a result that’s more pleasing to the eye.
Here’s an example before applying Retrica:

Here’s what it looks like after:

In general, it’s best to use filters that are less dramatic than this one.
Publish your photos
The only thing left to do is publish your product photos to your website. If your site runs on WordPress.com, you can resize your images and publish them in no time.

