TextBook
by AutomatticTextBook is primarily a theme for schools, colleges, and other non-profit organizations focused on education, but it can be adapted for almost any kind of site. It’s great for distributing and organizing information in a clear way.
Responsive Layout
TextBook is designed to look great on any kind of device — from mobile phones to desktop computers.

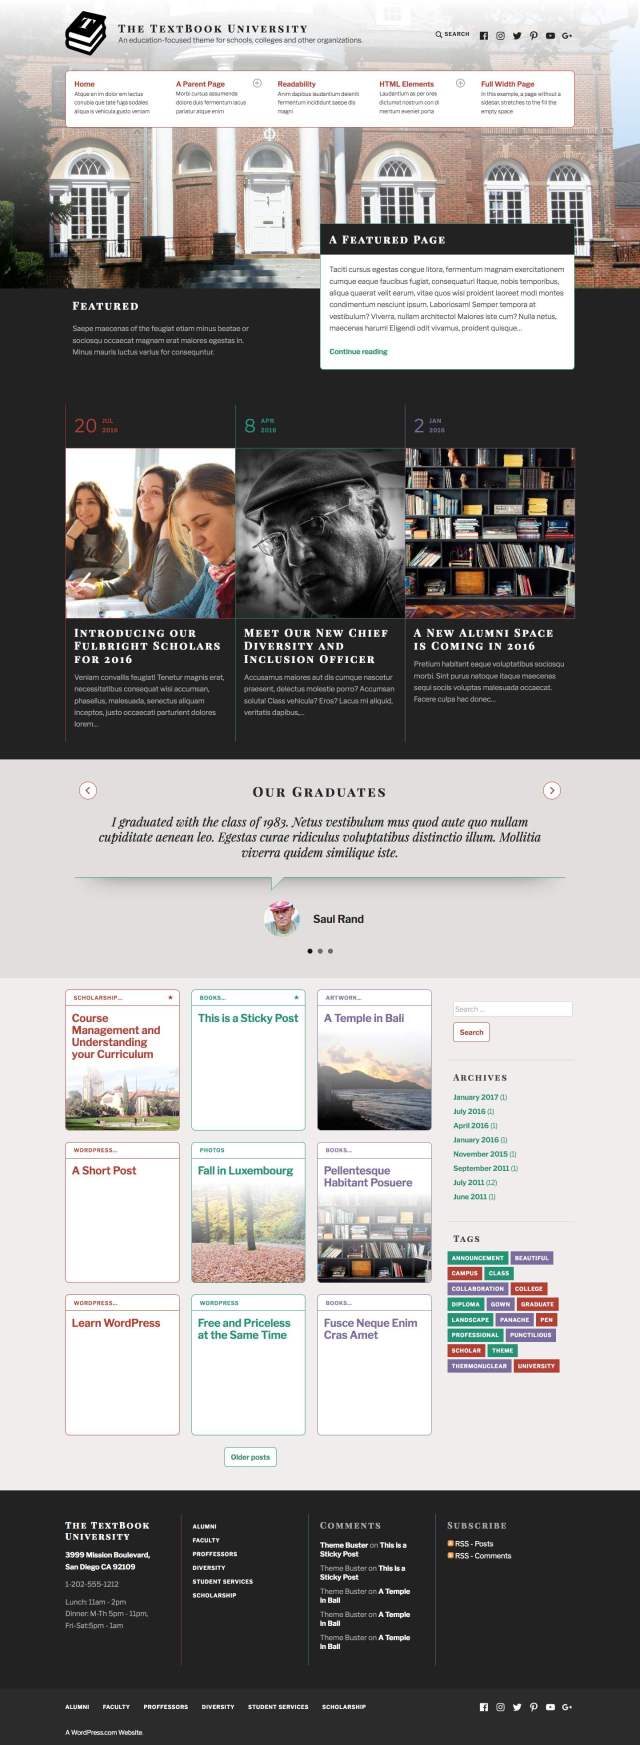
Homepage
The demo site for TextBook uses the option to display Your Latest Posts which can be configured by going to Customize → Homepage Settings. This will allow the additional Homepage features to work that are found under Theme Options in the Customizer.
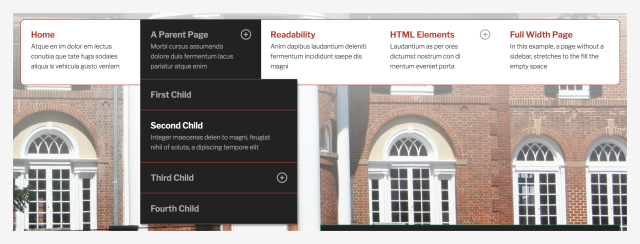
Custom Menu
TextBook includes a Custom Menu in the header, which can be configured by going to Customize → Menus. Pro tip: Use the menu item description field when adding/editing a menu item to provide additional details about the links in your menu. If this field isn’t visible in your menus you can enable the field following the Advanced Menu Settings guide.
Social Links
 TextBook displays a social links menu that uses icons in both the header and footer to connect your readers to your social media profiles, like Twitter and Facebook.
Set Up a Social Links Menu
- Create a new Custom Menu, and assign it to the Social Links Menu location.
- Add links to each of your social media services using the Links panel.
- Icons for your social links will automatically appear in the footer.
Available Icons
Linking to any of the following sites will automatically display its icon in your menu.
- CodePen
- Digg
- Dribbble
- Dropbox
- Flickr
- GitHub
- Google+
- Email (
mailto:links)
- Polldaddy
- RSS Feed (urls with
/feed/) - StumbleUpon
- Tumblr
- Vimeo
- WordPress
- YouTube
Widget Areas

TextBook comes with two widget areas. The right sidebar widget area lives on the right side of all posts, pages, and archives. Then, there’s the footer widget area that also appears on all posts, pages, and archives however, it displays widgets horizontally, from left to right. Both widget areas will only be displayed when you place widgets in them, so if you want to hide a widget area, simply remove its widgets.

Site Logo
Include a site logo by going to Customize → Site Identity and uploading a logo image in the space provided. The logo will appear next to your site title in the header. It can be any size or orientation but will display at a maximum height of 100 px.
![]()
Custom Header Image
You can also add a Custom Header Image to give TextBook a much more personalized look and feel. Navigate to Customize → Header Image to upload your own custom header image.

Featured Content
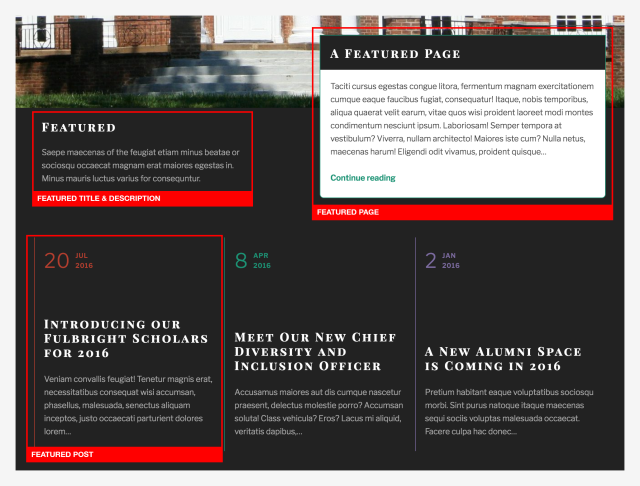
The Featured Content area in TextBook is displayed above testimonials and posts on the homepage, and supports up to four items.
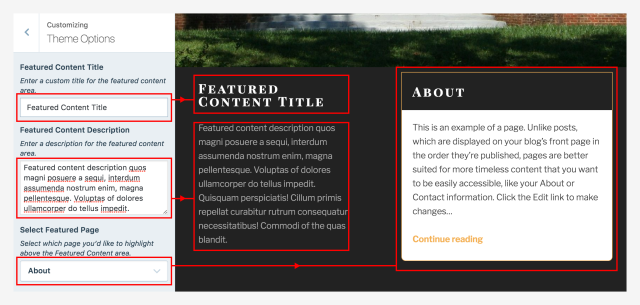
To add a title and description to the Featured Content section, navigate to Customize → Theme Options. In this panel, you can also select a Featured Page to display above the Featured posts area.
To set up the rest of the Featured Content area:
- Navigate to Customize → Featured Content.
- Choose a word to use as your Featured Content tag and add it in the text field. We suggest using a lowercase, single word, like featured.
- Click the Publish button to save changes.
- Create up to three posts. For each post you’d like to feature, use the Tags & Categories area of the editor to add the tag you chose under Customize → Featured Content. With this theme, you can also tag pages to be displayed as Featured Content, in addition to posts.
- As an optional step, add a featured image to each post or page you’re featuring.
Check out the full Featured Content setup guide and video.
Testimonials
 TextBook displays a testimonial slider below the Featured Content area, with up to five testimonials displayed.
To add a testimonial, go to My Site → Testimonials → Add. Testimonials are composed of the testimonial text itself, the name of the customer, and an image or logo (which can be added as a featured image).
To customize the title, content, and Featured Image of your Testimonials archive page, go to Customize → Testimonials.
Where is the Testimonial archive page?
Let’s say you have a WordPress.com site at:
http://textbookdemo.wordpress.com/
The URL of the testimonial archive page will be:
http://textbookdemo.wordpress.com/testimonial/
Using the URL as a custom link, you can add a link to the testimonial archive page to your Custom Menu.
Date Formatting
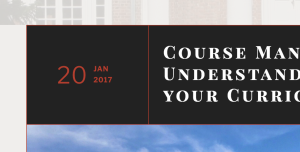
TextBook has a special date format that is set by default when you activate the theme, but you can also change the format by navigating to Settings → General → Date Format from /wp-admin. To set it back to the default, enter j M Y into the custom format field.
Color Options
TextBook has six built-in color schemes to choose from and with the Custom Design upgrade, you can change the main colors to match you the color scheme of your school, company, or personal brand.

Quick Specs (all measurements in pixels):
- The main column width is
830. - Featured Images for posts and pages are
830wide with no restrictions on height. - Custom header should be at least
1980wide by960high.
Keywords
education, school, courses, association, community, professional, responsive, mobile, business
This theme is available for download to be used on your WordPress self-hosted installation.
Download