WordPress.com supports login verification with virtual and physical security keys using the WebAuthn standard. This guide will show you how to add and remove security keys.
After entering your password, you can add an extra layer of security with two-step authentication by inputting a code sent via SMS or an app like Google Authenticator. Instead of that code, you can plug in a key, which can be:
- Virtual: Approve sign-in via your device’s fingerprint ID, face unlock, or password (also called passkeys).
- Physical: Plug in a USB key and press a button on that key to complete the verification and log in to your account.
Security Key Authentication is more secure because no one can log into your account without that physical key, even if they know the password. Your key is tied to the website/app it was created for (in this case WordPress.com), so you can’t be “phished” into using your key on a fake site.
Before you get started, set up two-step authentication with SMS or an authenticator app.
After setting up two-step authentication with an app or SMS, take the following steps:
- Click on your profile at https://wordpress.com/me.
- On the side, select the Security menu option.
- Click on “Two-Step Authentication“.
- Under “Security Key,” click on the “Register key” button:

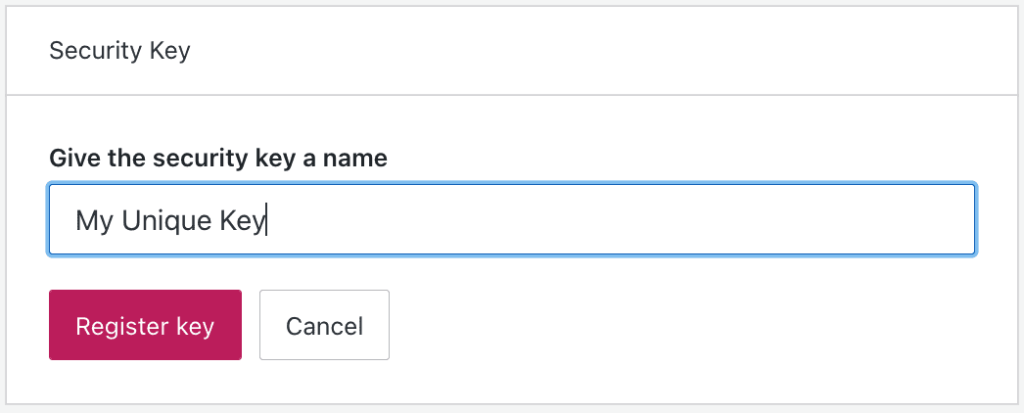
- Type in a unique name for your key and click the “Register key” button:
- If you use a password manager with your browser, such as 1Password or Google Chrome, you’ll be shown a prompt to save the passkey. If you do not wish to save the passkey here, dismiss the prompt from your password manager to choose another option, such as iCloud Keychain (for Apple users), phone/tablet/security key, or a USB Security Key:

- Upon successful registration of the key, it will now be listed in the “Security Key” section of your Two-Step Authentication settings:

💡
Consider adding a second key as a backup option and keep it somewhere you can find it should something happen to your primary key. To add additional keys, click the “Register Key” button again.
After choosing the iCloud Keychain method above, continue by signing in with your Apple ID credentials to save your key to Apple’s iCloud Keychain.
After choosing the phone, tablet, or security key method above, you can save your passkey to another device, such as your phone or tablet.
To add a physical security key to your account, you will need:
- A computer with a USB port and the latest compatible browser version like Chrome, Firefox, Opera, or Edge.
(Note: Currently, Chrome and Firefox have the best overall support for this, so we recommend using these browsers for the most consistent experience.) - A key that plugs into a USB port and works with FIDO2, like Yubico’s YubiKey or Google’s Titan Key. Please check your specific key’s support documentation for more information on the types of devices and browsers your key supports.
After choosing the USB security key method above, continue with the following steps:
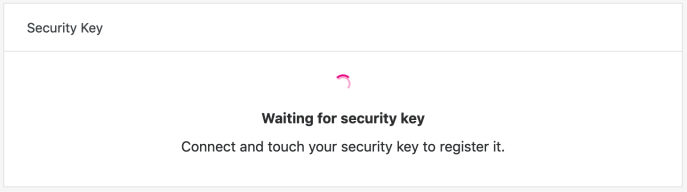
- Plug your key into a USB port on your computer and, depending on the type of key, either press the button or tap the gold disc on the key.
- Upon successful registration of the key, it will now be listed in the “Security Key” section of your Two-Step Authentication settings:
Once this is set up, you won’t be able to access your account without your key, so treat it the same way you would the keys to your home or your car – keep it safe!
Should you want to remove a security key you added before (for example, if a key was lost or no longer works), you can disconnect that key from your account.
Navigate back to the Two-Step Authentication settings page, as explained in the previous section, and click the Trash icon next to the key. Click “Remove Key” in the confirmation message that will appear.

