Dara
by AutomatticWith bold Featured Images and bright, cheerful colors, Dara is ready to get to work for your business.
Setting Up Your Front Page
Set a Static Front Page
When you first activate Dara, your homepage will display posts in a traditional blog format unlike the demo site, which uses a static front page. If you would like to copy the look of the demo site, follow these steps:
- Publish two pages with titles that are easy to remember, like Home and Blog. To publish a page, navigate to My Site → Pages → Add Page.
- Go to Customize → Static Front Page.
- Select “A static page” and choose the two pages you published in Step #1 as your Front page and Posts page.
The static front page includes the following:
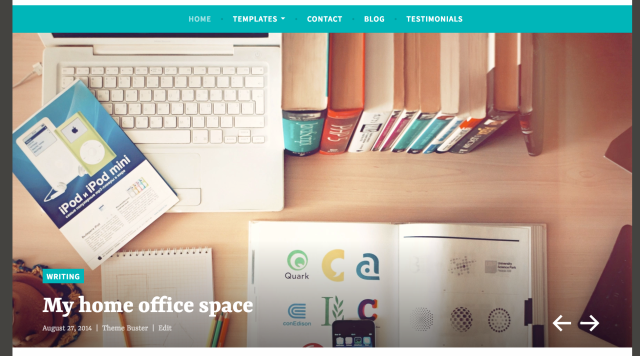
- A Featured Content area with a slider.
- Three Featured Pages, set in Customize → Theme Options.
- The Testimonial area, configured under Customize → Testimonials. This area displays two testimonials. To add a testimonial, go to My Site → Testimonials → Add. If no testimonials are added, this section will not be displayed.
Featured Content Slider

The Featured Content slider appears on the front of your site. To set it up:
- Navigate to Customize → Featured Content.
- Choose a word to use as your Featured Content tag and add it in the text field. We suggest using a lowercase, single word, like featured.
- Click the Publish button to save changes.
- Create at least a few posts. For each post you’d like to feature, use the Tags & Categories area of the editor to add the tag you chose under Customize → Featured Content. With this theme, you can also tag pages and portfolio projects to be displayed as Featured Content, in addition to posts.
- Set a featured image of at least
1180px wide for each post, page, or portfolio project added to the slider.
Check out the full Featured Content setup guide and video.
If no Featured Content tag is set, the featured image set for the front page will display in this area instead.
Front-page Featured Pages

On the theme demo, this section is populated with three Featured Pages*, each with a title, Featured Image, and excerpt. To re-create the same look, follow these directions:
- Publish the three pages you would like to feature on your front page, and upload Featured Images for each page.
- Go to Customizer → Theme Options.
- Use the three drop-down menus to select the pages you’d like to feature.
- Click Save and Publish.
The pages featured in this area will automatically occupy the entire width of your site. For example, a single featured page will occupy the entire column, two Featured Pages will divide the space into two columns, three Featured Pages will divide the space into three columns.
*For any of the featured pages selected for the front page, keep in mind that if you choose your posts page, the front page will display the excerpt and featured image of your latest blog post.
Custom Page Templates
Full-Width Template
The Full-Width template gives you more space for your content. It’s the perfect way to showcase a gallery of images or a video, Don’t forget to take advantage of the beautiful full-width Featured Image, too. To use the Full Width template, select it under Page Options while editing a Page.
The Dara demo site is using a gallery on its Full-Width Template page:

Grid Page Template
The Grid Page template is designed to show child pages in a grid format. To get started, first create or edit a page, and assign it to the Grid Page template from the Page Options panel. The content of this page and Featured Image – if one is set – will be displayed above the grid.
To add items to the grid, create additional pages and use the Page Options box to set the grid page you just created as their parent page. Be sure to set a Featured Image for each child page if you want an image to show up inside the grid. Repeat these steps for every item you want to display in the grid.
The grid page template on the Dara demo site:

Custom Menus
Dara includes one Custom Menu in the header, which can be configured via My Sites → Menus. If no menu is assigned, this area will display a list of your pages by default.

Social Links Menu
With Dara, you have the option to display links to your social media profiles in the header and footer. To display them, set up a Social Links Menu.

Available Icons
Linking to any of the following sites will automatically display its icon in your menu:
- CodePen
- Digg
- Dribbble
- Dropbox
- Flickr
- GitHub
- Google+
- Email (mailto: links)
- Polldaddy
- RSS Feed (urls with /feed/)
- StumbleUpon
- Tumblr
- Vimeo
- WordPress
- YouTube
Widget Areas
Dara offers four widget areas:
- The optional Sidebar, which appears on the right in blog view and on pages using the default template with the exception of a Static Homepage.
- Three optional Footer widget areas.
If the Sidebar area is not active, the theme automatically adjusts to have a single-column.

The demo site is using the Contact Info widget, Text widget, and Custom Menu widget in the footer widget areas:

Site Logo
Brand identity is very important — that’s why Dara supports the Site Logo feature. To add your own image, go to Customize → Site Identity. The logo will appear in the header, above the site title.

Testimonials
Dara features testimonials in two ways:
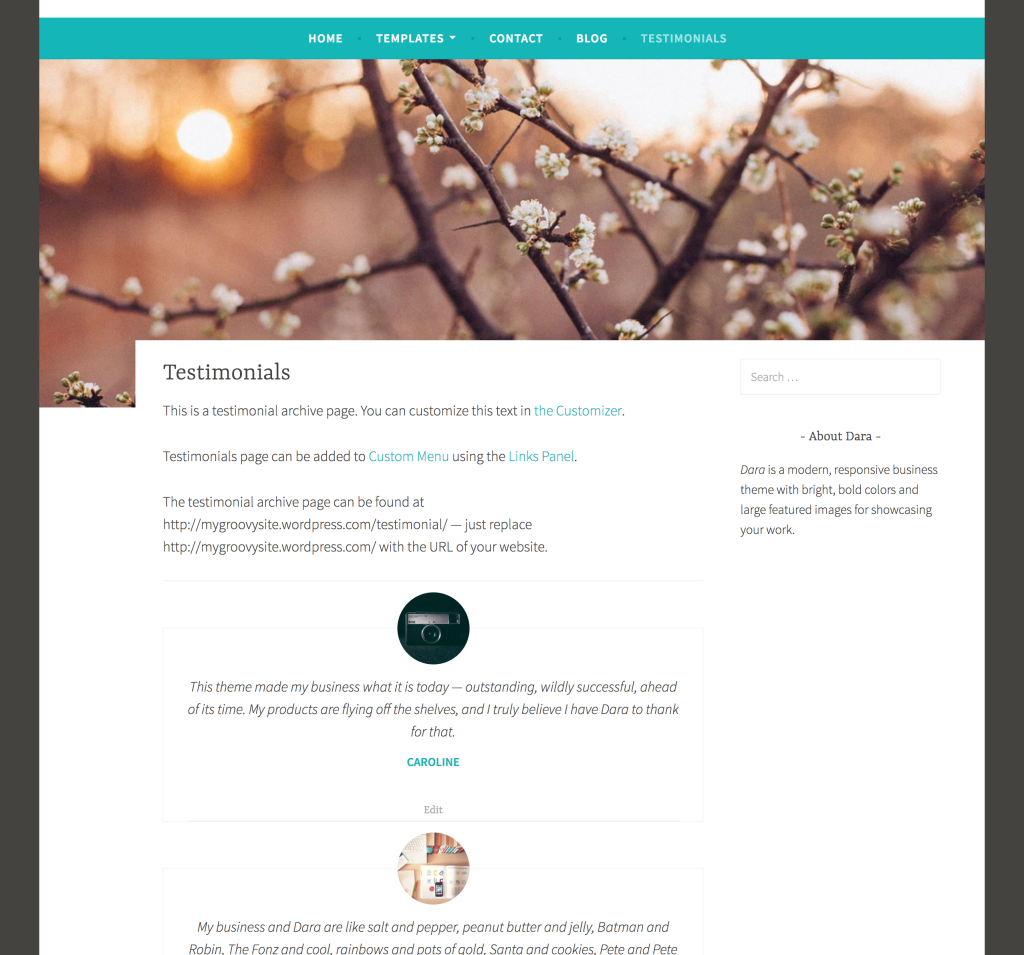
- The dedicated Testimonial Archive Page displays all testimonials in reverse chronological order, with the newest displayed first.
- The static front page displays the newest two testimonials.
To add a testimonial, go to Testimonials → New. Testimonials are composed of the testimonial text, the name of the customer (added as testimonial title), and an image or logo (which can be added as a Featured Image).
Testimonial Archive Page

All testimonials are displayed on the testimonial archive page. This page can be added to a Custom Menu using the Links Panel.
 Where is the Testimonial archive page?
Let’s say you have a WordPress.com site at:
The URL of the testimonial archive page will be:
https://darademo.wordpress.com/testimonial/
You can add a link to the testimonial archive page to your menu as a custom link.
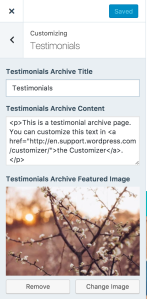
This page can be further customized by adding a title, intro text, and Featured Image via Customize → Testimonials. This content will appear above the testimonials list.
Custom Background
Custom color, pattern, or a beautiful image – the choice is yours. To change the background, visit Customize → Colors & Backgrounds from your dashboard.

Quick Specs (all measurements in pixels)
- The main column width is
675except in the full-width layout where it’s778. - A widget in the sidebar is
250. - Footer widget widths vary depending on the number of active widget areas.
- The Featured Image on the front page and on pages works best with images at least
1180wide. - Featured Images for posts should be at least
880wide by312tall.
simple, personal, clean, responsive, writer, blog, business, services, freelancer, lifestyle, events, wedding, creative
This theme is available for download to be used on your WordPress self-hosted installation.
Download