If you’re new to editing in WordPress, this guide will help you get familiar with the editor options and settings in the editor interface.
In this guide
To access the WordPress editor:
- Start from your site’s dashboard.
- Click on Pages or Posts on the left side.
- Click on the title of any page or post to open the editor.
On supported themes, you can also open the editor from Appearance → Editor.
The editor is made up of three main areas:
- The top menu
- The content area
- The sidebar settings
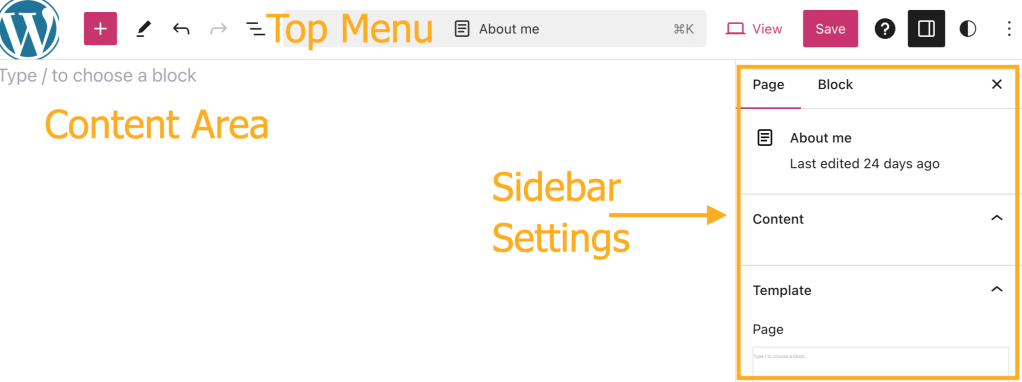
At the top of your screen, you will find the following options:

Exit the Editor: Shows the W icon by default, or your Site Icon if you have uploaded this icon. Click to exit the editor.
+ Block Inserter: Add blocks of content to your page, like text, images, and much more.

Tools: Choose between editing a block and selecting a block. Choose the Select tool to select individual blocks. Once a block is selected, press the Enter key on your keyboard to return to editing.

Undo and Redo: Undo an action, or redo an undone action.

List View: View a list of all of the blocks that are on the page. Useful for navigating to different blocks.
The List View icon also opens up a second section named Outline, which shows the title, headings, number of characters, and word count on the page.

Change the viewport to view your content on desktop, tablet, or mobile screens. Click “View site” to open your website in a new tab.
Save the changes you’ve made. Click once to view the pages and templates affected. Click the “Save” button again to confirm the changes.

Search for helpful support guides. Contact us on eligible plans.

Settings: Display or hide the sidebar settings.

Jetpack: Access extra features powered by our Jetpack plugin.

Styles: Customize colors, text, and more design options using Styles.

Options: Opens additional options.
The content area is the largest part of the editor. This is where you add blocks of content to your page, posts, and templates.

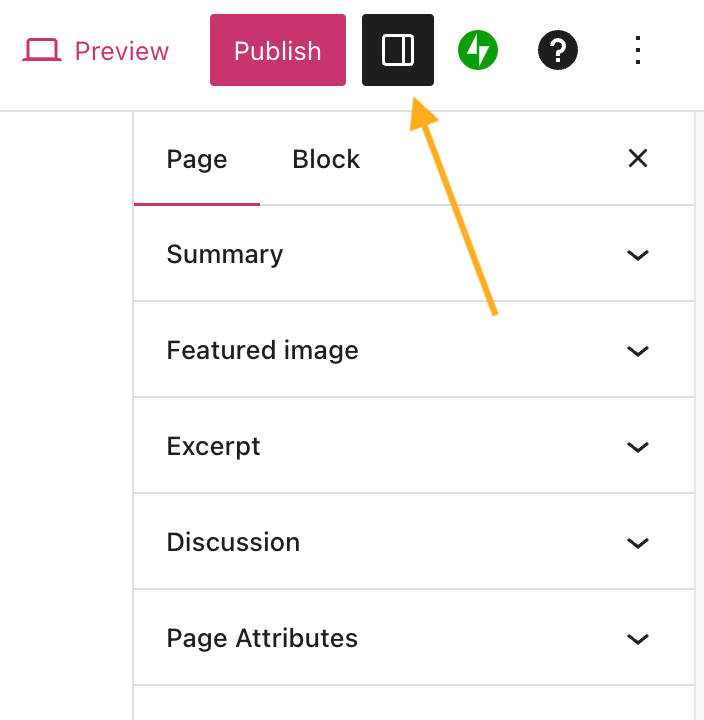
The Settings sidebar icon looks like a square with two uneven columns:

When editing a single page or post, the settings sidebar includes the following options:
- Summary
- Categories (posts only)
- Tags (posts only)
- Featured Image
- Excerpt
- Discussion options
- Page Attributes (pages only)
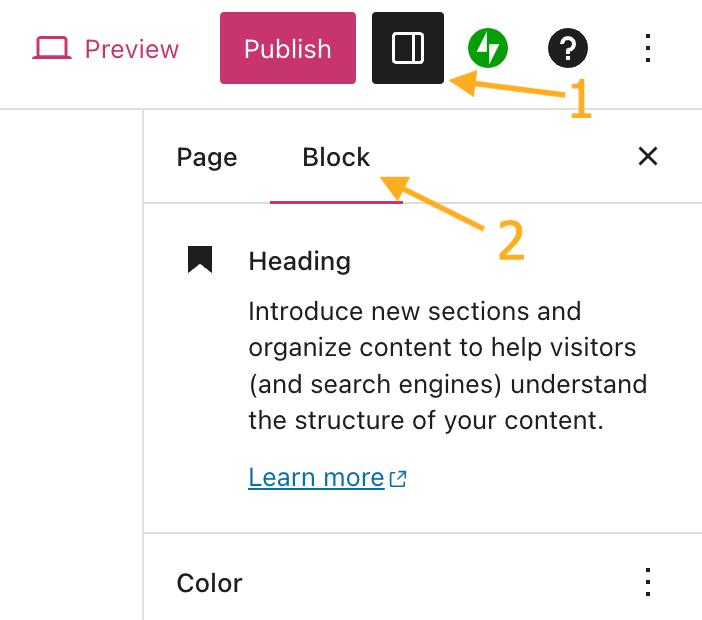
Switch to the Block tab to access the settings for the specific element you’re working on.
When you click on a block in the content area, the sidebar will switch to the Block tab to show that block’s settings.
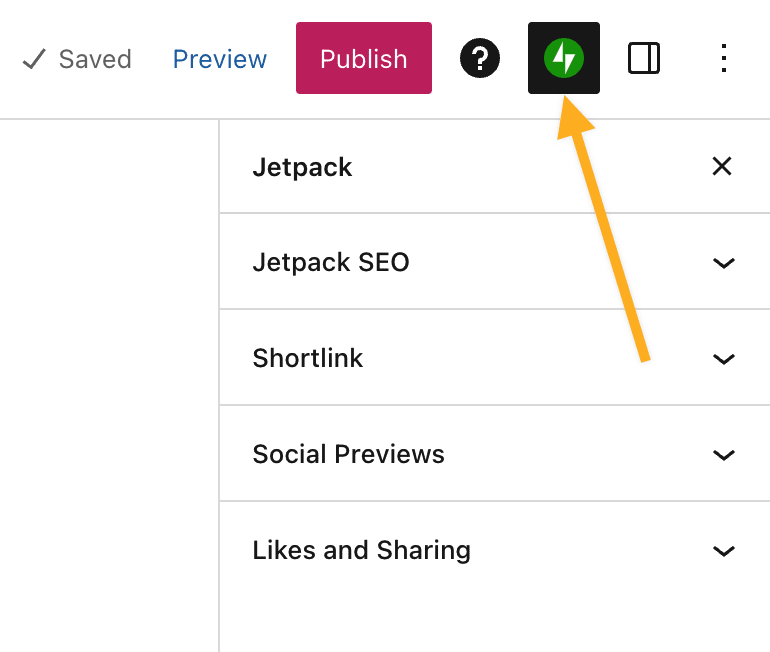
The Jetpack sidebar menu allows you to:
- Share your post to connected social networks.
- Get your page/post shortlink.
- Preview how the page/post looks on social media and Google Search. (Plugin-enabled sites only.)
- Generate a QR code for your page or post.
- Toggle the “like” and sharing buttons for that page/post.
To access more options, click the three dots to the right of the Settings icon in the upper right corner. Here, you can customize your editing experience using various options.
View
Display or hide the top toolbar in the editor. When you enable this option, block toolbars are pinned to the top of the screen instead of appearing directly above the block.
With spotlight mode, all blocks are greyed out except for the one you’re working on so that you can focus on a single block at a time.
Editor
By default, you’ll be in the Visual editor. Switch to the Code editor to view the entire page in HTML code.
Plugins
Displays Jetpack plugin by default, and any other plugins and their settings, if installed on your site.
Tools
Here, you can manage existing patterns, learn keyboard shortcuts, revisit the editor welcome guide, copy all content on the page/post, or view additional help resources.
Preferences
In the Preferences menu you can:
- Further customize the editing experience.
- Change how you interact with blocks and which blocks appear when searching for a block.
- Show or hide individual panels from the page/post settings.

How to personalize the editor – Transcript
0:00 You can easily customize the settings for the WordPress Editor so it’ll work best for you.
0:13 To get started, click the icon in the top right-hand corner that looks like three dots.
0:19 First up, you can change the overall look and layout of the Editor.
0:23 The default view is Fullscreen mode, which hides the toolbar that normally appears across the top… and the main navigation menu on the left-hand side.
0:33 This helps you to focus on just your content, and make the best use of your screen space.
0:38 If you want, you can view all the block formatting tools in a single bar across the top of the page, rather than in context, above the block you’re editing.
0:48 And Spotlight Mode helps you focus on just the block that’s currently selected.
0:53 You can also switch from the Visual Editor to the Code Editor, if you’re comfortable editing the underlying HTML.
1:00 And there are additional tools to help you manage any Reusable blocks you’ve created…
1:05 view a handy list of Keyboard Shortcuts that can help you navigate the Editor more quickly…
1:10 or view an interactive tour of the WordPress editor.
1:14 And, you can copy all the content from a page, which you can then use to create a new page or post using the same layout.
1:22 And finally, in the Preferences section, you can Enable an automated test to check for errors before you publish a page or post… or customize the appearance of the Editor itself.
1:35 In the Blocks section, you can show your “Most Used Blocks” at the top of the Block Library.
1:41 And you can change the way the text cursor behaves inside blocks.
1:45 And if you find that the Block Library is a little overwhelming because of the number of blocks that are available, you can disable — or hide — any blocks that you don’t plan to use.
1:57 You can always come back here to turn them back on later.
2:00 And last, you can choose which document settings show up in the sidebar when you click the settings button for your page or post.
2:08 With these options configured, you’ll have set up the WordPress Editor so it’ll work best for you.
