The Story block allows you to combine photos and videos to create an engaging, tappable full-screen slideshow on your site’s posts and pages. Stories published on your site won’t disappear after 24 hours and you can edit or add to stories after they are published.
Here is how it looks when added to a post.

In this guide
The Stories block is available for WordPress.com and self-hosted Jetpack sites via:
On WordPress, Stories appear as a block in a blog post. The Story block displays a preview of the Story content where the first slide is the cover image.
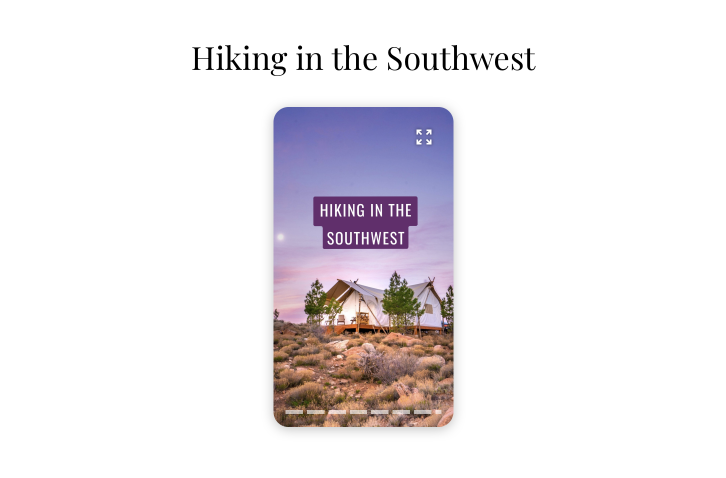
When a visitor to your site clicks on the Story preview, the Story autoplays in a full-screen view. Visitors can reply to your Story by commenting on or liking the post.

Stories on WordPress are different from stories on other platforms in a few ways.
- Posts with Stories won’t disappear after 24 hours.
- The Story content can be added to and edited after publishing.
- Anyone visiting your site can view the Story.
- You can share your Story on any platform using the post permalink.
Stories are great for:
- Step-by-step guides and tutorials
- Recipes
- Showcasing progress on your DIY and art projects
- Travel journals
- And more
First, if you don’t already have the free Jetpack app, download it from the Google Play Store or Apple App Store and sign in with your WordPress.com account.
From the app’s home screen, tap the floating pink button above the tab bar. Then select “Story post” from the menu.


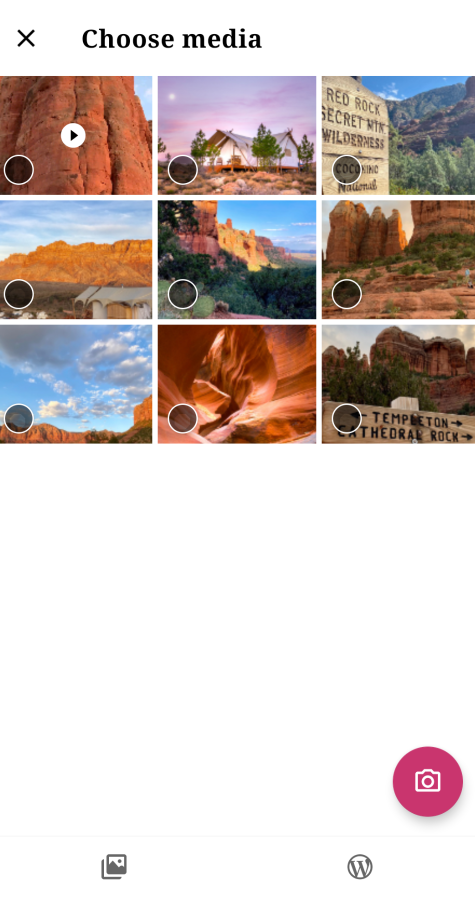
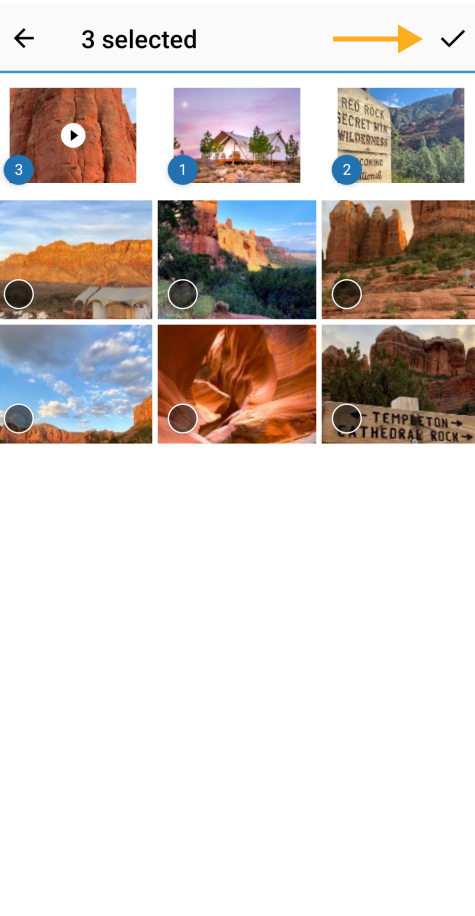
On Android devices, tap the pink camera button to take a photo or choose photos and videos to add to your Story from your device files or your site’s Media Library. Then tap the check icon to confirm your selection.
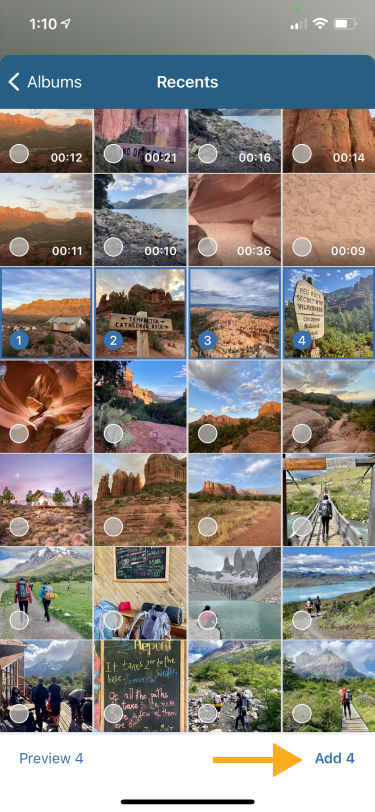
On iOS devices, take a photo or tap the thumbnail icon to select an image from your device or site’s Media Library. Then tap Add to confirm your selection.


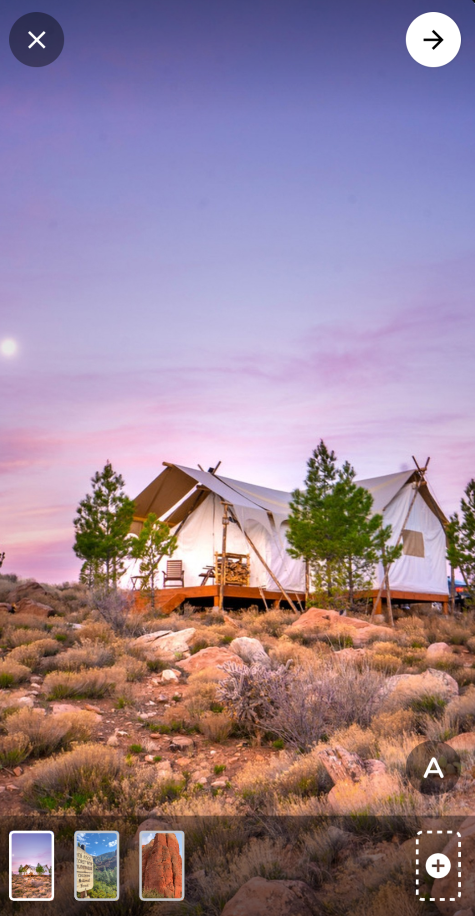
Now you’re ready to edit, customize, and preview your Story.
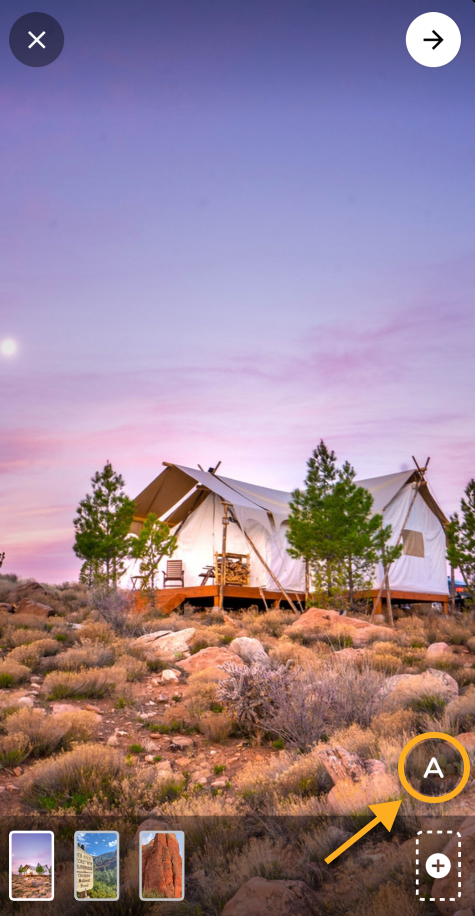
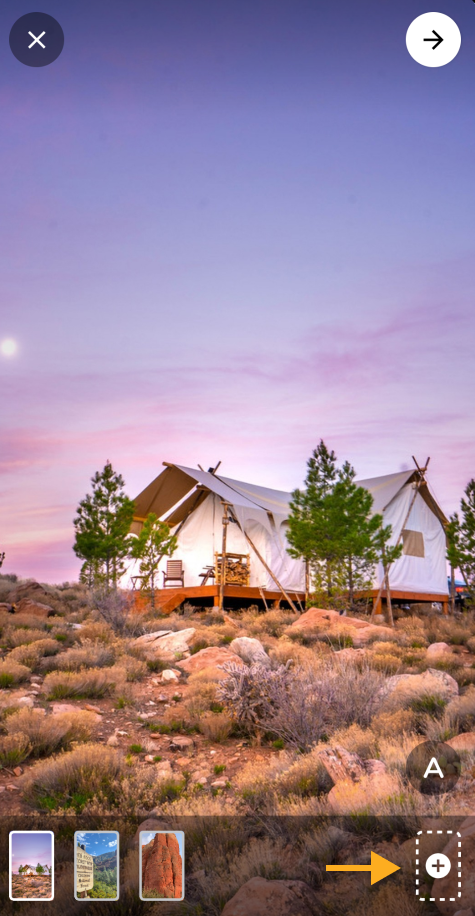
To add a text overlay to your Story slide, tap the “A” button. After typing out the text, you can customize the text style, color, alignment, and size. When you’re done customizing, tap the checkmark button to apply the text to the slide.

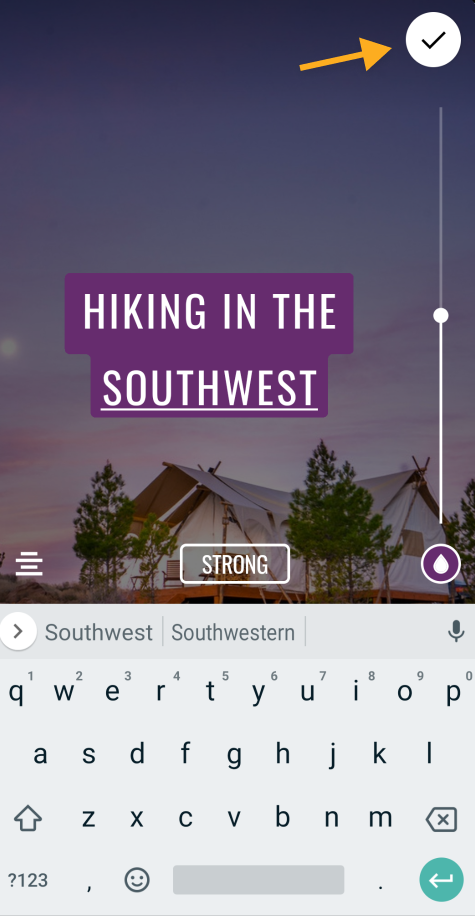
Pinch, zoom, and drag the text overlay to where you want it to appear. To delete the text overlay, long press on it until the trash icon appears. Then drag it to the trash icon.
Tap the the thumbnail with the plus icon and select the photos and videos to add more slides to your Story.
To change the order of the slides, press and hold on a thumbnail and drag it until it reaches the right position.
To delete a slide on Android devices, press and hold on the slide you want to delete. A trash icon will appear on the screen. Tapping on the trash button will display confirmation to delete the slide.
To delete a slide on iOS, press and hold on the slide you want to delete and drag it towards the center of the screen. A trash icon will appear and dragging the slide to it will delete the slide.
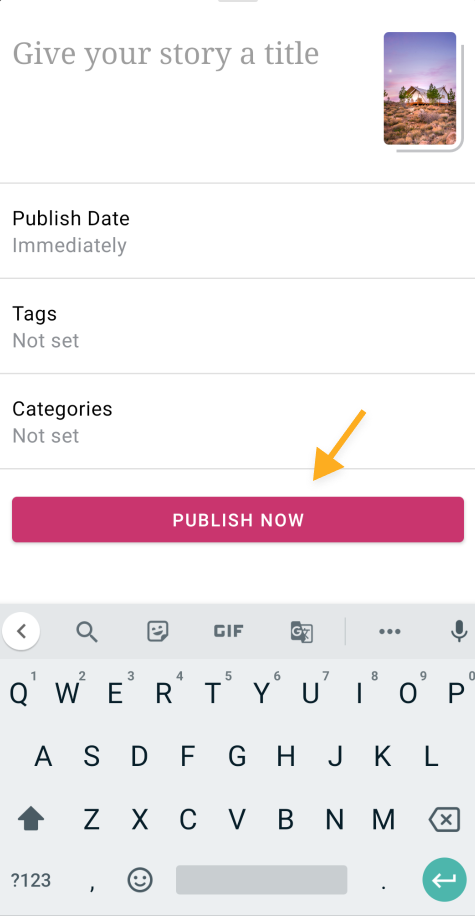
When you’re ready to publish your Story, tap the arrow button at the top of the screen. Give your Story post a title, then publish the post or schedule the post to publish at a later date and time.

A Story block on WordPress can be edited and updated after publishing. You can add to your Story by selecting new photos and videos to include. And Story slides can be reordered or deleted.
In the WordPress mobile apps, if you are editing a Story block using the same device the Story was originally created with, you’ll be able to edit and reposition text in the Story.
To edit a Story in the Jetpack app:
- In your dashboard, click on Posts (or Pages).
- Open the post or page with the Story you want to edit.
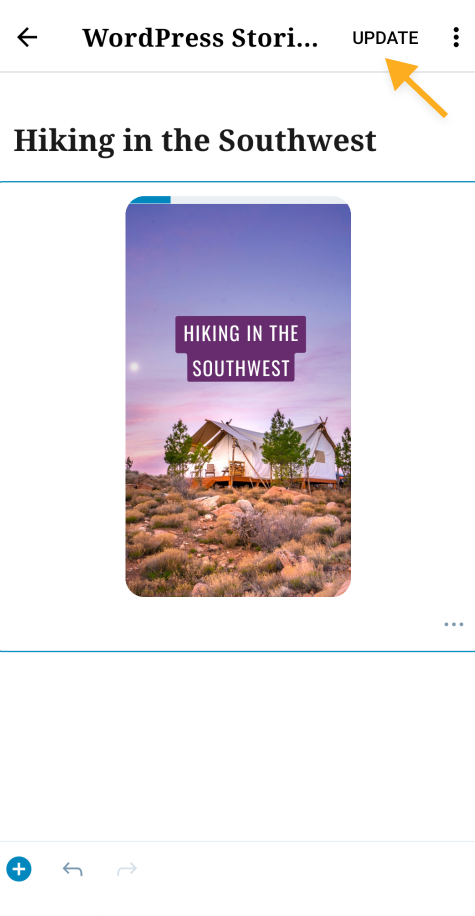
- Tap the paintbrush icon at the top of the Story preview.
- Make edits to your Story.
- Tap the check mark icon to save your changes and return to the post or page.
- Tap Update to publish the updated post to your site.


To add a Story block, use the Add Block button, or you can type /story and press enter.
Check out our detailed instructions on adding blocks.
When you add a Story block, you’re given two options: Upload and Select Media.

Upload allows you to upload new media or multiple media files from your computer to your website. Supported media are images and videos.
Select Media lets you choose from:
- Existing images in your site’s Media.
- Your phone, via the Jetpack Mobile App.
- Your Google Photos account.
- The Pexels Free Photo library.
- The Openverse library of free photos.
The order of the images in your story is determined by the order in which you select the images.
When you select a block, you will find additional block settings in the right sidebar. If you do not see the sidebar, you may need to click the Settings icon in the top-right corner to bring up the settings. This icon looks like a square with two uneven columns:
For more information, visit our detailed instructions on Advanced Settings.

