Use the Map block to display an interactive map (powered by Apple Maps) showing one or more locations. This guide will show you how to display a map on your website.
In this guide
To add the Map block, click the + Block Inserter icon and search for “map”. Click to add the block to a page, post, or template.
💡
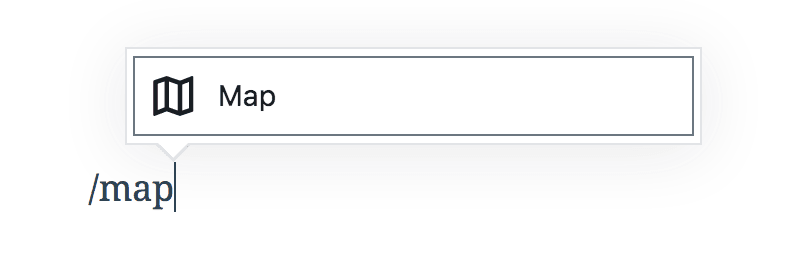
Using your keyboard, you can also type /map on a new line and press enter to quickly add a new Map block.
For more information, visit our detailed instructions on adding blocks.
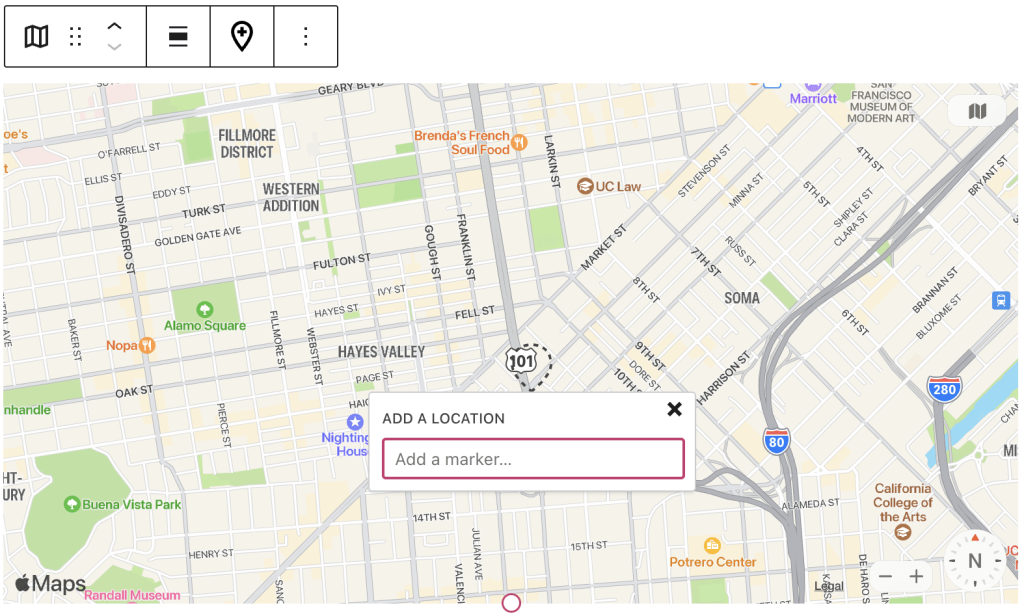
When you add the Map block, a map will load with a search box to choose the location you wish to display.
In the text box labeled “Add a location“, search for the address you wish to display. The location can be general (for example: “Australia”) or specific (for example: “42 Wallaby Way, Sydney, Australia”). As you type, results will appear for you to choose from. If your desired location does not appear, keep typing a more specific address until it appears.
After choosing your location, you can then click on the red marker symbol to edit the title and caption of the marker.
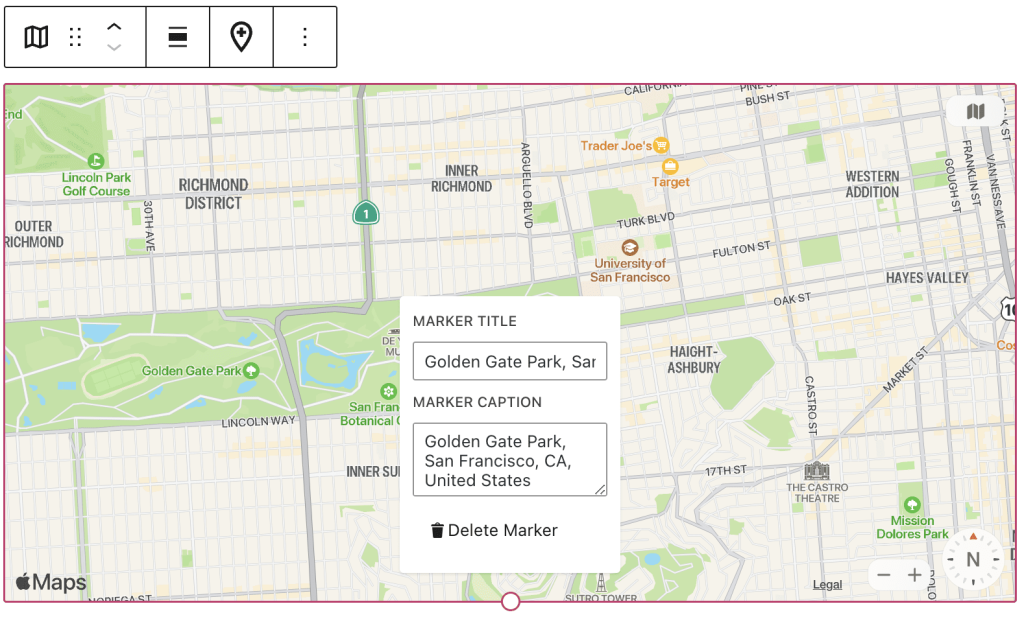
Note that editing the address in the caption field here will not change the position of the marker, only what text is displayed on your map when the marker is clicked.
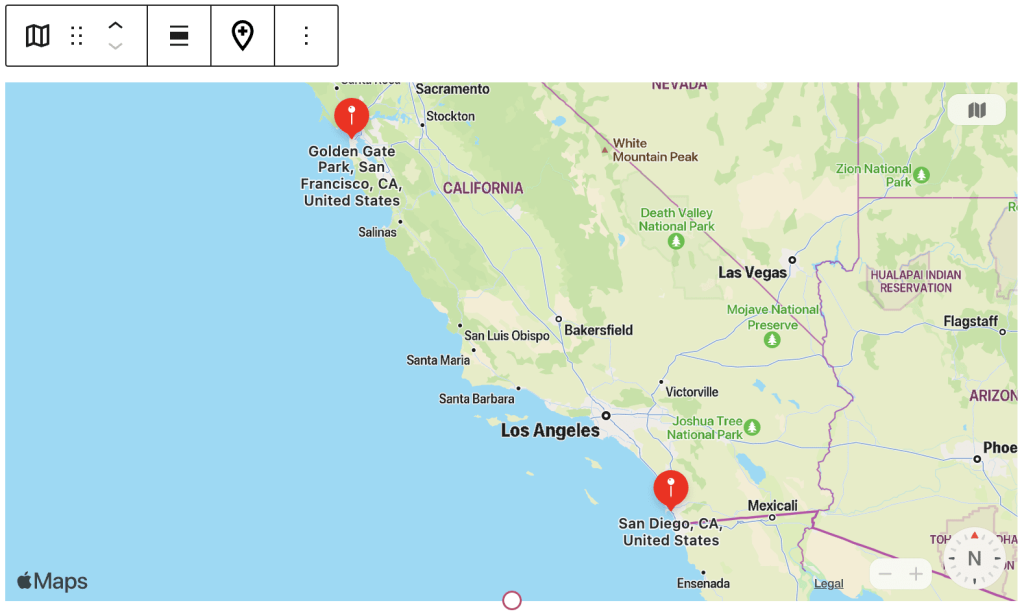
You can add additional location markers to the same map. For example, if you have a chain of restaurants, you can display all of their locations on one map.
To add an additional location marker, click the “Add a marker” button in the block toolbar and choose a location as before.

When you add more than one location marker, the map will zoom out to display all markers.
The Map block is powered by Apple Maps, meaning that it uses the mapping data collected by Apple for use in its navigation app.
Other navigation apps (such as Google Maps) use different data, which means there will occasionally be discrepancies between what you might see on Apple Maps compared to Google and other mapping solutions.
To display a Google Map on your website, visit our Embed From Google Maps guide.
When you click on the Map block, a toolbar of options will appear above or below it:
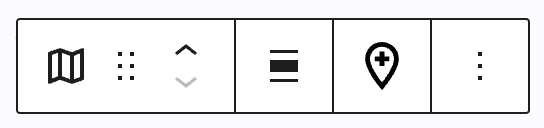
These options, from left to right, are:
- Change block type.
- Drag the block.
- Move the block up or down.
- Change the alignment.
- Add a location marker.
- More options.
When you select a block, you will find additional block settings in the right sidebar. If you do not see the sidebar, you may need to click the Settings icon in the top-right corner to bring up the settings. This icon looks like a square with two uneven columns:
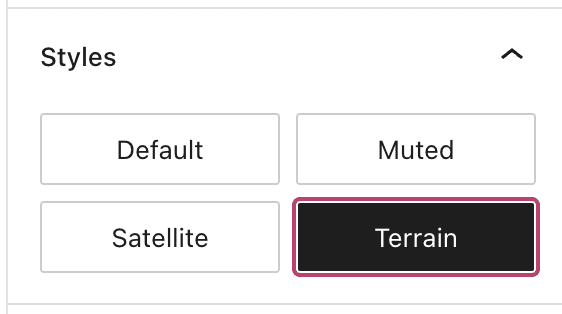
Choose the style of the map on your site. Options include default, muted, satellite, and terrain.
Note: If terrain is selected, you will see options that differ from what is mentioned in this guide. Those settings will disappear if you switch the map back to one of the other three options.
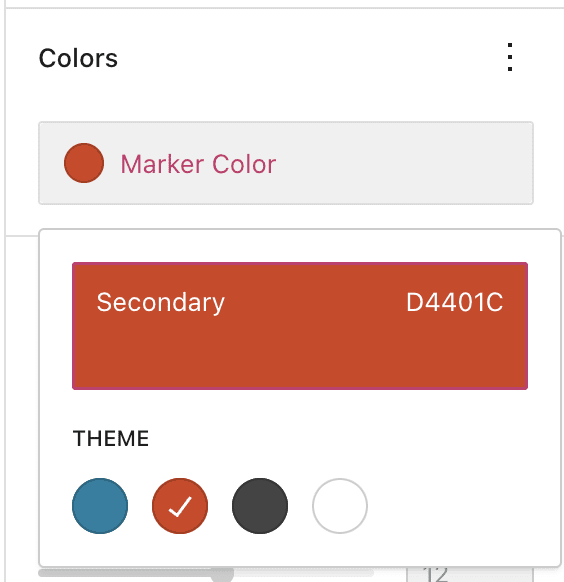
You can change the default red color of the location markers. Either choose from the suggested colors or pick a custom color.
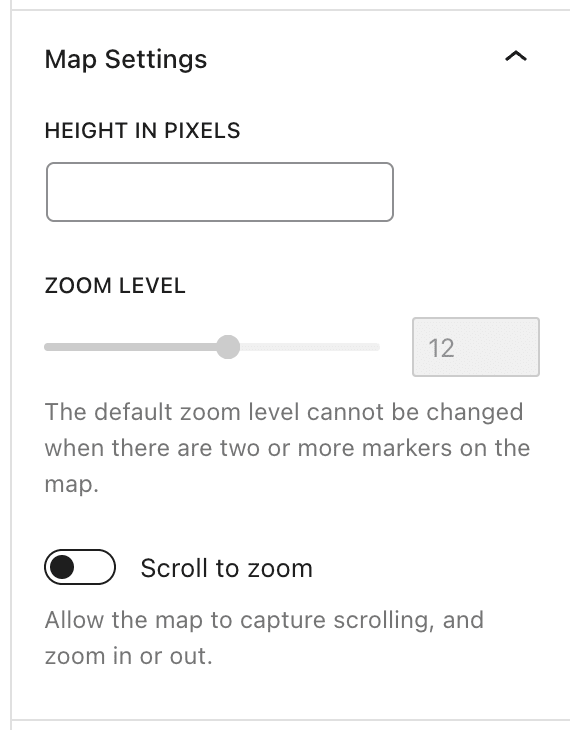
The Map Settings give you different ways to customize the appearance of the map:
- Height in pixels: Set the height of the map as it appears on the page.
- Zoom level: Set how much you want the map to be zoomed in. This can be changed when showing one location marker on the map only.
- Scroll to zoom: Enable this option if you want your viewer to be able to use their device’s scroll function to zoom in and out on the map.
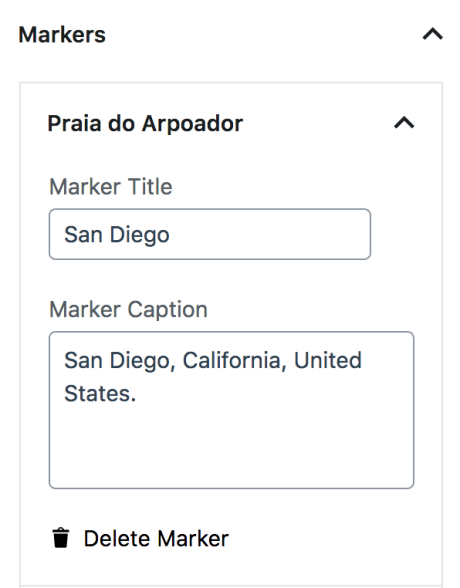
The Markers section lets you edit all of your markers. Editing a marker here works exactly the same as if you click on the marker itself and edit there, but using these settings may be easier if you have a lot of markers to edit. It’s also possible to delete markers in this section.
The Marker Caption displays text with your location marker. The caption only supports text, so if you need to have some clickable links, an alternative option is to create a custom Google Map.
For more, visit our detailed instructions on Advanced settings.

