The Form block lets readers get in touch with you through your website. Use the Form block to add many types of forms, including a contact form, appointment booking form, event registration form, feedback form, and more.
In this guide
How to add a contact form – Transcript
0:08 The Form block allows you to create a contact form on your website, so your visitors can get in touch with you.
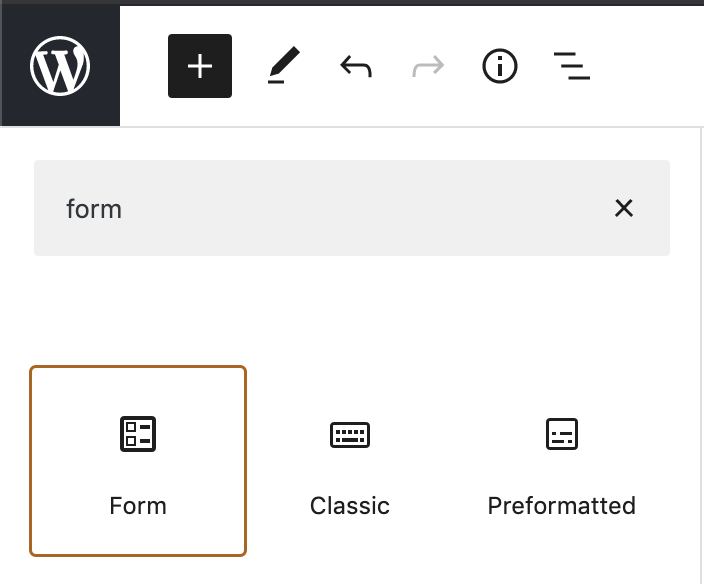
0:14 To get started, click the Block Inserter button, and then search for the Form block.
0:20 Or, type a forward slash on a new line, followed by the word “form.” Then, press Enter to add the Form block.
0:27 When you first add the Form block, you can choose from a number of pre-built forms to help you get started more quickly.
0:32 Select the form you’d like to create, or click the skip link at the bottom to create a basic contact form.
0:44 This form includes a few standard fields to start with, like the visitor’s name… email address… and a brief message.
0:59 But you can also add additional form fields, by clicking the Block Inserter icon that appears at the bottom of the form.
1:04 Then, click the button to browse all the available form fields you can choose from.
1:12 Or, click and drag the field into the location on the form where you’d like it to appear.
1:17 Once you’ve added all the fields you want in your form, you can select any individual form field to make changes.
1:23 You can move the field to a different position using the arrow buttons.
1:27 And choose whether or not you’d like to make the field required before the form can be submitted.
1:32 You can even adjust the width of a field by showing the settings on the right.
1:36 And if you set the width for two consecutive fields to 50%, they’ll appear on a single line, to save some space.
1:43 When you’re finished editing your form fields, click the button on the left of the toolbar to select the entire Form block.
1:47 Then, you can configure the settings for your form… including the email address where you’d like form submissions to be sent.
1:56 But you can enter a different email address, or even add multiple email addresses, if you like.
2:06 You can also change the subject line of the emails you receive each time someone sends a message through your form.
2:11 Next, choose what happens when a visitor submits the form. The default is to show a summary of the fields they submitted in the form. But you can also choose to show a custom text message that you can enter here. Or, you can redirect them to another webpage on your website.
2:27 With these settings in place, your form is ready for use on your site. But you’ll notice there are also a few additional options for more advanced forms.
2:43 First, you can connect your forms with Jetpack CRM, so you can save contacts from your form entries and follow-up down the road.
2:50 And, if you install the Creative Mail plugin on your site, you can build an email newsletter list, so you can send emails to your audience.
2:58 You can also change the color of any text in the form… set a background color… or change the color of any links that appear in the form.
3:07 And finally, you can customize the padding… or the margin around your form.
3:12 And now you’re ready to publish your form and start collecting feedback from your visitors.
3:18 Whenever someone sends a message through your form, you’ll receive an email notification. But you can also review form responses by selecting the Feedback menu option in your dashboard.
3:28 Here, you can manage form responses in the same way you moderate comments. You can read… edit… or delete any message.
3:37 And if a message is unwanted, or looks like spam, just click the link to mark it as spam, or move it to the trash.
To add the Form block, click the + Block Inserter icon and search for “Form.” Click it to add it to the post or page.
For more information, visit our detailed instructions on adding blocks.
💡
Using your keyboard, you can also type
/formon a new line and press enter to quickly add a new Form block.
When you first add the Form block, you will be prompted to select the type of form you want to insert. Select the type that most closely suits your needs. You can further edit the form fields after you’ve added the Form block.

Types of forms include:
- Contact Form
- RSVP Form
- Registration Form
- Appointment Form
- Feedback Form
- Salesforce Lead Form
Click the “Explore Form Patterns” button to browse beautifully designed, ready-to-go form layouts you can add in just a few clicks.
If you’re running a WordPress.org website, you can use the Jetpack plugin to add this Form block functionality to your site.
A form is not a secure method for collecting private information, such as credit card numbers, bank account numbers, usernames, and passwords, because the information is transmitted via email. To collect payments, use the Payments block or a similar payment processing service that securely handles financial transactions.
Alternatively, if you’re looking to encourage visitors to subscribe to your blog or website, you can add a Subscribe block instead.
There are two levels to the Form block with different settings depending on what you have selected:
- The overall Form block. This is where you will set your form’s functionality and overall look and feel.
- An individual form field in your form. Form fields like name, email, and the submit button will have style settings you can apply independently of each other.
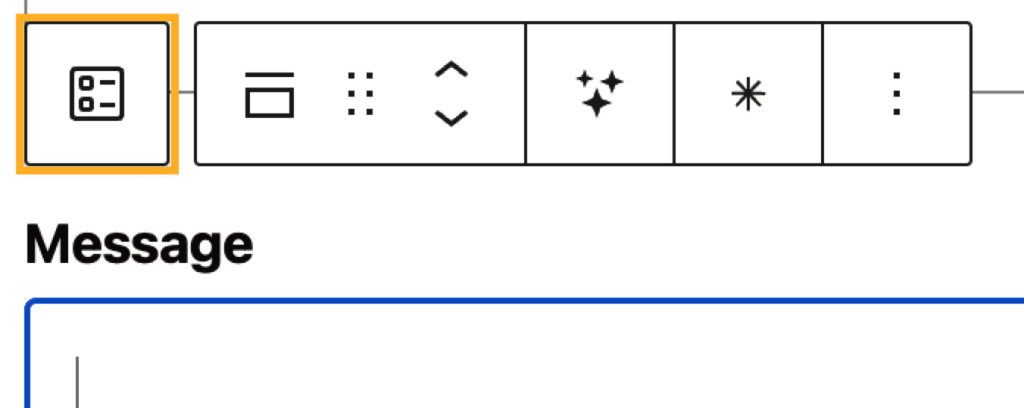
Using List View, you can view the hierarchy of the form, and select the block you need:
If you click on the content inside of a form, you can select the parent Form block from its icon in the block toolbar:
Learn more about selecting blocks.
Once you have selected the type of form, check the settings on the right to configure a few key settings:
- Email address to send notifications to (more details)
- Email subject line (more details)
- What happens when someone submits the form (more details)
You can control and customize exactly which fields are shown in your form. When you first add the Form block, fields like Name, Email, and Message will be added by default.
To add a new form field, click the + Block Inserter icon that appears below the last field, as shown here:
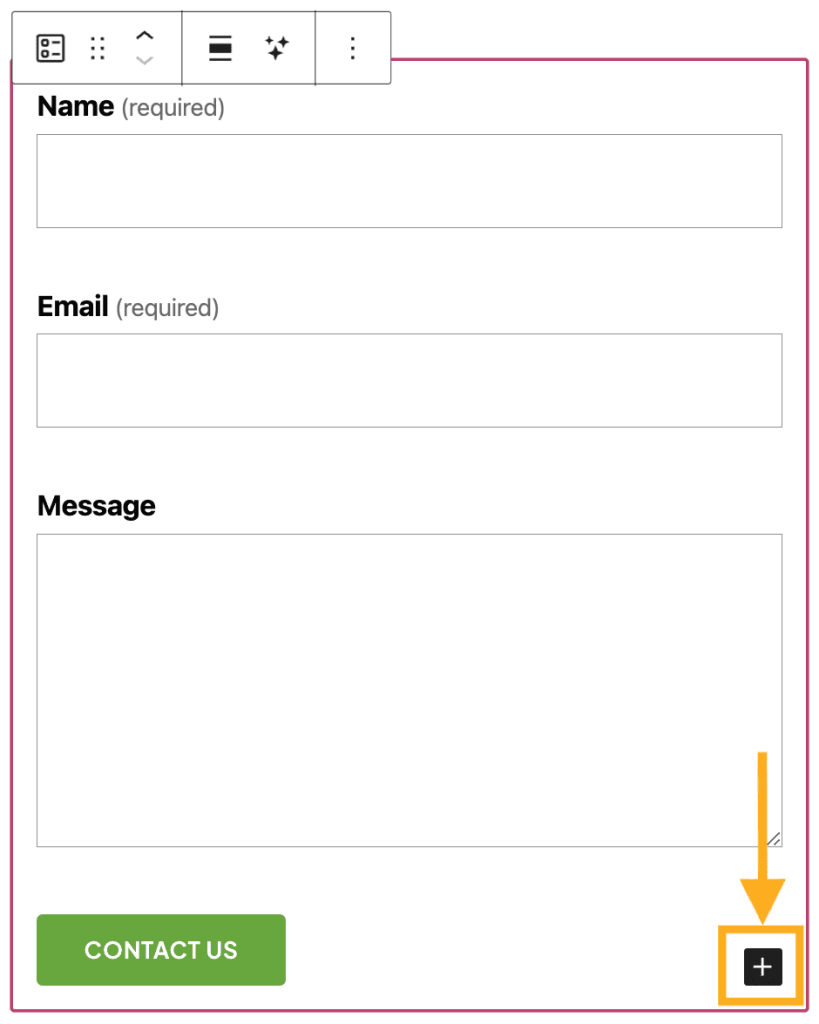
Click “Browse All” and scroll down to see all the form fields you can choose from:
- Name
- URL
- Text Input Field
- Multi-line Text Field
- Date Picker
- Phone Number
- Terms Consent
- Checkbox (Single Choice)
- Checkbox (Multiple Choice)
- Single Choice (Radio button)
- Dropdown Field
You can also add content not specific to forms, such as an Image block or Paragraph block for text.
You can click on any individual form field to make changes, like:
- Move the form field up or down using the arrow buttons.
- Mark a field required by clicking the * icon in the toolbar or toggling the “Field is required” button in the settings sidebar.

You may also adjust the width of the field using the “Field Width” settings on the right. If you set two consecutive fields to 50% width, they will appear on a single line.
To access the form’s settings, first select the overall Form block (instead of an individual field in the form.) You can click on the empty space between two form fields or select the parent Form block using List View:
- Click on the List View button at the top left of the editing screen (it looks like three horizontal lines). This is marked with a 1 in the image on the right.
- Select the Form block (as marked with a 2 in the image on the right.)
- On the right side of your screen, view the Form block settings.

If you do not see the sidebar on the right, click the Settings icon in the top right corner to bring up the settings. This icon looks like a square with two uneven columns:

The following settings affect all fields in the form:
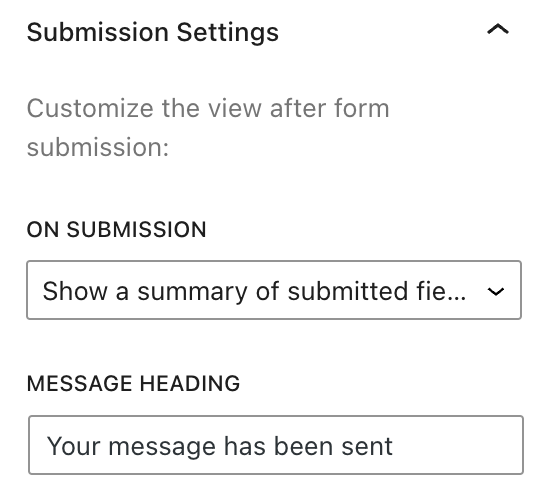
You can use the “On Submission” option to choose what happens when a visitor to your website submits the form. The options are:
- Show a summary of submitted fields.
- Show a custom text message that you can write.
- Redirect to another webpage, which you can use to send people to another page on your site or any other site.
When someone sends a message using your form, the text “Your message has been sent” will appear. Using the “Message Heading” setting, you can customize this text.
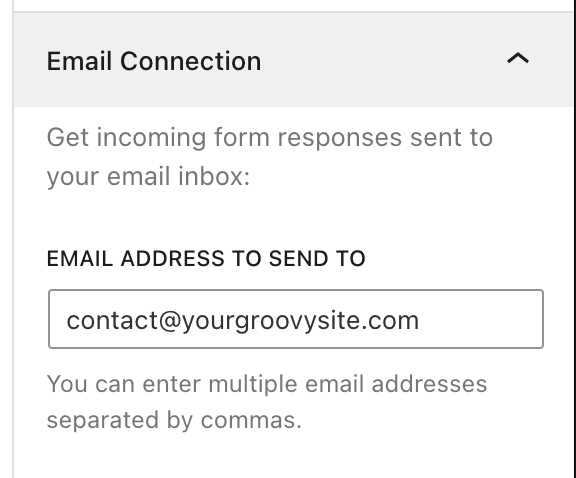
By default, the messages will be sent to the same email address you set in your account settings. If you wish to change the email address to which the form messages are sent, enter a new email address in the box labeled “Email address to send to“.
You can add multiple email recipients by separating them with commas.
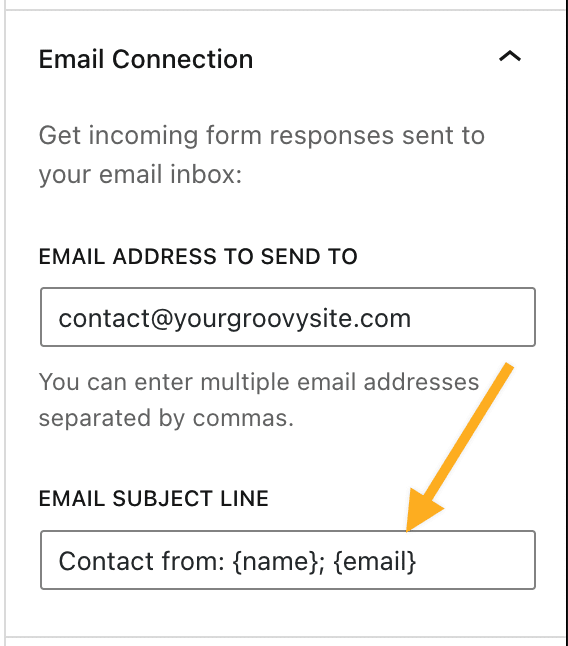
You can use the “Email Subject Line” box to set the subject line of the emails you receive each time someone sends you a message through your form.
By default, the subject line uses the following format:
“[Site Title] Contact”
If your site’s title is “Adventure Trips“, the subject line of the contact form you’ll receive via email is:
“[Adventure Trips] Contact”
You can customize the subject line to include unique information from the form data. For example, let’s say your form includes a Name, Email, and Message field. You can include Name and Email surrounded by curly braces (i.e., {name}, {email}) in the subject line field to make it unique. The subject line will be customized with that specific information for each message you receive.
You can include any fields by typing the field name in between curly braces: { }. The field names should be spelled exactly the way they are spelled on the contact form. The field names are not case-sensitive.
For more, visit our detailed instructions on Advanced settings.
These settings affect individual fields within the contact form. To access these settings, click on an individual field inside the Form block:
- Field is required: This option makes a specific field required while completing the form.
- Placeholder Text: This option can be used to display an expected example text for text input fields.
- Field Width: Choose from 25%, 50%, 75%, and 100%. If you set two concurrent fields to 50%, they will sit next to each other in the form.
- Sync fields style: Enabled by default, this option allows you to set the following styles on one text input field on the form and apply them collectively to the rest of the text input fields. You can toggle this off to style text input fields individually. The sync fields style applies to:
- Color: sets colors for:
- Label Text: the text that appears above the form field.
- Field Text: the (optional) placeholder text, as well as the input text in a field.
- Field Background: the background of the input section of a form field.
- Border: the border around the form field.
- Input Field Styles: Set the text size, line height, and border styles for the field.
- Label Styles: Set the text size and line height for field labels.
- Color: sets colors for:
- Advanced: You can use Advanced settings to add HTML classes to target form fields and apply Additional CSS.
In the block settings sidebar, click on the Styles icon to access the design settings for the block. The Styles icon is in the shape of a circle with half of the circle filled in:
There are 3 styles to choose from:
- Default shows the field names outside the input fields with no animation.
- Animated shows the field names inside the input fields, a brief animation, and also highlights the field a visitor clicks.
- Outlined shows the filed names inside the input fields, a brief animation, and an outline around the form block settings all the time.
The Form block styles also include the following standard settings:
When you click on the block, a toolbar of options will appear above or below it:
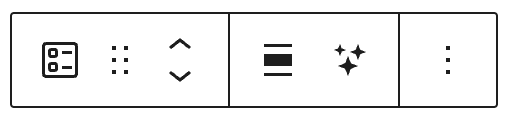
The Form block contains the following toolbar options from left to right:
- Change block type.
- Drag the block.
- Move the block up or down.
- Change alignment, with options for wide and full width if supported by the theme.
- Ask the AI assistant to create your form.
- More options.
When you click on an individual form field within the Form block, the toolbar has the following options from left to right:

- Select the overall form.
- Change field type.
- Drag the field.
- Move the field up or down.
- Ask the AI assistant to create your form.
- Make the field required.
- More options.
You will be notified via email whenever someone sends a message through your form. You can reply to these emails directly in your email program.
You can also read all messages sent through your form by going to Feedback in the left sidebar of your site’s dashboard.
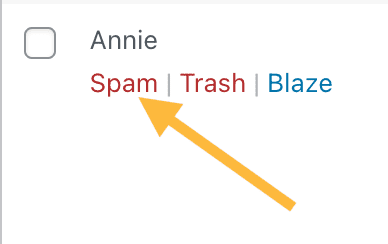
If a message is spammy, hover over it and click the Spam link to report it as spam. This flags the message, training the spam filter to recognize these types of messages as spam in the future.
If you want to delete feedback, hover over it and click Trash.

Additionally, to protect your form submissions from spam and unwanted content, you can add keywords, usernames, IP addresses, email addresses, and more to the Disallowed Comments settings. This option is available from Settings → Discussion. Messages matching the words added to Disallowed Comments will be sent directly to Trash within the Feedback section.
You can install a CAPTCHA plugin if you have a plugin-enabled site. Make sure the plugin you choose is compatible with Jetpack forms.
If you created a new form and are testing to ensure the form is working, make sure you use real information. Often, fake information looks like spam, so it can get filtered by our spam protection.
How to check if a form submission has been flagged as spam:
- Visit your dashboard.
- Go to Feedback → Form Responses.
- Click Spam at the top of the form responses dashboard.
- Look for the missing message in Spam.
If the submission is in Spam and should not be marked as spam, you can hover over the message and click Not Spam.
For more troubleshooting tips on receiving contact form submissions, check out this Troubleshooting Guide.

