If you’re a writer or blogger or just want to learn more about the finer aspects of writing in WordPress, this guide will show you how to write articles, blog posts, and other text content in the WordPress editor.
In this guide
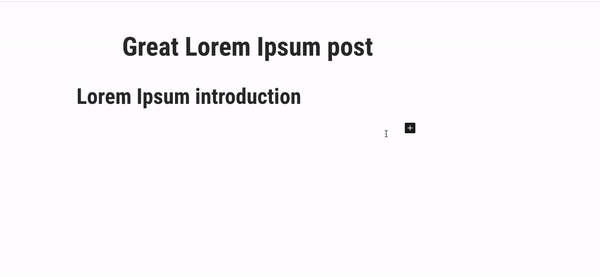
When you create a blank page or post in WordPress, the first thing you will see is an empty editor with the text Type / to choose a block. Blocks are the elements of your pages and posts, and there’s a block for every possible element you may want to add, such as images, videos, headings, columns, and more.
However, if you wish to start with text, start typing!

When you start typing, a Paragraph block is inserted by default. The Paragraph block is the default block used for regular text.
If you wish to add a title or subtitle, add the Heading block from the + Block Inserter button.
For more information, visit our detailed instructions on adding blocks.
Each time you press enter/return on your keyboard to start a new line, this creates a new Paragraph block. However, there might be situations when you don’t want this to happen. If you press Shift+enter or Shift +return on your keyboard, your cursor will be placed onto a new line that is single-spaced instead of creating a new Paragraph block:
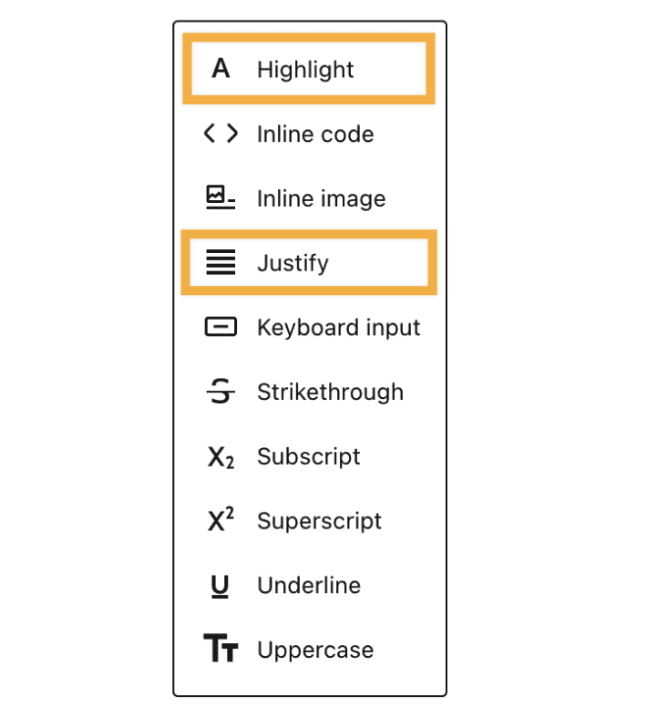
Using the toolbar that appears when you click on a Paragraph block, you can make your text bold, put it in italics, justify it, underline it, use strikethrough, change the color of a single word (using the Highlight option), and more.


💡
If the floating toolbar is too distracting for you, you can fix it to the top of the screen. In the upper right corner of the editor, click the … (three dots) icon. Enable Top Toolbar here to pin block toolbars to the top of the screen.
Distraction-free mode brings a clean interface with minimal controls, so you can concentrate on writing. It achieves this by hiding the settings and menus within the editor, leaving you with just your content. Follow these steps to enable this mode:
- In the upper right-hand corner of the editor, click the three dots to open up more options.
- Click the “Distraction free” option under the View section to enable it.
To disable Distraction-free mode again, hover your mouse at the top of the page so the top toolbar reappears, then follow the same steps used to enable the mode.

💡
You can also enable and disable Distraction free mode using the shortcut CTRL + Shift + \ on Windows, and SHIFT + COMMAND + \ on MacOS.
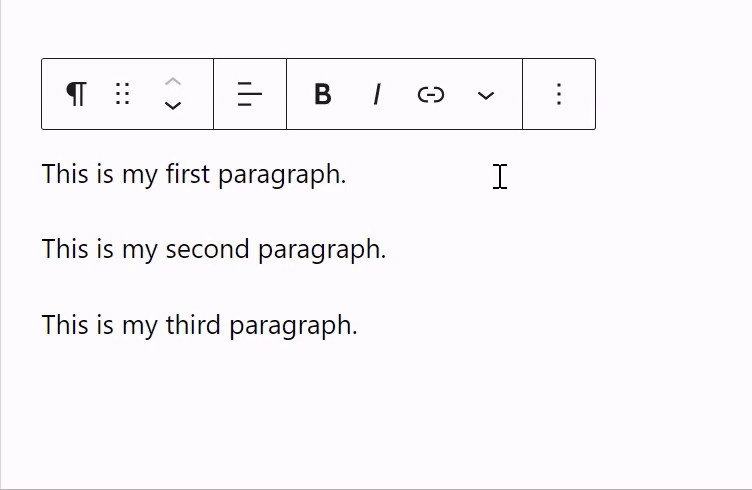
You probably noticed that each paragraph becomes its own block. This workflow allows you to modify each paragraph’s style according to your needs. However, most of the time, you probably want to give the same format to all your paragraphs.
You don’t have to worry about doing this block by block. You can highlight all paragraphs with your mouse and then apply styling to all blocks selected:

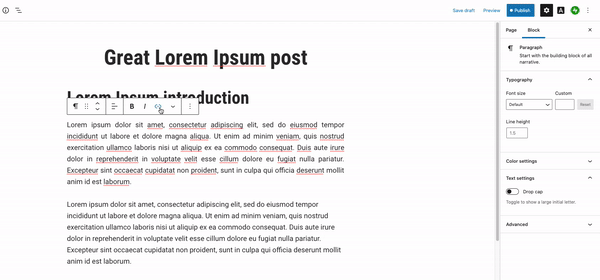
If you find yourself using the same settings for lots of text (like specific font color or size, for example), you can save your block settings as a pattern.
First, write the text as normal and apply the settings you want to that block. Then, in the block toolbar, select the ellipses (three dots) and click Create Pattern (formerly known as reusable blocks):
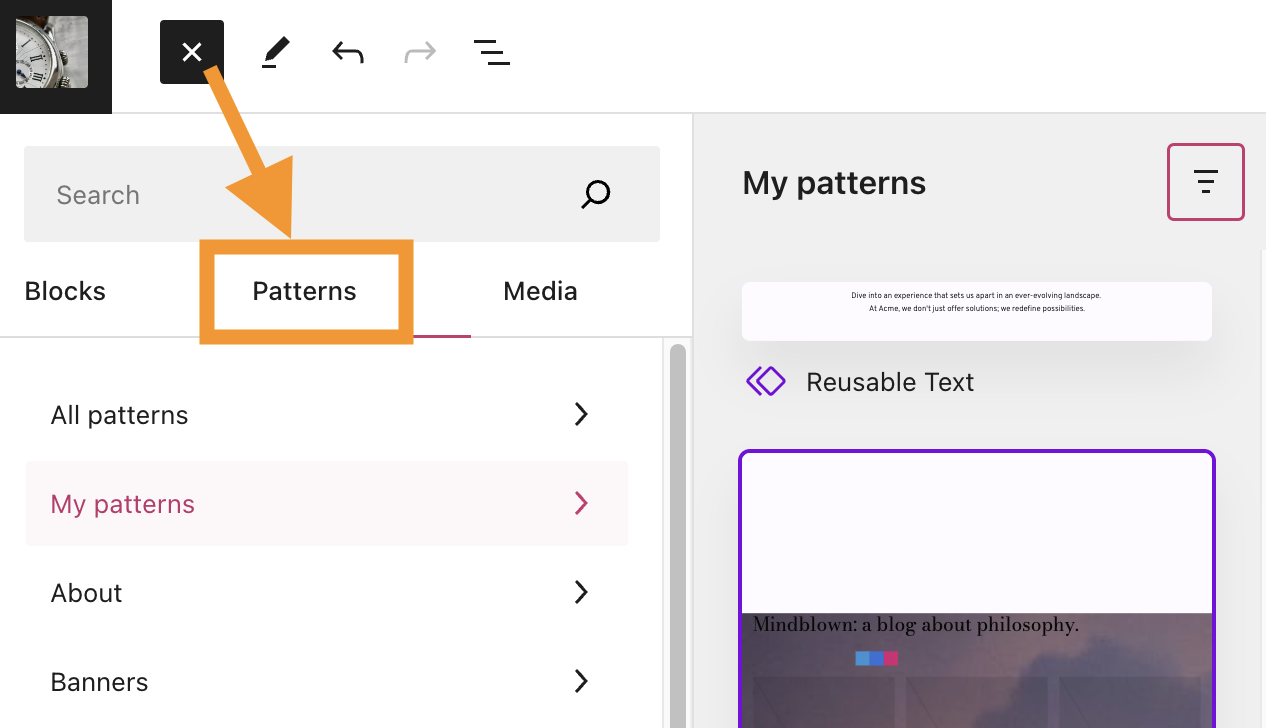
After creating the pattern, you can then add that block in any other post or page by clicking the + Block Inserter and choosing it from the Synced Patterns tab:
You can wrap an image around text to place it side by side.
First, add your text and an Image block on separate lines for now. In the Image block toolbar, you will find the option to align the image left or right. Choosing this will make the next paragraph follow the empty space so it sits next to the image instead of below it:

Alternatively, you can use the Media & Text block or Columns block as an easy way to place an image side by side with text.
You can add lists with the List block. A quick way to add a List block is to start a new line with the * symbol for a bulleted list or 1. for a numbered list. The editor will recognize this as a list, creating a List block automatically.
If you write poetry, you can use the Verse block. This block is for poets to write beautiful poems that honor the spacing you write with your text.

If you prefer the old editing experience, the Classic block emulates the Classic editor. When you add this block, it will bring the same familiar experience as the previous editor: