Many people use MailerLite for their email lists. If you’d like to give your visitors a way to subscribe to your MailerLite list on your website, you can use the MailerLite subscriber pop-up form described in this guide.
In this guide
The information in this guide applies to classic themes. Sites using modern block themes do not use widgets, so you won’t find Appearance → Widgets in your dashboard.
As an alternative, sites with eligible plans can install the official MailerLite plugin to add newsletter signup forms to your website.
⚠️
The following instructions use MailerLite Classic. If you are using the newest version of MailerLite, use the MailerLite plugin.
In order to use the MailerLite subscriber popup on your WordPress.com site, you need a MailerLite account.
Once you set up a new mailing list there, create a subscriber popup following the steps described in this article.

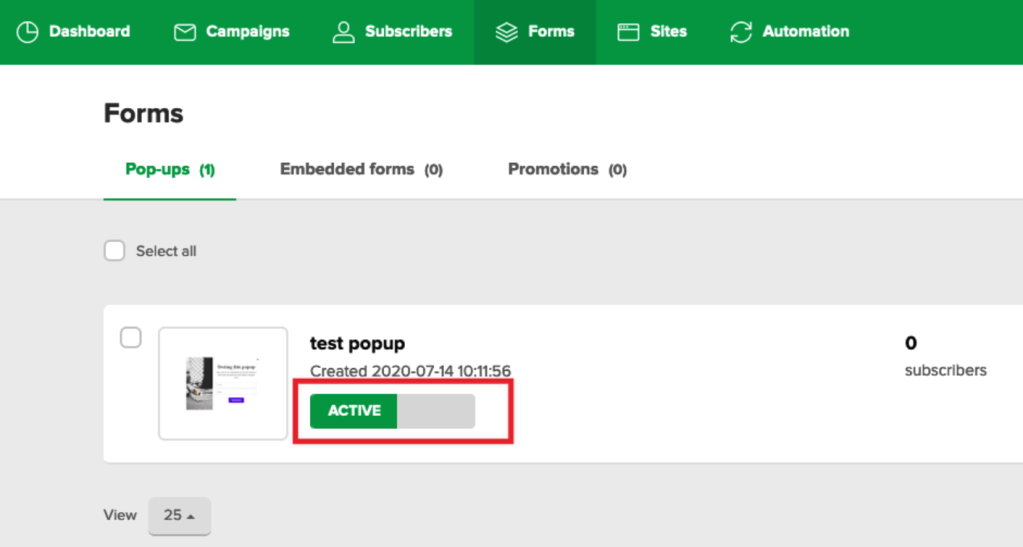
After creating the popup, go to Forms in your MailerLite account and toggle the form from “Paused” to “Active” as shown below:
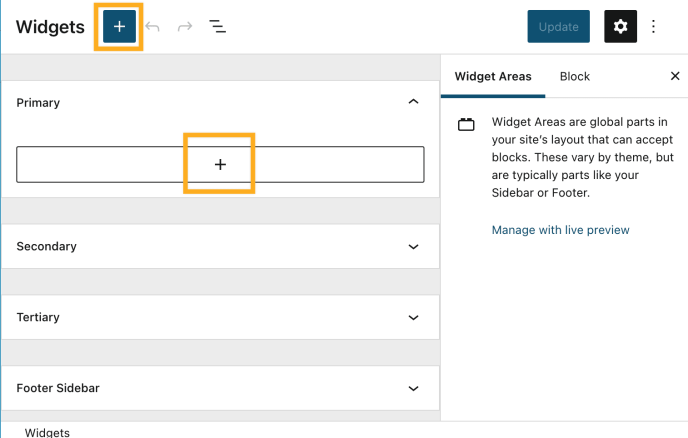
To add the widget to your site:
- In your dashboard, click on Appearance → Widgets.
- Choose the location where you’d like to place the widget on your site. Standard options include the Footer and Sidebar, but this may differ depending on your theme.
- Click either of the + block inserter buttons (see right) to see a list of all the available blocks and widgets.
- Scroll down to the Widgets section and click on the widget once to add it to your site.
For more general information, see this guide on working with widgets.
You can choose any widget area here because the popup will show over the site regardless. Once you insert the widget onto your site, configure it with the following two values from your MailerLite code:
- Account ID
- UUID
Both of those values come from MailerLite “JavaScript tracking snippet” field:

Copy those values into your widget:

Click the “Save Changes” button when you’re done to save the popup to your site.

