As a WordPress.com account holder, you can receive notifications for many actions and updates. This guide will show you how to manage these notifications.
In this guide
You can receive notifications to the email address registered with your WordPress.com account.
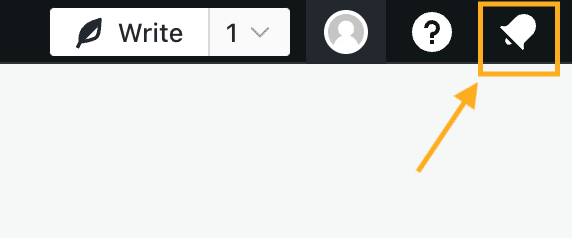
You can also view notifications by clicking the bell icon at the top right corner of your site’s dashboard, where the latest 100 notifications will be displayed:
You also opt-in to receive notifications in your browser.
You can use keyboard shortcuts to browse and manage notifications in the notification area:
n : Open/Close the notifications menu (make sure you aren’t currently typing in a text box first).
j / k or ↓ / ↑: Navigate through your notifications.
← / → : Show details or go back to list of notifications.
a : Select “All” filter.
u : Select “Unread” filter.
c : Select “Comments” filter.
f : Select “Follows” filter.
l : Select “Likes” filter.
With a comment selected, commit an action with these keyboard shortcuts:
r : Start replying to a comment notification.
a : Approve/Unapprove a comment.
l : Like/Unlike a comment.
s : Mark comment as spam ( u : undo).
t : Trash a comment ( u : undo).
To visit your Notification Settings, take the following steps:
- Navigate to your WordPress.com account page at https://wordpress.com/me.
- Select “Notification Settings” on the left side.

At the top of the screen, you can navigate between four tabs to adjust or stop receiving specific notifications. Each category of notification is described in the following sections.
Get notified of activity on your sites, such as likes, comments, new subscribers, writing prompts, posts publicized, draft post reminders, and more.
The first column of checkboxes controls notifications via the notification area at the top right corner of your site’s dashboard. The second column of checkboxes controls email notifications.

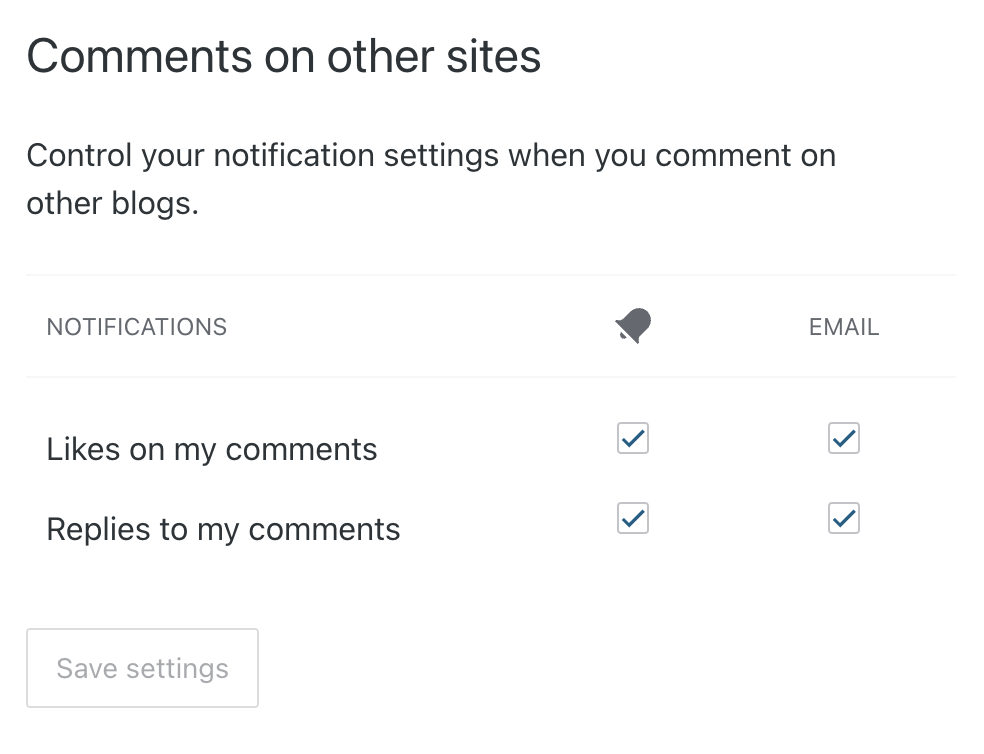
Get notified of likes and replies to comments you have made on other websites and blogs.
The first column of checkboxes controls notifications via the notification area at the top right corner of your site’s dashboard. The second column of checkboxes controls email notifications.
Receive emails regarding your account, security, news, promotions, and purchase transactions,
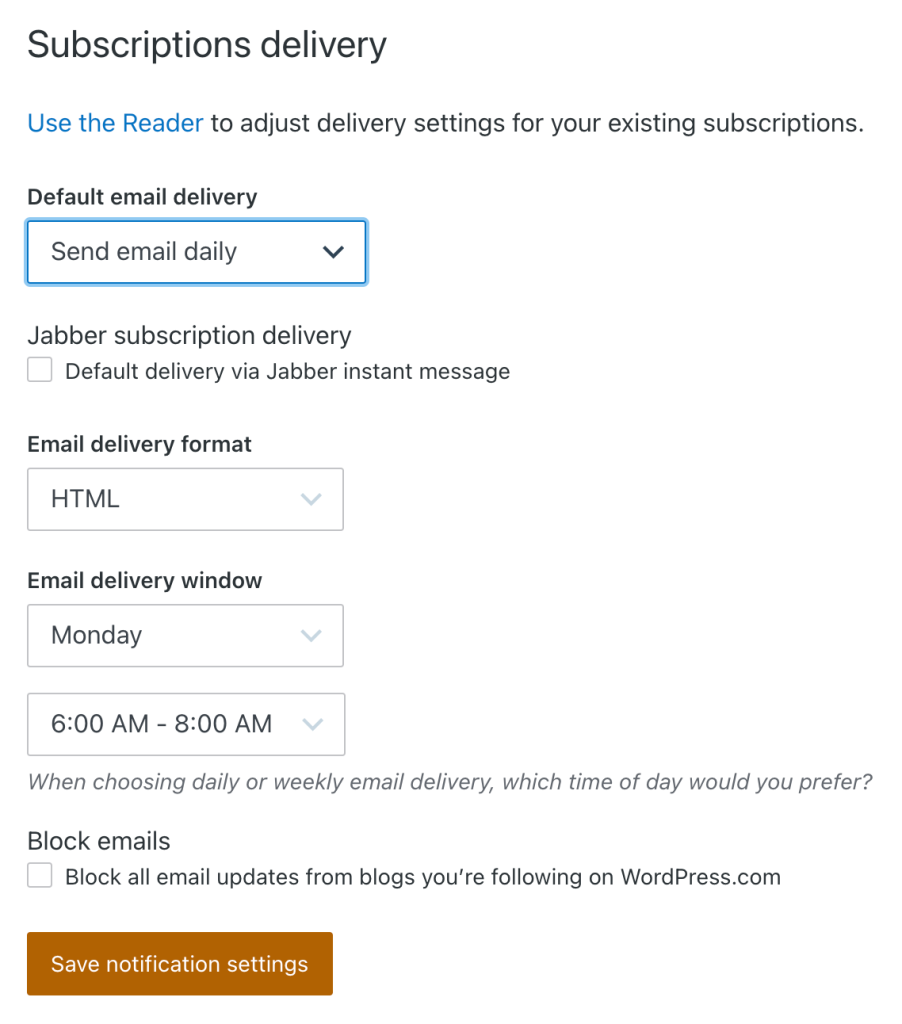
Adjust the emails you receive for sites you have subscribed to in the Reader. You can adjust the following settings:
- Default email delivery: Choose to receive email instantly when a new post is published, a daily or weekly digest, or to never send email.
- Jabber subscription delivery: If you have set up a Jabber account, you can get new posts instantly pushed to you via instant messenger (IM) by checking the box next to “Default delivery via Jabber instant message”.
- Email delivery format: Receive emails in HTML (default) or in plain text.
- Email delivery window: If you have set “Default email delivery” to weekly, choose which day of the week you wish to receive the digest emails. If you have set “Default email delivery” to daily, choose the time of day as well.
- Block emails: Tick the box to stop all email updates from blogs you follow on WordPress.com.
Click the “Save notification settings” button at the bottom of the screen to save changes to your notification settings.
If you’re not receiving notification emails:
- Make sure you are checking the correct email address registered with your WordPress.com account.
- Check the site’s Discussion Settings to make sure email notifications are activated.
- Check the Notification Settings to make sure you haven’t blocked all emails from WordPress.com.
- Check the spam folder in your email program to make sure the messages were not sent there by mistake.
If you are still having trouble, please check the Troubleshooting: Not Receiving Notification Emails guide for more detailed help.

