This guide explains how to set up custom A records to point your WordPress.com-registered domain to a different host’s IP address. This is the method to use if your new host does not support the name server method.
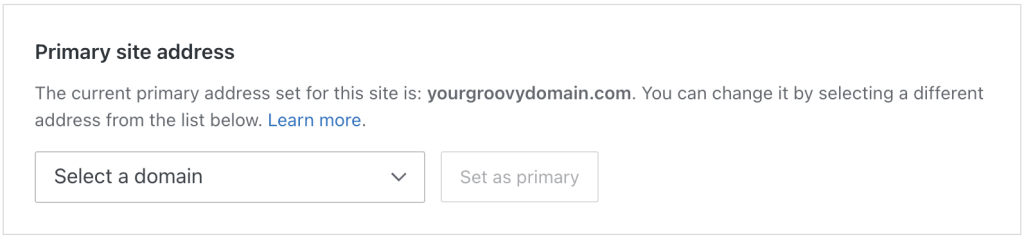
Before you point your domain to a different hosting provider, you should set your default WordPress.com site address as your “primary site address”. Doing so ensures that you can continue to access your account tools within your WordPress.com account without issue, including your ability to manage your custom domain.
To set your default WordPress.com site address as your primary domain:
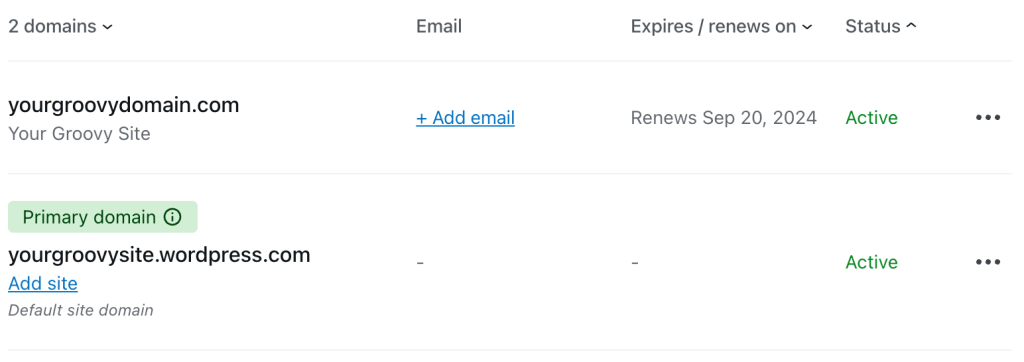
- From your dashboard, navigate to Upgrades → Domains (or Hosting → Domains if using WP-Admin).
- In the “Primary site address” section, select the domain that ends in .wordpress.com or .wpcomstaging.com.
- Click the “Set as primary” button:
To point your domain to a hosting platform other than WordPress.com using IP addresses (A records), take the following steps:
- From your dashboard, navigate to Upgrades → Domains (or Hosting → Domains if using WP-Admin).
- Click on the domain name you wish to connect to a new host:
- Next, click on “DNS records“:
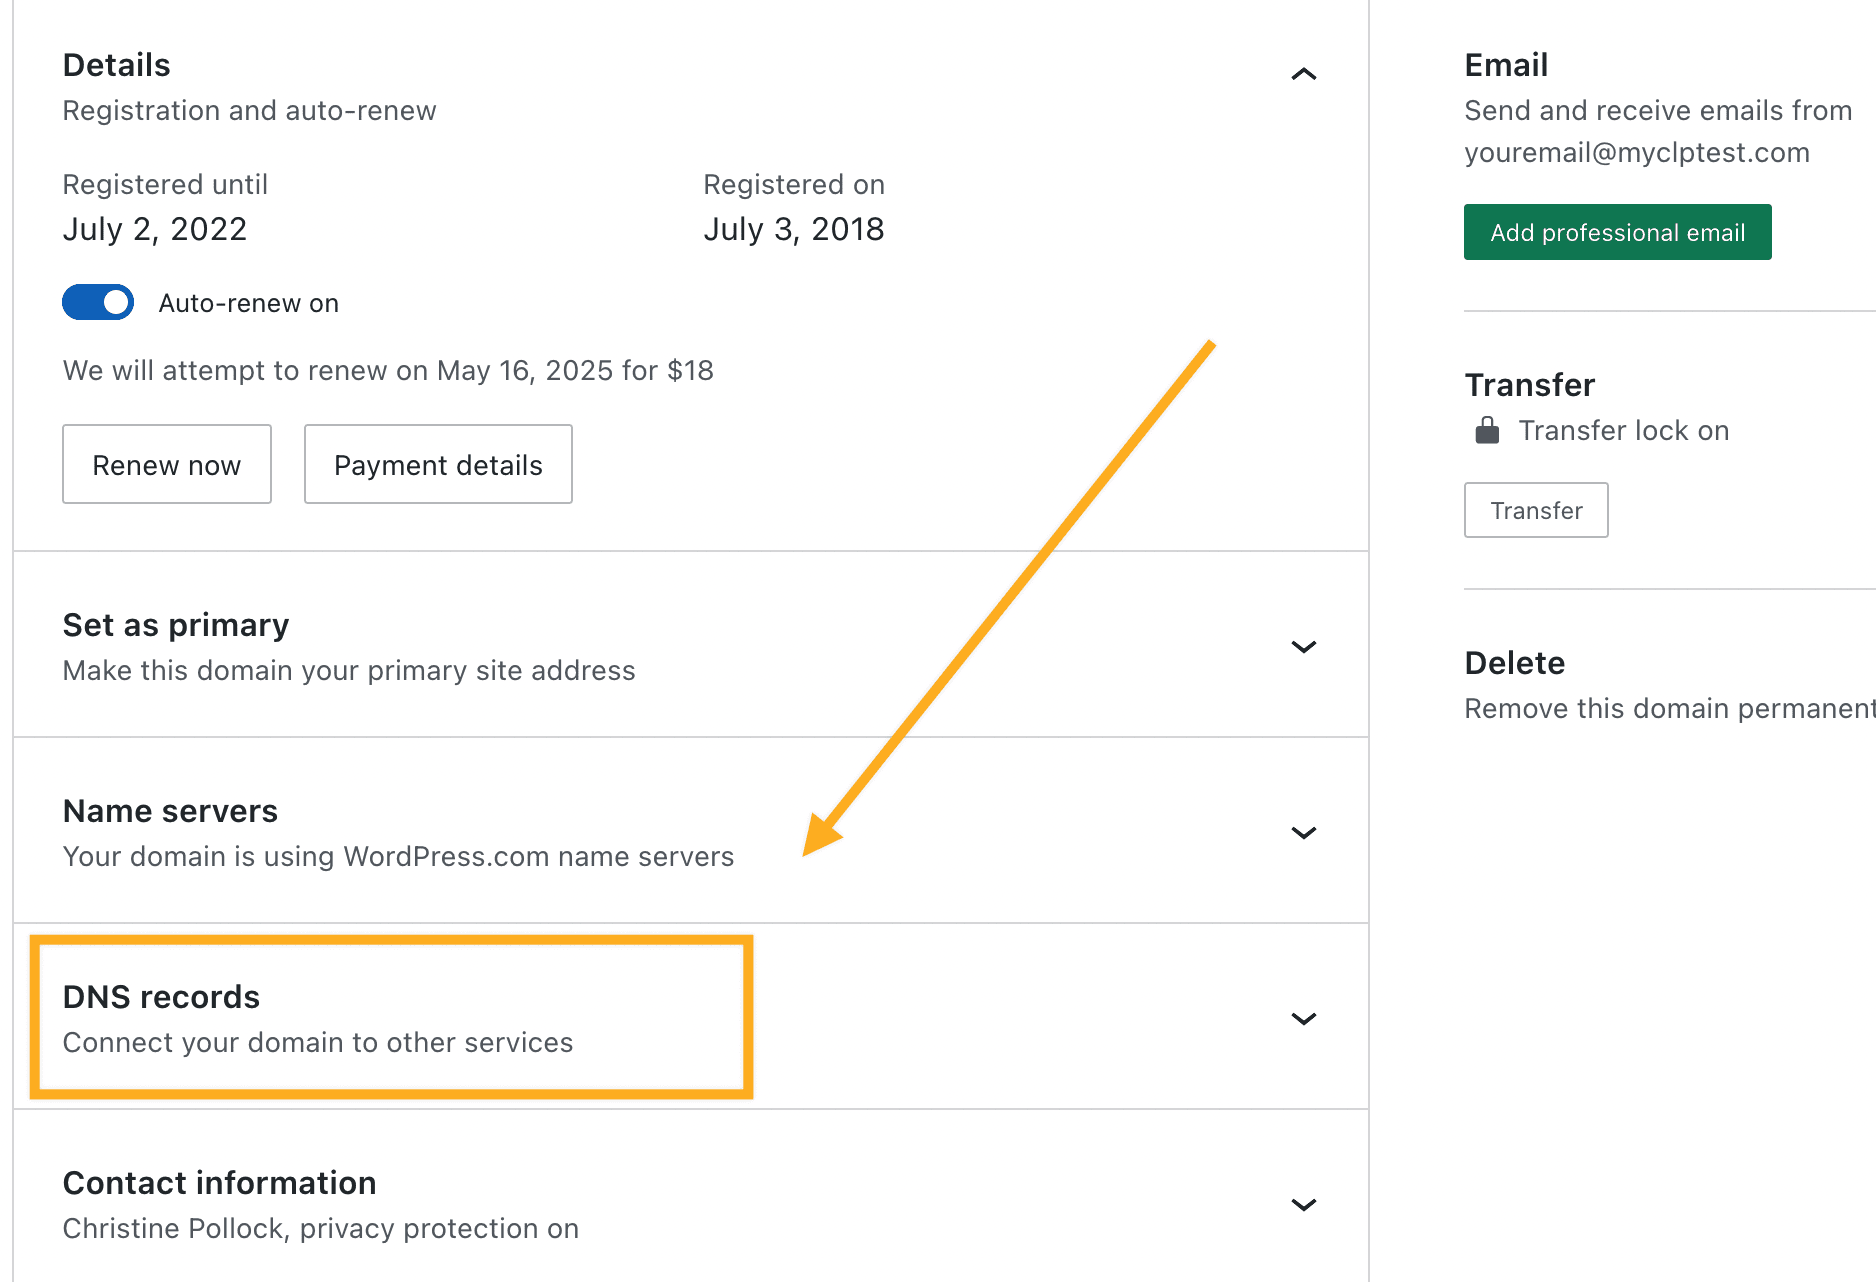
- Click on the button that says “Manage“, and the next page will show you a list of the domain’s DNS records. The default A records will show as “Handled by WordPress.com.” It is not possible nor necessary to remove this because the new A records will replace them automatically.
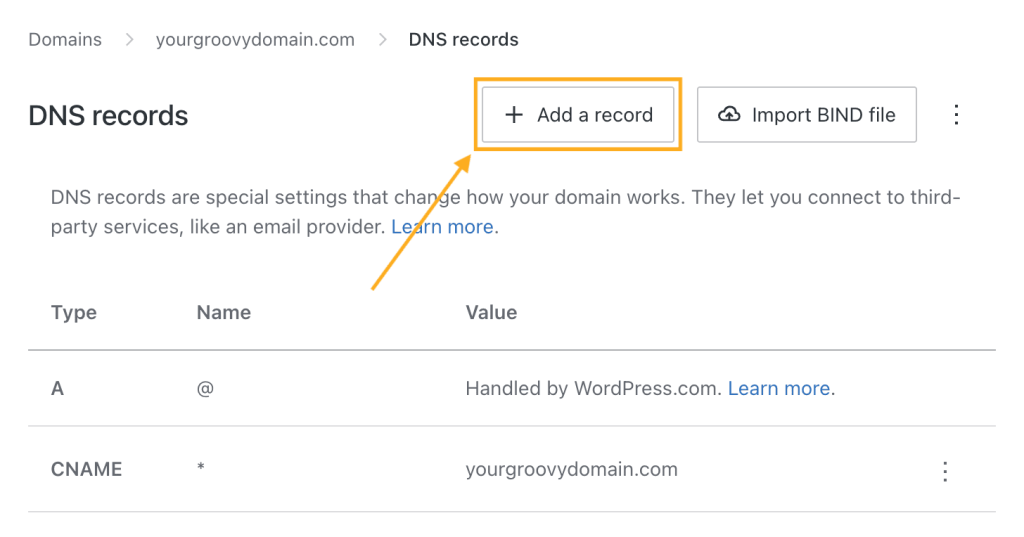
- Click the “Add a record” button at the top right corner of the screen:
- Select “A” as the type of DNS record:

- Enter an optional subdomain in the “Name” field, only if your host has specified a word to appear before your domain. If not, leave the box blank.
- Add the A record in the “Points To” box. The A record, also called an IP address, will be given to you by your new host. It is typically a set of numbers separated by periods, for example:
123.4.56.78 - In the “TTL (time to live)” box, enter the provided TTL value (or leave the default 3600 if not specified by your host.)
- Click the “Add DNS record” button to save the new A record.
- If you have more than one A record to add, repeat the process.
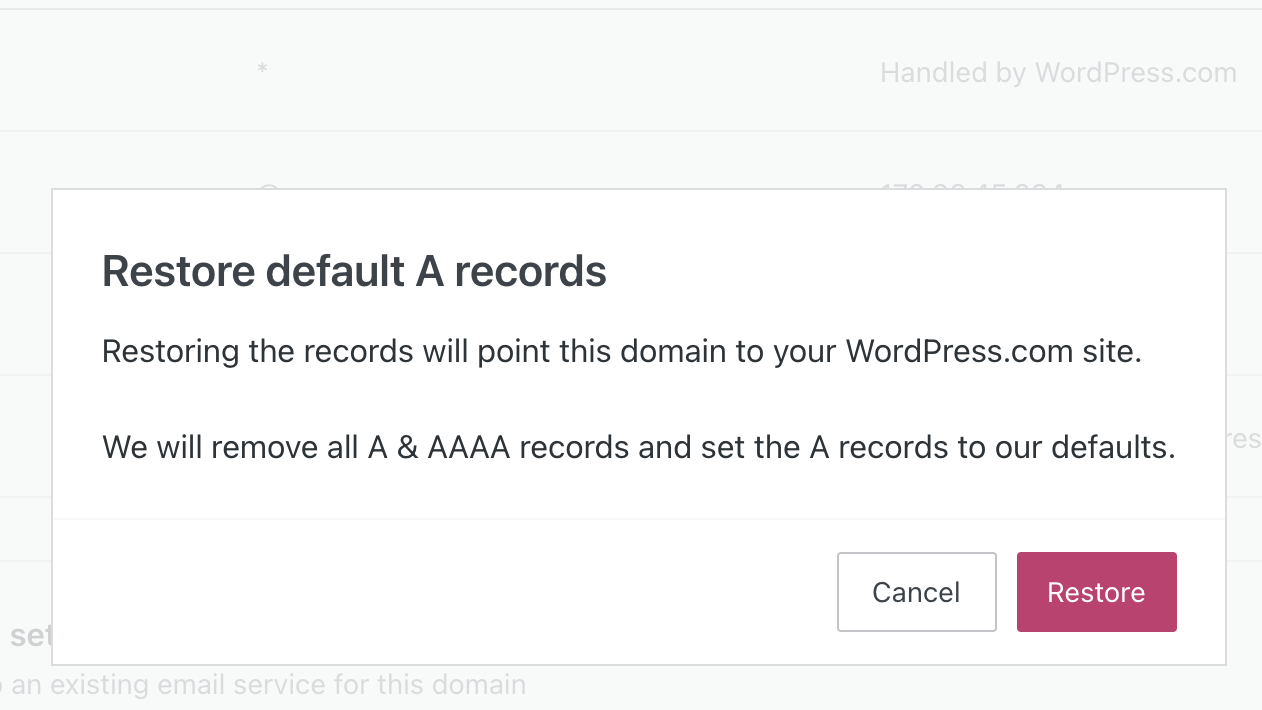
Restoring default A records will remove any custom A Records and quickly point your domain back to your WordPress.com site. The steps to take are:
- From your dashboard, navigate to Upgrades → Domains (or Hosting → Domains if using WP-Admin).
- Select your domain name.
- Next, click on “DNS records“.
- Click on the button that says “Manage“.
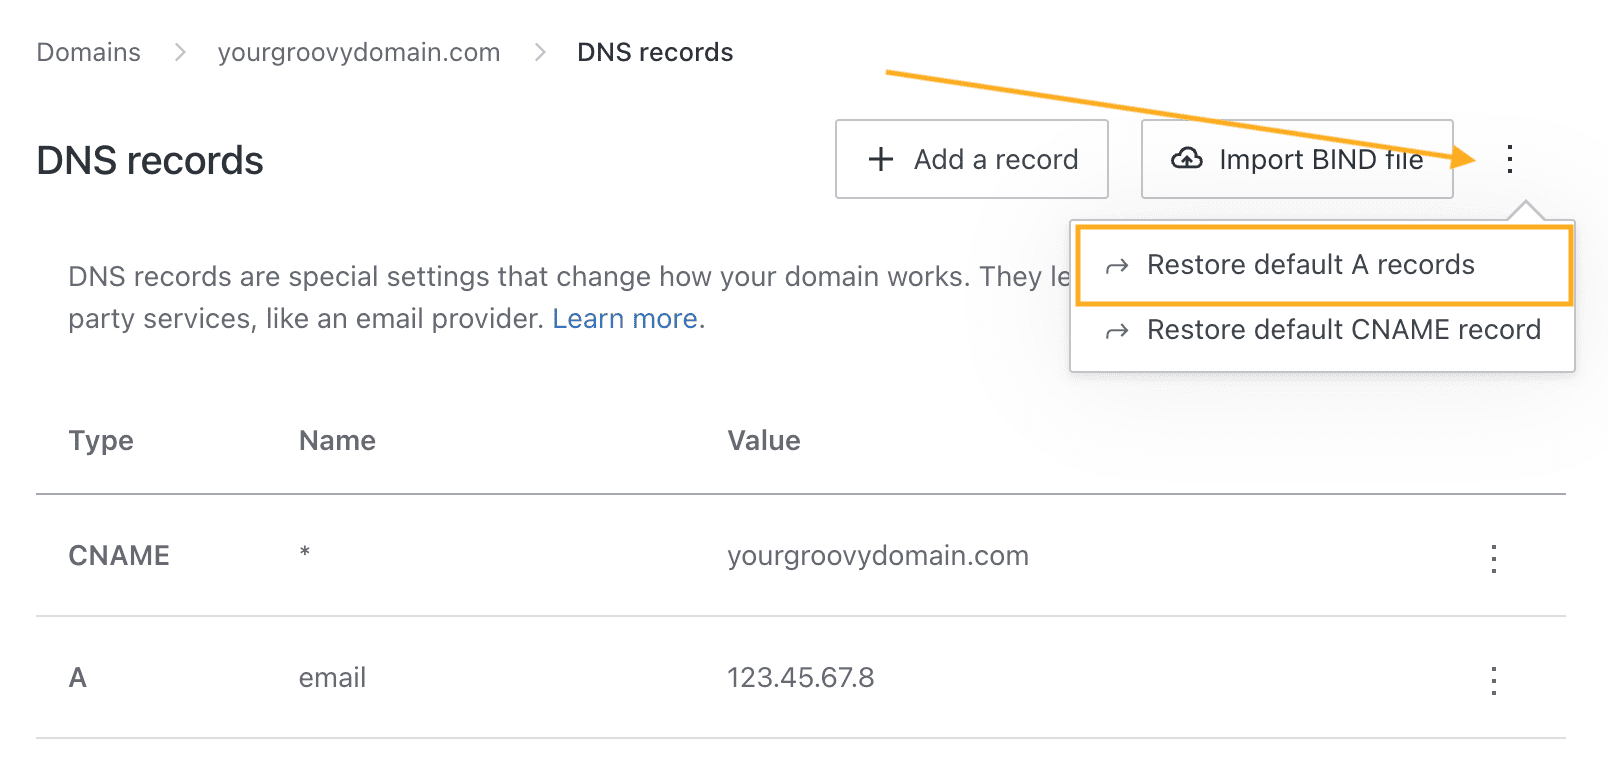
- Click the … (three dots) icon in the top right corner.
- Click on the “Restore default A records” option:
- On the next screen, click the “Restore” button to confirm.