A social links menu can make it easy for your website visitors to find you on social media by displaying attractive icons for services like Facebook, Instagram, YouTube, and many more. This guide will show you how to create a social links menu.

In this guide
In the Site Editor, display a social links menu by inserting the Social Icons block. Follow these steps to add a new social links menu:
- Visit your dashboard.
- Go to Appearance → Editor.
- Click on the right side of the screen to open up the editing area.
- Alternatively, select Library and choose the area of your site you wish to insert social links (typically the header or footer.)
- Open List View at the top-left corner of your screen (it’s the icon that looks like three horizontal lines above each other.)
- Select a position and click the + Block Inserter.
- Search for the Social Icons block and click to add it.
- Click the + icon and select the first social media profile you wish to add.
- Click the newly-added icon and enter the URL of your social media profile. Press enter/return on your keyboard to submit.
- Repeat for as many icons as you wish to add.
- Click Save to save your changes.
On sites with classic themes, you can add a social links menu using the Customizer using one of two methods:
- Insert a Social Icons block. See this guide to learn more.
- Use your theme’s social links menu location, if your theme supports it. This method is described below.
To create a social links menu, follow these steps:
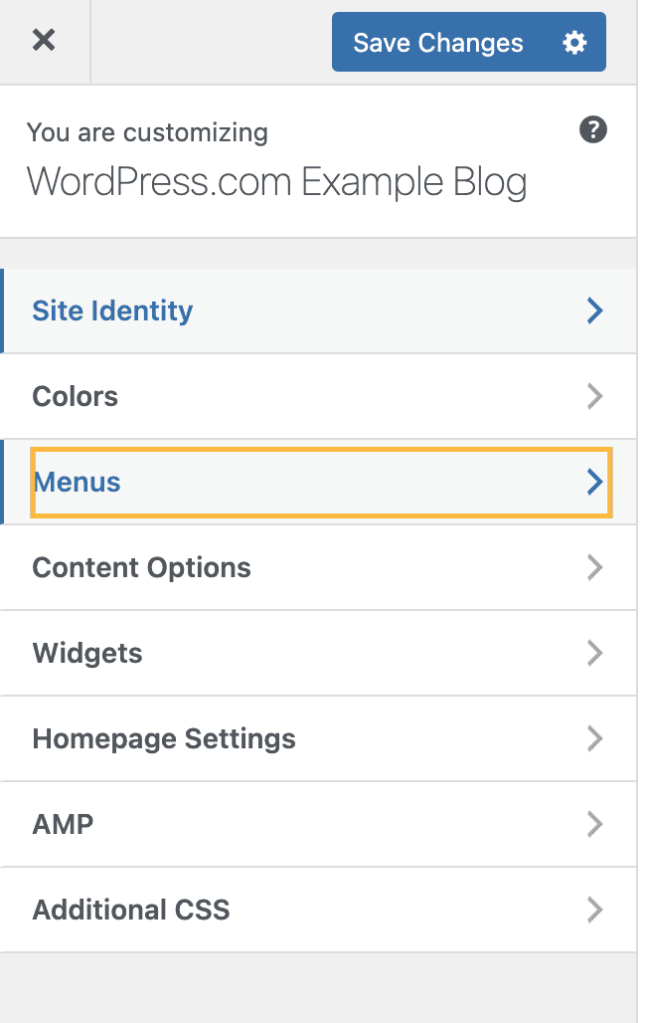
- If you see a Social menu has already been created, you can click it to begin editing. If not, click Create New Menu instead and type in a name, such as “Social” for example.

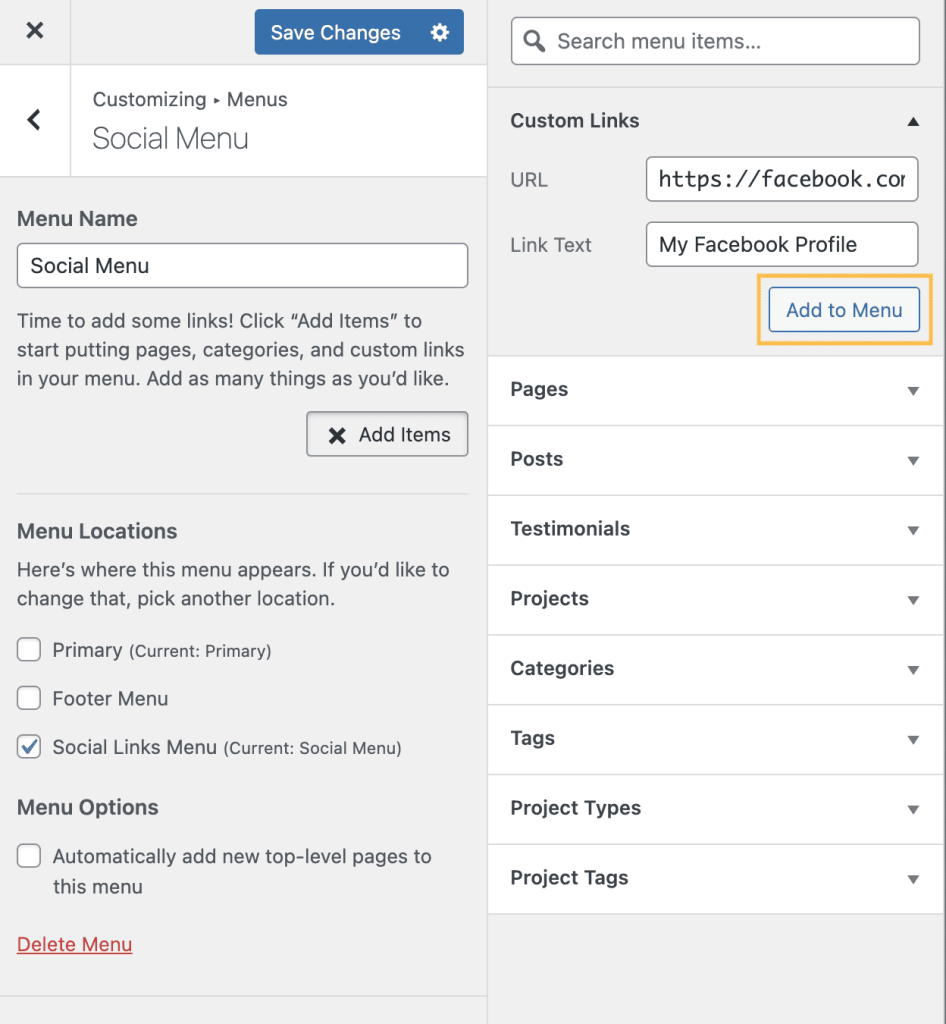
- Ensure that the checkbox for Social Links/Icons is checked under Menu Locations:

- To add your first social media link to the menu, click + Add Items:

- Next, select the Custom Links menu item type:

- Here, fill in the two fields:
- URL: Add the link address for one of your social media profiles. For example, if the link to your Facebook profile is https://www.facebook.com/WordPresscom, you would paste that into the URL field.
- Link Text: Type a name for the social media site, such as Facebook or Instagram.
- Once you have filled in both fields, click Add to Menu:
- Repeat the above steps until all the social media profiles you wish to use have been added to the menu:

- Finally, click Save Changes. Check your site to see your brand new social media icons!
Linking to any of the following sites in your social links menu will automatically display its icon in your menu:
- 500px
- Amazon
- Apple
- Bandcamp
- Behance
- CodePen
- DeviantArt
- Digg
- Dribbble
- Dropbox
- Etsy
- Flickr
- Foursquare
- GitHub
- Goodreads
- Google+
- Email (mailto: links)
- Meetup
- Medium
- RSS Feed (URLs with /feed/)
- Skype
- SlideShare
- Snapchat
- SoundCloud
- Spotify
- StumbleUpon
- Tumblr
- Twitch
- Vimeo
- VK
- WordPress
- Yelp
- YouTube
Older themes may support a different set of icons — your theme’s documentation may list supported icons.

