Use the Media Library to manage your site’s images, audio, videos, and documents all in one place. This guide will explain how to view and make changes to the media files on your website.
In this guide
Video Transcript
One thing I don’t leverage as often as I should, and that’s pretty helpful, is the media management section of the site.
So if I’m in my home and I go into this left side bar, I’m going to go into media, and you can see all the files that you uploaded, all the different versions of those files, And it’s even divided up into image and docs and videos and audio files.
So if you’re somebody who puts up video, and you put up podcasts, and you put up blog content, this is a really helpful way to manage assets that are in here.
A cool thing you can do in here is actually edit some of these images and how they look So if I wanted to go through and edit it here instead of while I’m creating my content, I can actually see all the attributes for it.
So maybe I want to change its name. See, it has a reference and credit already built in because I pulled that from Openverse.
I can add a description to it if I want, but I can also play around with the actual cropping. I can turn it upside down if I wanted to since he likes to hop around a lot.
I can mirror image it, which is kind of neat.
And I can also crop it down if I felt like that was too big.
So I can apply some of the block level features to it, like the duotone filter or rounding it out or anything like that, but I can edit the photo.
So if you find one you like, but you want to change the size of it, you want to change the orientation of it to make it fit the content that you’re working on, you can actually do that from the media library. Or say you wanted two different versions of one of them. Let’s say I wanted since, for some reason, I have two Chewbaccas in here.
Oh, and you can multi-select and bulk edit too, which is kind of cool.
So I’m going to I’m gonna choose this, I’m gonna edit this image, and say I wanna flip this one. I’ll click done, and I’ll save it. So now I have Chewbaccas facing two different ways in here, which is kinda neat.
So you can see all the content in here. Like I said, if you have, you can filter it down to just images. I don’t have any docs uploaded right now or any of these things, but if you have all those different assets, you can actually go in and see them and manage them.
Maybe a document was an outdated version, and you wanna go in and replace it or edit it, get rid of the old one, so you don’t accidentally link it anywhere else and can link people to the new one.
Maybe you have different versions of the videos, or you want to clip and edit them down or something.
So the Media Library is made to manage all these things. You can do a lot of this from the post editor when you’re adding your image into it, but if you have a workflow where maybe you’re uploading a bunch of images at the same time or it’s a series of images you might use across different pages and posts, the Media Library is a great place to upload them and get them set kind of the way that you want to so you can go through and just make sure they’re ready to go when you start putting your content in.
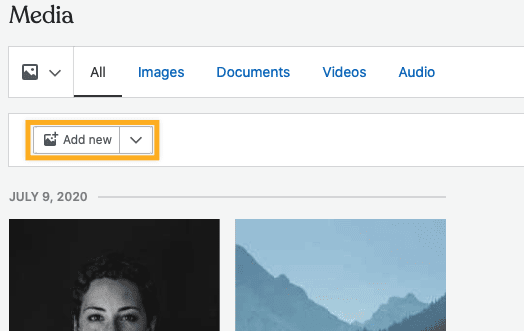
To access the media library, click on Media in your site’s dashboard:

In Media, you will see all the images, documents, video, and audio files you have uploaded to your site, sorted by the most recent. Filter by Images, Documents, Videos, and Audio using the tabs at the top.
Click the magnifying glass search icon to search all of your site’s media by file name.
View your site’s available storage space in the top-right corner.

Any files you add to pages and posts using the WordPress editor will appear in Media. You can add media files in the WordPress editor using the Image block, Gallery block, Video block, Audio block, and more.
You can also upload images and other media directly on the Media screen following these steps:
- Visit your site’s dashboard.
- Select Media.
- Click Add New to open your computer or device’s files.
- Select the media files you want to upload. You can hold down CTRL on Windows or CMD on Mac to select multiple files.
- Click upload or open (the name of the button depends on which browser you’re using.)
You can also drag and drop media files from your computer directly into the Media window.
- Visit your site’s dashboard.
- Select Media.
- Click on the chevron (downward arrow icon) next to the Add New button, then click Add via URL:

- Copy the URL of the media file and paste it into the field, then click Upload:

Each image, video, document, and audio file in Media includes the following editable information:
- Title: What the file is called.
- Caption: A line of text that will display below the media item.
- Alt Text (images only): Describe the image for search engines and readers using screenreaders and other assistive technology. Alt text also appears if the image fails to load.
- Description: An optional description of the media file that will display on the file’s attachment page (if you choose for an image to be linked to its attachment page).
Below this information, you’ll find details about your file: the URL, the file name and type, the date the file was uploaded, the dimensions, and more. Videos include additional fields.
To edit these details, take the following steps:
- Visit your site’s dashboard.
- Select Media.
- Click on the media file(s) you want to edit. You’ll see a border around the thumbnail and a number in the bottom right corner.
- Click the Edit button.
- Make your changes to any of the editable fields.
- If you have selected multiple files, use the left and right arrows to navigate between each one.
- Click Done in the lower right corner to save your changes.

Click Edit Image to rotate, crop, and flip photos. For a full guide, see Edit an Image in Media.
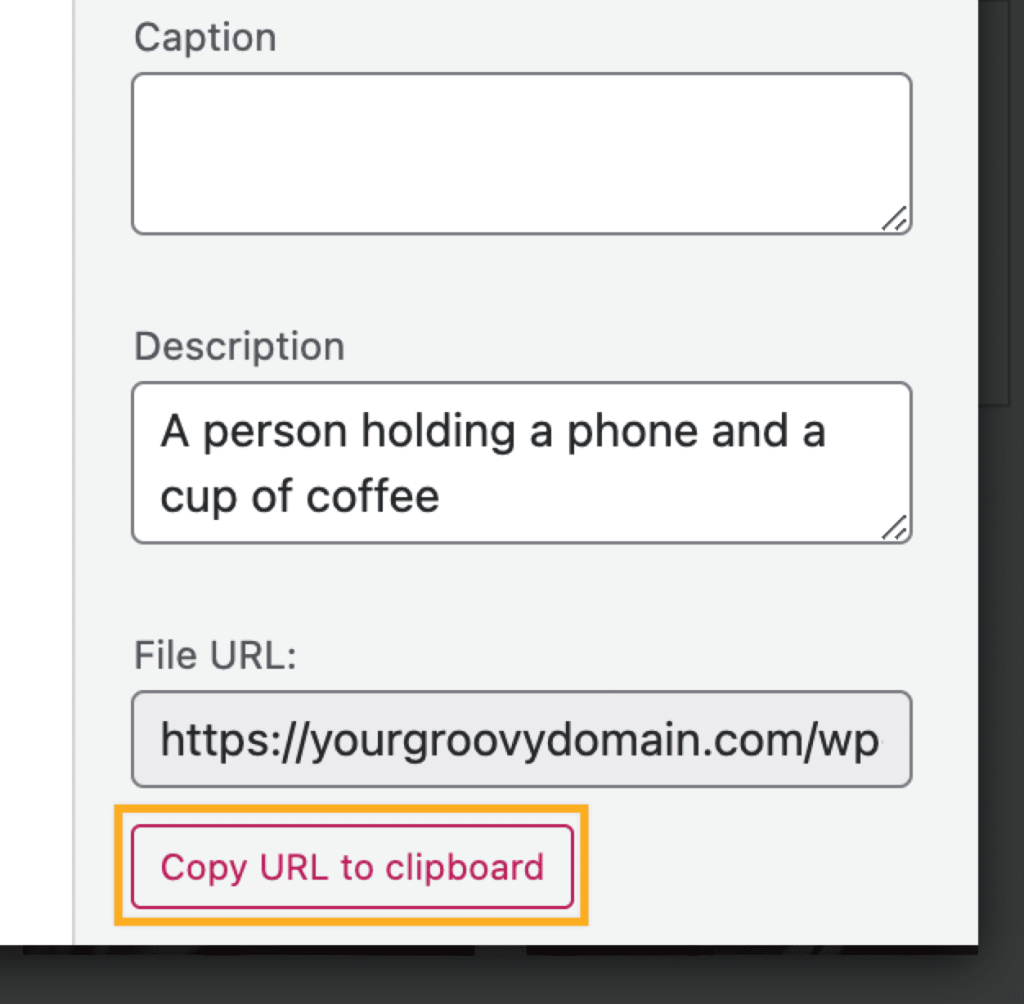
Each image, video, audio file, and document has a unique URL. To obtain this URL, take the following steps:
- Visit your site’s dashboard.
- Select Media.
- Click on the media file(s) you want to access. You’ll see a border around the thumbnail and a number in the bottom right corner.
- Click the Edit button.
- Locate the URL box.
- Click the “Copy URL to clipboard” button to copy the link to your clipboard to then paste and share where you’d like.
A free, Starter, or Explorer plan site uses the following URL structure for media files:
https://yourgroovysite.files.wordpress.com/YYYY/MM/file-name.jpeg
where yourgroovysite is the default site address, file-name is the name of your file on the computer, and .jpeg will be the type of file you have uploaded.
For sites with a plugin-enabled plan, the URL of media on your site will use the following format:
https://yourgroovydomain.com/wp-content/uploads/YYYY/MM/file-name.jpeg
Files uploaded prior to upgrading your site’s plan will continue to be available at the original *.files.wordpress.com URL.
You can delete files from your Media to free up space.
⚠️
Deleting a file from Media will also remove it from the post or page it is on. Deleted media files cannot be recovered. You may want to export a backup of the media library before deleting large amounts of files.
- Visit your site’s dashboard.
- Select Media.
- Select the media file(s) you want to delete. You’ll see a border around the thumbnail and a number in the bottom right corner of each file.
- Click the trash can icon next to Edit. This appears after selecting at least one file.
- You will see a warning that it will remove the files from being shown on your site. Click Delete to confirm:

Unlike posts, pages, and comments, deletions from your media library are permanent and will not be moved to a trash folder.
Your site’s amount of storage space may not update immediately after deleting files, so wait a few minutes before checking. The amount of space freed may not appear to drop at all until 500kb of images has been deleted (1% of the 50mb is 500kb.)
After deleting a file, the direct web addresses to the files might continue to work for up to a few days as they are cached. In addition, images (and other media) may continue to be listed in search engines until the search engines re-crawl your site (typically every few days or weeks.)
Along with media files uploaded directly to your site, you can access images from several other sources:
- Connect to Google Photos to view the most recent files uploaded to your Google Photos account.
- Access over 40,000 beautiful and useful copyright-free images from Pexels free photos to use on your site.
- Search over 600 million Creative Commons licensed and public domain image and audio files using Openverse.

