Ready to move your site from Squarespace to WordPress.com? This guide will show you how to export the contents of a Squarespace website and move your site to WordPress.
In this guide
- Step 1: Create a WordPress.com Site
- Step 2: Download Your Squarespace Export File
- Step 3: Import Your Squarespace Export File into WordPress.com
- Step 4: Set the Permalinks
- Step 5: Customize Your WordPress Site
- Step 6: Transfer Your Domain From Squarespace to WordPress.com
- Transfer Squarespace Ecommerce to WooCommerce
If you don’t already have a WordPress site, start one here.
Take the following steps to download your information from Squarespace:
- Log into your Squarespace account.
- Open the Import & export content panel.
- Click on “Export“.
- Click the “WordPress” icon:
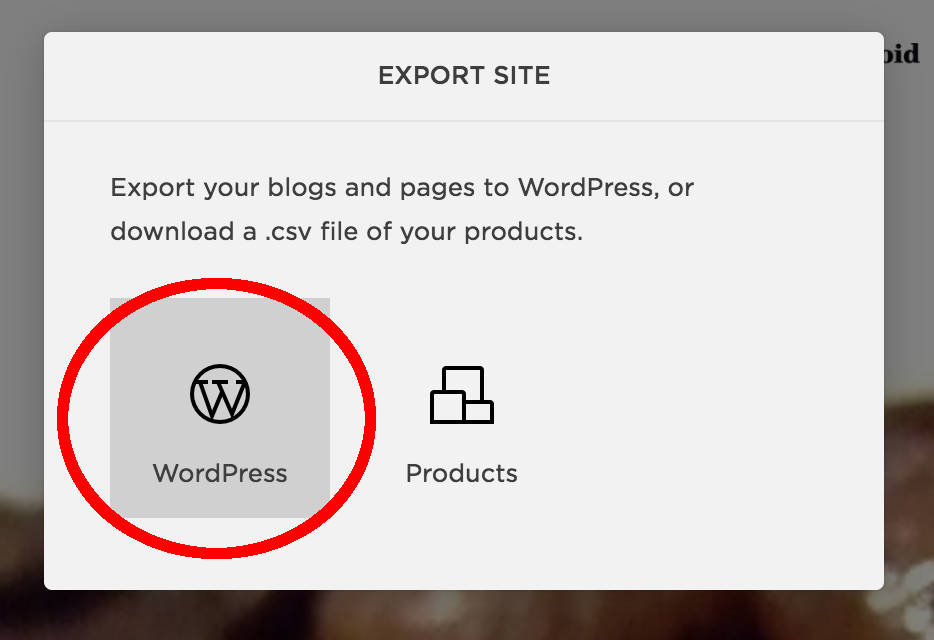
- Click the “Export” button to start the process of downloading your content from Squarespace. You’ll see a progress bar while Squarespace is creating the export file.
- Once the export is ready, click the “Download” button to save the file containing the contents of your site.
Your Squarespace export file will be in an .xml format, compatible for importing content into WordPress. The file will contain your posts, pages, comments, tags, images, audio files, and embedded video. Your Squarespace site should remain publicly accessible throughout the export/import process.
Some types of content may not be included – see this Exporting your site guide from Squarespace to learn which content is supported. Any unsupported content can be added manually in WordPress after the import.
The import may not include all images from Squarespace. WordPress will try to import images from your Squarespace site, but images created from external links might not all come through. In those cases, manually upload the images to any pages and posts missing an image.
Now that you have downloaded your Squarespace content as an XML file, you can import it into your WordPress.com site. Take the following steps:
- Visit your WordPress.com site’s dashboard.
- Navigate to Tools → Import:
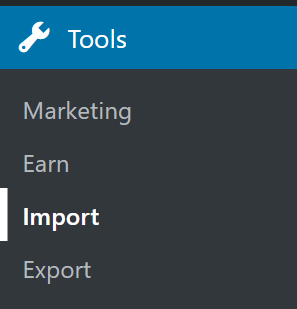
- Choose the Squarespace importer.
If you do not have the specific importer in the list, look for the option to use WordPress.com’s guided importer located at the top of your screen.
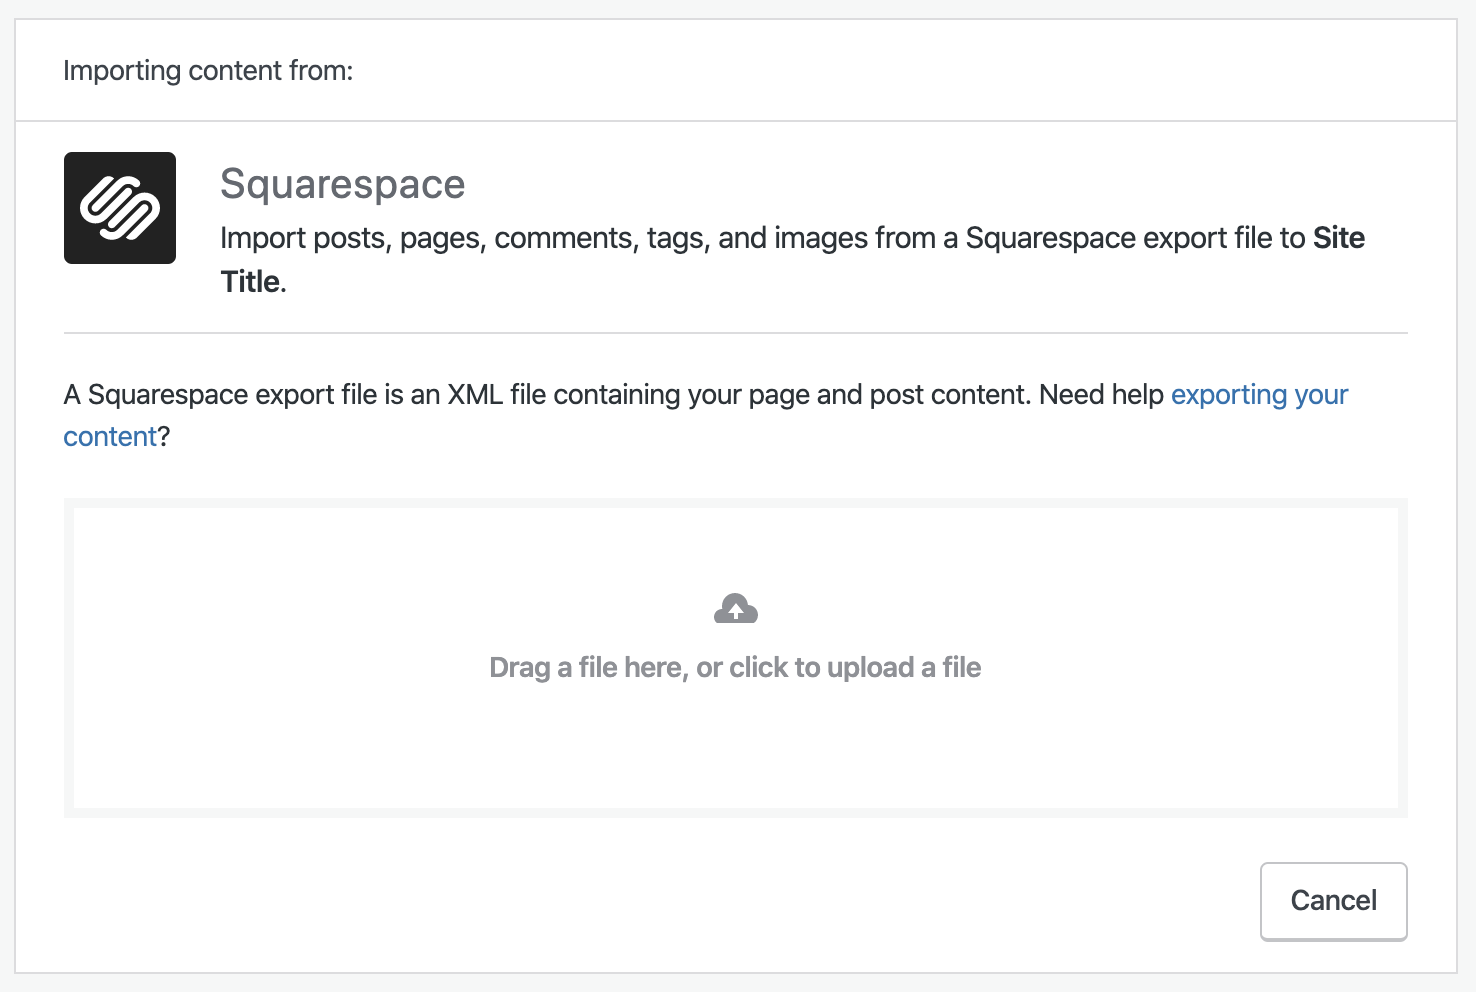
- In the box provided, upload the file you downloaded from Squarespace:
- If multiple authors are detected on your Squarespace site, you will be presented with an option to assign each author’s content to the equivalent users on your WordPress site. Otherwise, your Squarespace content will be automatically assigned to your WordPress.com account user.
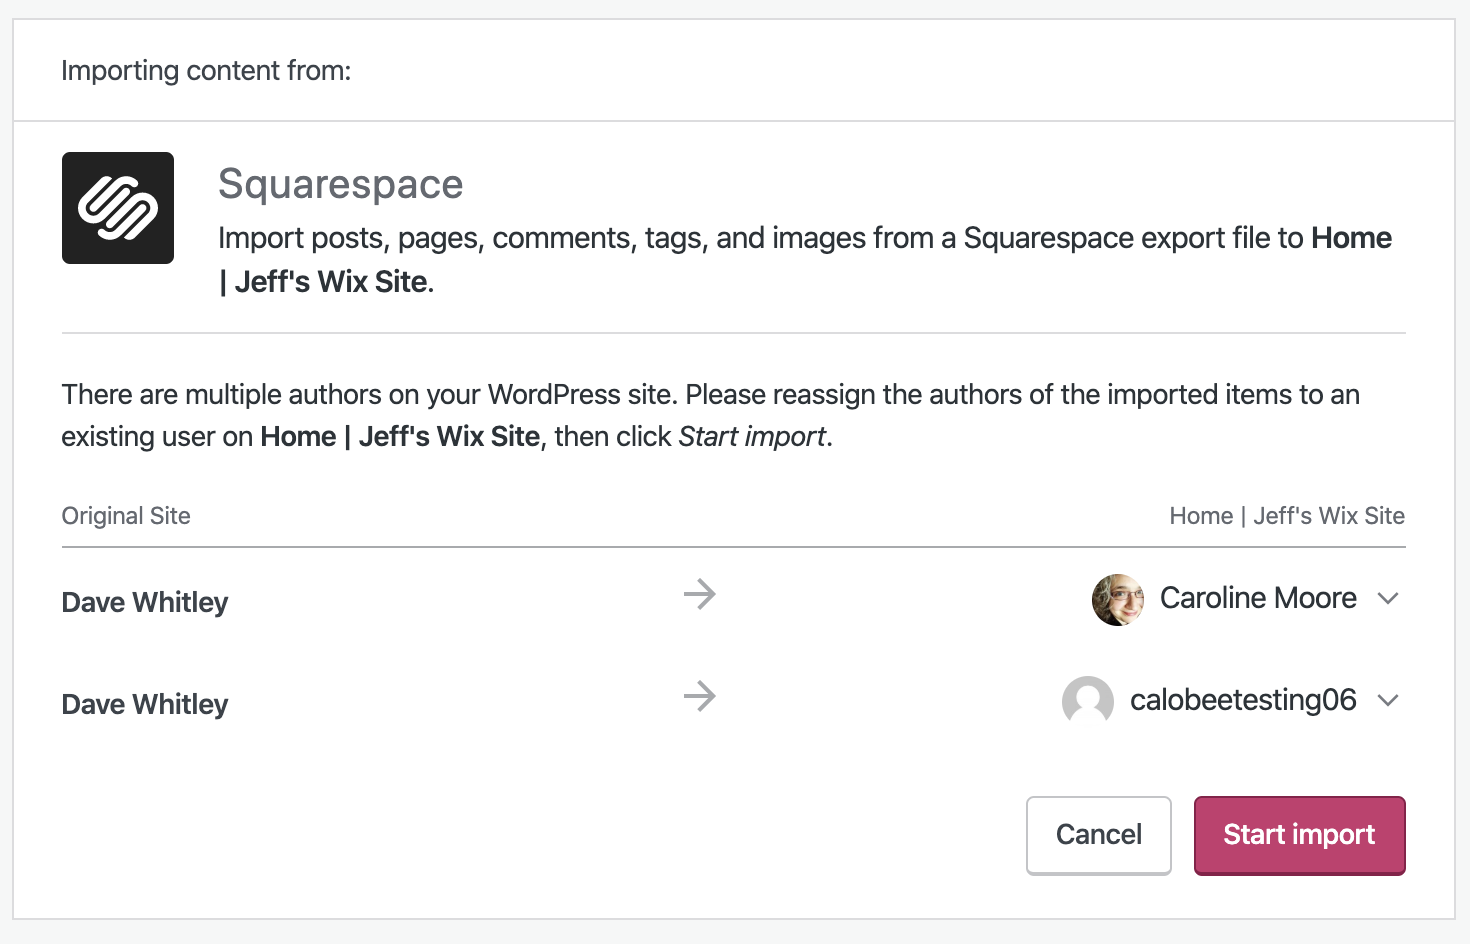
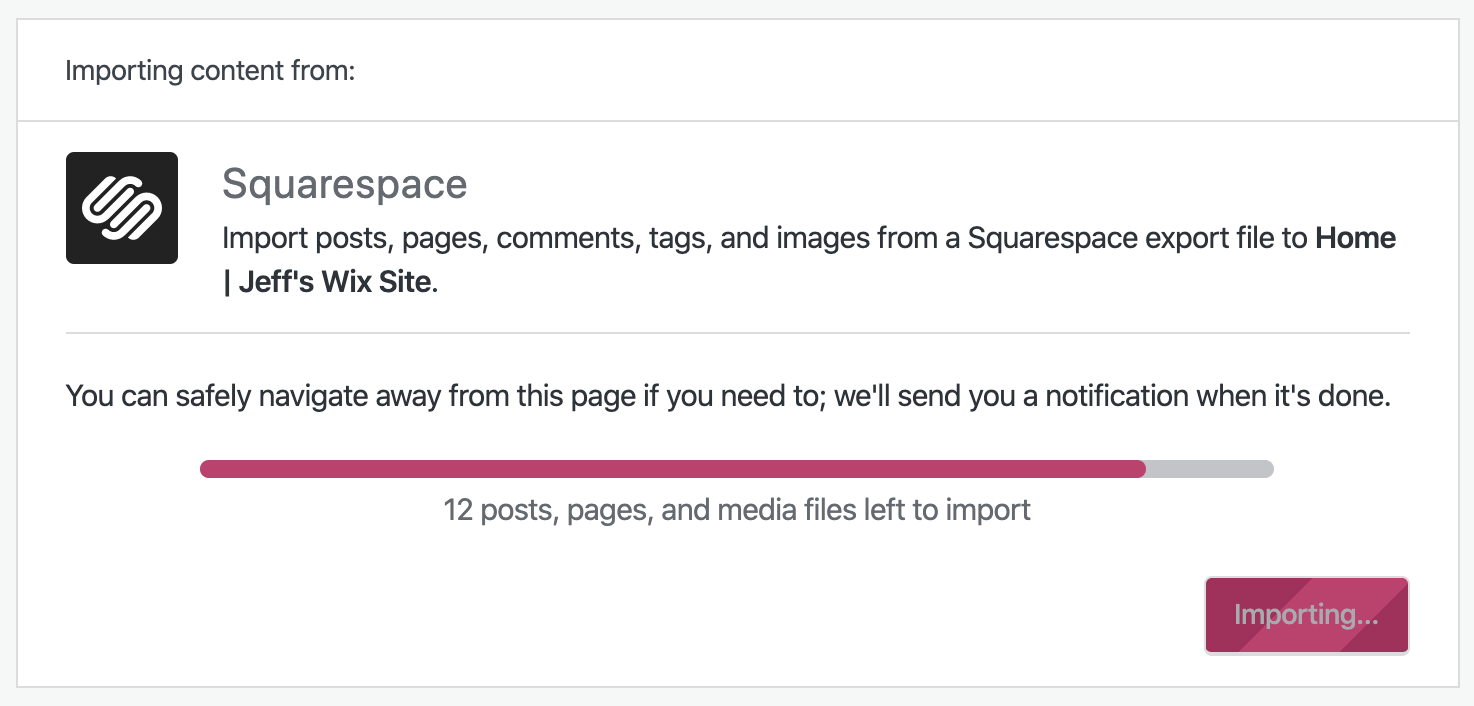
- Once the file has been uploaded, click the “Start Import” button. You’ll have a progress bar while the import is going on. You can leave this page – the import will continue in the background. You should receive an email when it’s completed.
This section of the guide applies to sites with the WordPress.com Creator or Entrepreneur plan. If your site has one of our legacy plans, this feature is available on the Pro plan.
Permalinks are the URLs for each page and post on your site. With this optional step, you can ensure each blog post URL on your WordPress site matches the post URLs you had on Squarespace.
For example, let’s say your blog posts on Squarespace looked like this:
www.yourwebsite.com/blog/[BLOG-POST-TITLE]
To mimic the above link format on your new WordPress site:
- In your dashboard, navigate to Settings → Permalinks.

- Select the “Custom structure” option.
- In the box, type
/blog/followed by the%postname%tag. - Click the “Save Changes” button at the bottom of the screen. Your posts on WordPress will automatically include the blog title after “blog,” as follows:
http://www.yourwebsite.com/blog/post-name.
Learn more about editing permalinks on WordPress.
With your content imported, you can now customize the design of your WordPress website.
The design of a WordPress website is set by the “theme”. Themes are the equivalent of “templates” on Squarespace, and give you beautiful professional designs that are easy to edit (no coding required!)
Navigate to Appearance → Themes to choose a theme for your website. Visit our Themes guide to learn more.
To ensure images can be transferred over successfully, your Squarespace site should remain publicly accessible throughout the export/import process. Once you’re happy with the content and design of your new WordPress site, you can start pointing traffic there by adding your domain to WordPress.com.
Follow these steps to connect your domain from Squarespace or these steps to transfer the domain registration to WordPress.com.
If you use your Squarespace website for ecommerce, you can move your online shop over to WordPress too. You can export your Squarespace products in a single CSV and then import them into WooCommerce, the plugin that powers ecommerce on WordPress, with the following steps:
- In your Squarespace Home Menu, click “Commerce“, and then click “Inventory“.
- Click “Export all“. Visit the Exporting products to a .csv guide from Squarespace for more.
- On your WordPress.com site, install and activate the free WooCommerce plugin.
- In your WordPress.com dashboard, navigate to WooCommerce → Products.
- Select “Import“ at the top. This will display the Upload CSV File screen.
- Select “Choose File” and choose the CSV you downloaded from Squarespace.
- Click “Continue“.
- The Column Mapping screen will automatically attempt to match (or “map”) the Column Name from your CSV to WooCommerce Fields.
- If there are fields you don’t want to import, use the drop-down menus on the right-hand side of each field. By default, the importer will not import unrecognized columns.
- Select “Run the Importer.” Do not refresh or close the browser tab while the importer is running.
- Your Squarespace Products will now be available as WooCommerce Products.
More detailed guidelines on using the WooCommerce CSV Product Importer can be found here.

