When you create a WordPress.com account, you will also have a Gravatar URL reserved for you based on your WordPress.com username. You can create a Gravatar account by uploading a photo at My Profile Settings or by logging in to Gravatar at any time using your WordPress.com credentials. Your WordPress.com and Gravatar accounts are linked automatically. Gravatar means Globally Recognized Avatar.
Once you configure your avatar, you’ll see it when you comment on blogs, when you post to the forums, with any post displayed in WordPress.com’s community features, and on any other site using Gravatar’s feature.
In this guide
Here are some examples of how we display avatars on WordPress.com:
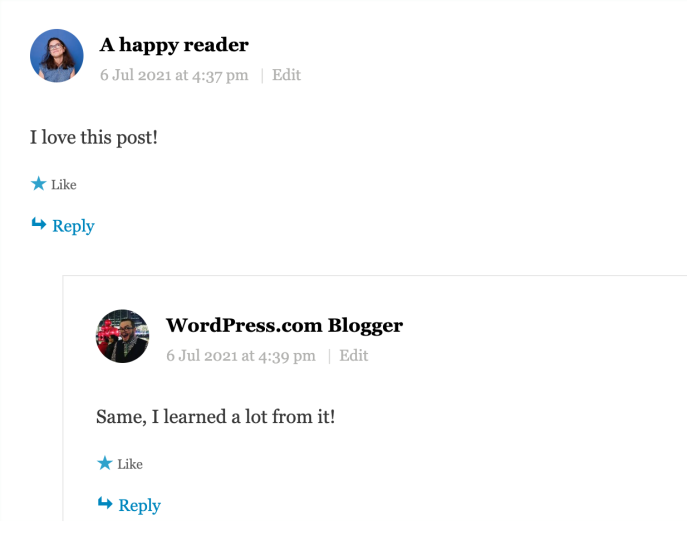
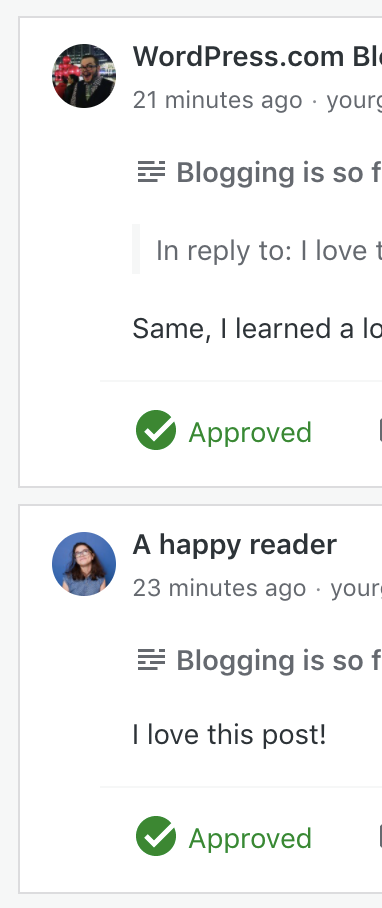
Gravatar information also appears in Hovercards, which show when people mouse over the avatar image shown in comments and other places.

Visit your My Profile settings and click on the avatar in the top left.
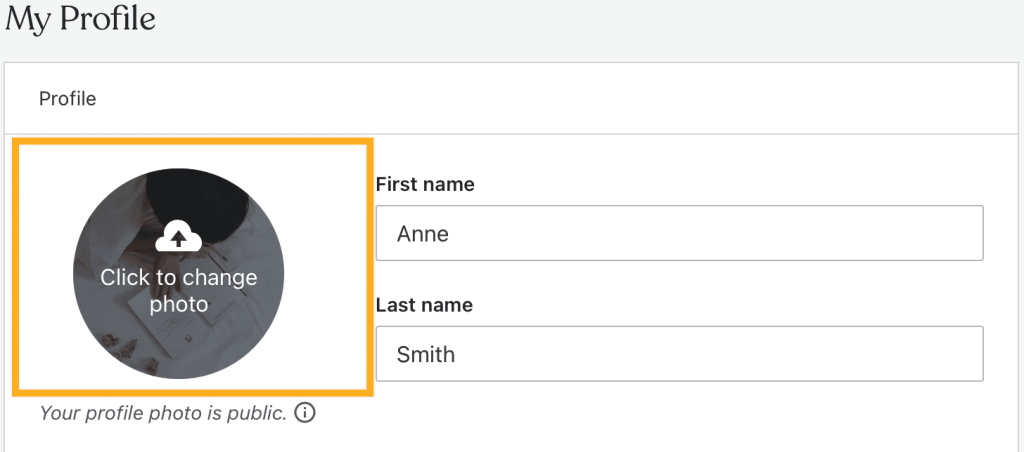
A popup will appear, allowing you to select a photo from your computer. Once you select a photo, you will have a chance to rotate, flip, or crop your photo.
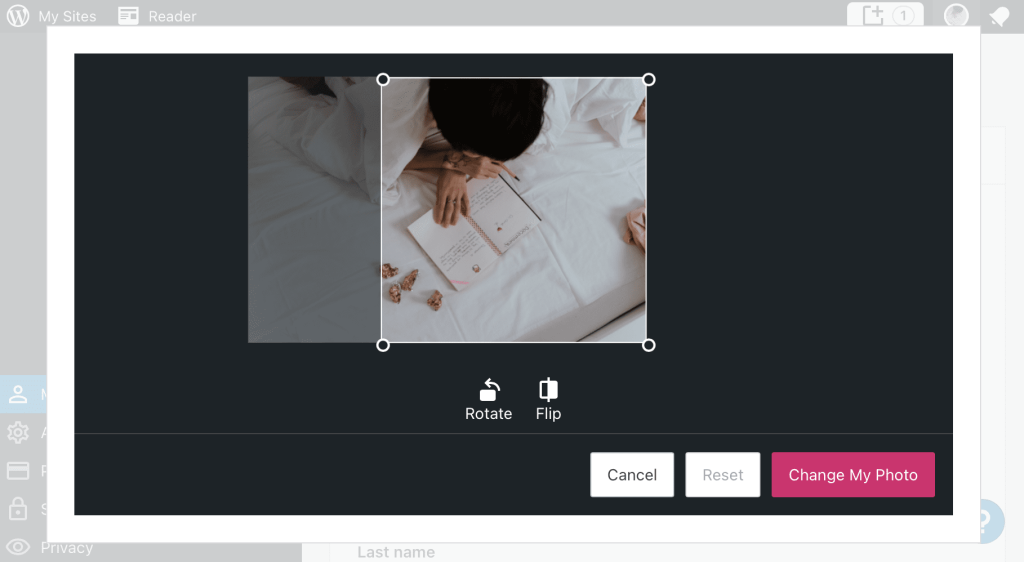
Make any changes you would like then, click Change My Photo to save your new Gravatar photo.
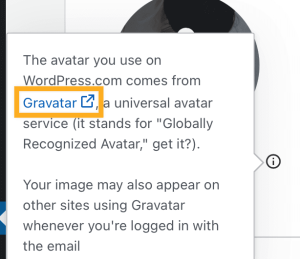
Visit your My Profile settings and click on the info icon on your gravatar photo.

A pop-up will appear. Click the Gravatar link to navigate to your Gravatar Profile page.
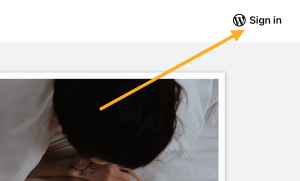
If you are not already signed in to Gravatar.com, click Sign In to sign in with your WordPress.com account.
A list of each email address associated with your account will appear. Click the Remove image link for the appropriate email address. It will then switch to a default Gravatar logo.

The Gravatar shortcode allows you to embed a Gravatar Image into a post, page, or text widget.
- Edit the page or post that you want to add your Gravatar to
- Add the Shortcode Block by typing
/shortcodeor using the Block Inserter Icon to add the Shortcode block - Enter the following shortcode, replacing
user@yourgroovy.comwith the email address associated with your gravatar
[gravatar email="user@yourgroovy.com" size="128"]You’ll also be able to customize the following layout options:
- Size: Set a custom size for the image. Remember, Gravatars are square and the max upload size is 512px by 512px so setting a size larger than this may be blurry.
- Rating: Ratings are self-defined by the uploader. This lets you choose the minimum rating for an image to appear.
The Gravatar Widget allows you to display a Gravatar image along with some custom text. This is ideal for displaying a brief About Me section on your blog sidebar or footer areas.
Here’s an example of what it looks like:

To add a Gravatar Widget:
- Go to My Site → Appearance → Customize → Widgets
- Click the Block Inserter icon, and type in
gravatarto see your Gravatar widget options - Click on the Gravatar icon to add the widget

Once you add the widget to your site, you’ll see the following widget settings:
Title – The title of your Gravatar image. (i.e., About Me, About the Author)
Select a user – Select a registered user of your blog, or pick custom and enter an email address in the box below.
Size – Select a size for the Gravatar image (small, medium, large, extra-large).
Alignment – Select an alignment for the Gravatar. Left and right will allow the text to flow on either side of the image, while center will put the image in the center. No alignment will place the text underneath the image.
Gravatar link – If you want your Gravatar image to link to another page (i.e., your About Me page), enter a URL here.
Text – Enter the text (HTML allowed) you want to display with your Gravatar.
The Gravatar Profile Widget allows you to pull in your Gravatar image along with more of your Gravatar profile data than the Gravatar Widget.
Here’s an example of what it looks like:

For example, to add a Gravatar Profile widget:
- Go to My Site → Appearance → Customize → Widgets
- Click the Block Inserter icon, and type in
gravatarto see your Gravatar widget options - Click on the Gravatar Profile icon to add the widget

Once you add the widget to your site, you’ll see the following widget settings:
Title – The title of your Gravatar profile block. (i.e., About Me, About the Author)
Select a user – Select a registered user of your blog, or pick custom and enter an email address in the box below. Users may have multiple addresses on a single Gravatar account, but only the primary address displays profile information.
Show Personal Links – Allows you to display links to your websites, blogs, or other sites that help describe who you are. You can manage your links at Gravatar.com or in your dashboard under “My Profile.”
Show Account Links – This allows you to display links to profiles that you use across the web. These account links come from verifying services on Gravatar. You can manage your verified services at Gravatar.com or in your dashboard under “My Profile.”
- If you change your email address, you may need to go to My Gravatars and re-assign your Gravatar to your new email address.
- If the pop-up for Gravatar doesn’t work, you can visit gravatar.com directly.
- If you change your avatar, it may take a few hours to show because of our cache. You may clear your browser’s cache to immediately see the change.
- There are several avatar display options available in the Discussion Settings. Gravatar image appears on the widgets only if the Show Avatars setting is enabled in the Discussion Settings.
- If your Gravatar is set but not showing up on blog pages, it may be because the image rating is too high. You can check and change image ratings on gravatar.com.
For more information, please visit the gravatar.com support page.
