Google Business Profile (formerly known as “Google My Business”) helps businesses with a local presence feature in Google search results for their local area. This guide will show you how to connect a Google Business Profile listing to your WordPress.com website.
This feature is available on sites with the WordPress.com Creator or Entrepreneur plan. If your site has one of our legacy plans, it is available on the Pro plan.
In this guide
To set up your Google Business Profile and connect it to your website, take the following steps:
- Visit your website’s dashboard on WordPress.com.
- Navigate to Tools → Marketing and click on the “Connections” tab (or Hosting → Connections if using WP-Admin).
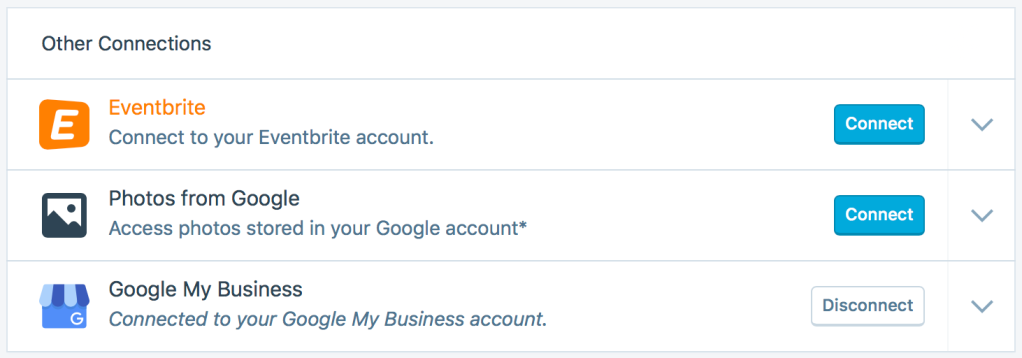
- Scroll down to Google My Business and click the “Connect” button:

- Allow the connection to your Google account to authorize WordPress.com to manage your Google Business Profile and connect it to your website.

- When prompted, click on the “Connect” button.
- On the next screen, you will be asked if your business has a physical location or a local service area. If you do, click the “Connect To Google My Business” button.
If you don’t yet have any listings managed by the Google account you connected, you can create one at this step. If you already have a Google Business Profile listing, skip to the next section of this guide.
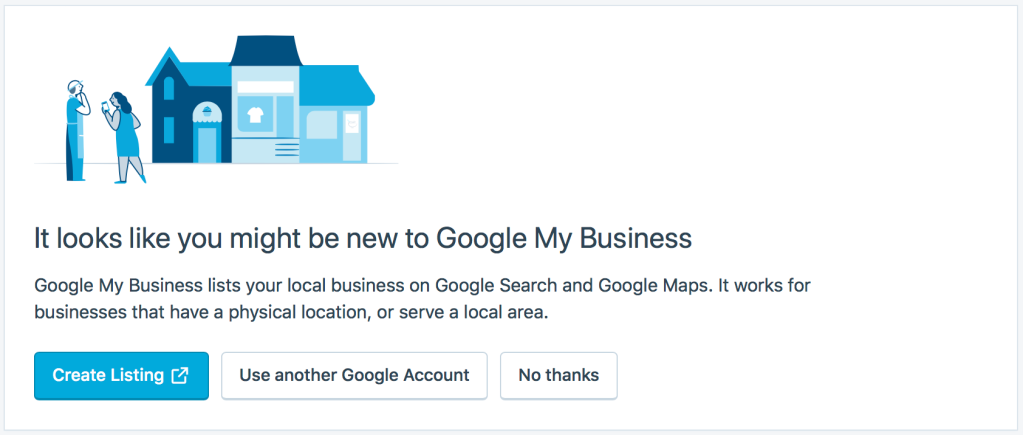
After clicking “Create Listing“, you will be directed to the Google website, where you can create a listing or claim an existing one (Google generates listings for local businesses automatically from multiple data sources, like phone listings, previous websites, etc.)
Creating or claiming a listing involves a verification step during which Google will verify that you are in charge of that physical location. They will provide you with a code to input into their interface, either by calling your phone, which will happen right away or by sending you a letter in the mail, which can take up to 17 days to reach you.
Once you have a listing, it will be displayed with a “Connect Location” button. Note that only one Google Business Profile location may be connected at this time.

Clicking on the “Connect Location” button will connect your website to that listing and result in the “Website” link appearing on Google search and Google Maps results and linking to your website.
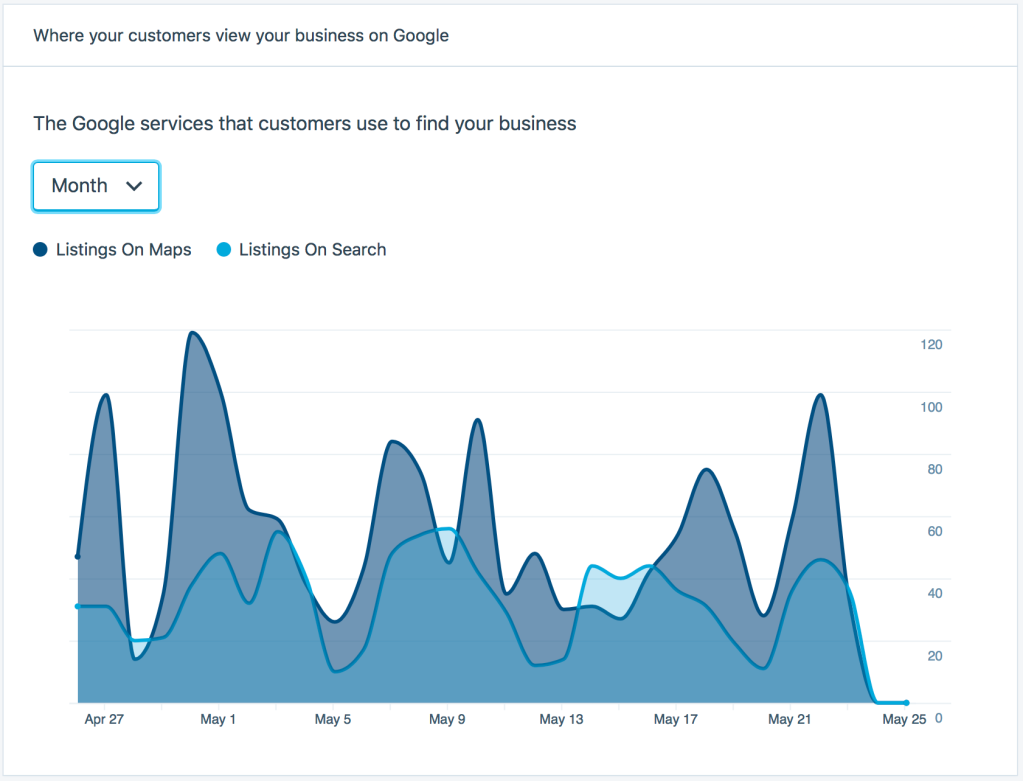
After connecting your Google Business Profile to WordPress.com, you can view stats and other useful information from your Google Business account inside WordPress.com:
To access this information:
- Visit your website’s dashboard.
- Click on Stats on the side (or Jetpack → Stats if using WP-Admin).
- Click on the newly added “Google My Business” tab at the top of the page.
Here, you can access your Google Business Profile listing data and statistics. A link is available to update your listing, and the usage charts allow you to view daily, monthly, and quarterly data:
To disconnect your WordPress.com site from your Google Business Profile:
- Visit your website’s dashboard.
- Navigate to Tools → Marketing and click on the “Connections” tab (or Hosting → Connections if using WP-Admin).
- Scroll down to Google My Business and click the “Disconnect” button: