The footer credit is the line at the bottom of your site’s footer identifying your site as a WordPress.com site. This guide will show you how to edit or remove it.
In this guide
All WordPress.com users can choose among several options for the footer credit:
- Website Built with WordPress.com
- WordPress.com Logo
- A WordPress.com Website
- Start a Blog at WordPress.com
- Website Powered by WordPress.com
- Website Built by WordPress.com
- Start a Store on WordPress.com
To change the footer credit, follow these steps:
- Visit your WordPress.com dashboard.
- Go to Settings → General (or Hosting → Settings if using WP-Admin) and scroll down to the Footer credit section.
- Click Change Footer Credit.
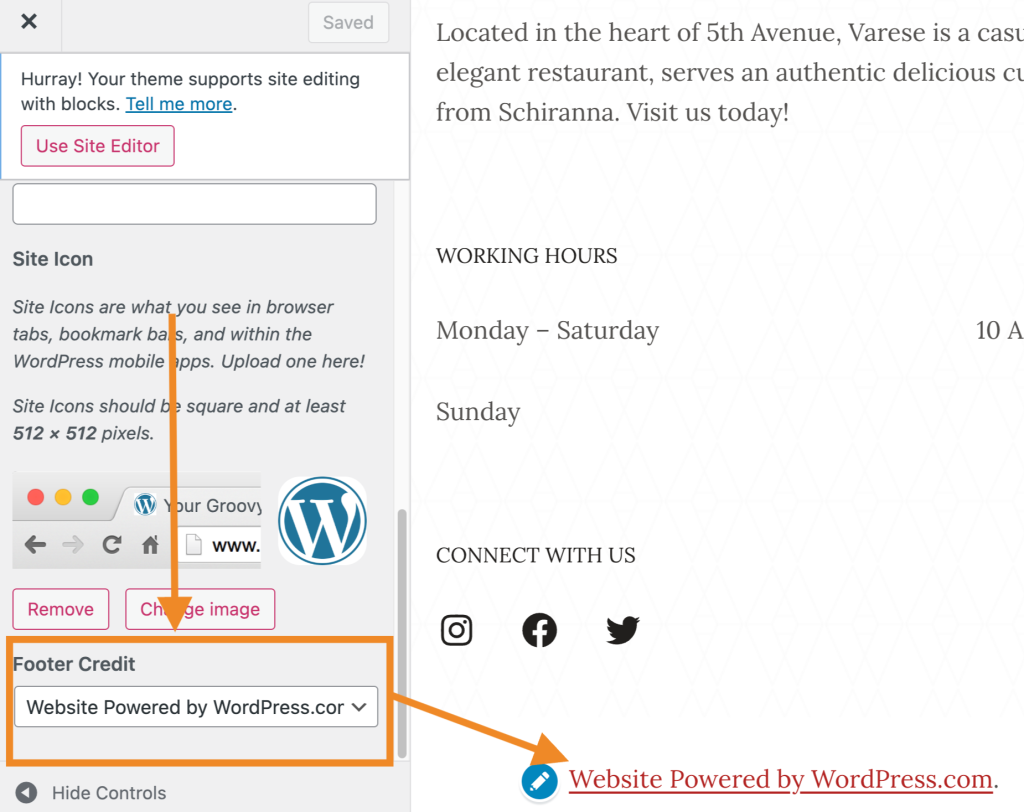
- On the next screen, in the Site Identity section, look for the Footer Credit dropdown option at the bottom.
- Choose the option you would like to use. The preview window on the right side will show you how each one looks on your site as you select it.
- Click Save Changes to make the update.
Sites without an eligible plan are required to keep the footer credit intact. You may choose from one of the alternative wordings or the WordPress logo.
Modifying the style of the footer credit with custom CSS (i.e., colors and font size) is allowed as long as the credit stays readable.
This section of the guide applies to sites with the WordPress.com Creator or Entrepreneur plan. If your site has one of our legacy plans, this feature is available on the Pro plan.
To remove the footer credit, follow these steps:
- Visit your WordPress.com dashboard.
- Go to Settings → General (or Hosting → Settings if using WP-Admin) and scroll down to the Footer credit section.
- Click Change Footer Credit.
- On the next screen, in the Site Identity section, look for the Footer Credit dropdown option.
- Choose ‘Hide’ in the dropdown menu.
- Click Save Changes to make the update.

