If you’re here, it must mean that you’re about to embark on the journey of starting a new blog. Let us guide you through this new adventure! Run through these five steps to make sure you love how your blog looks so you can feel proud to share it with others.
In this guide
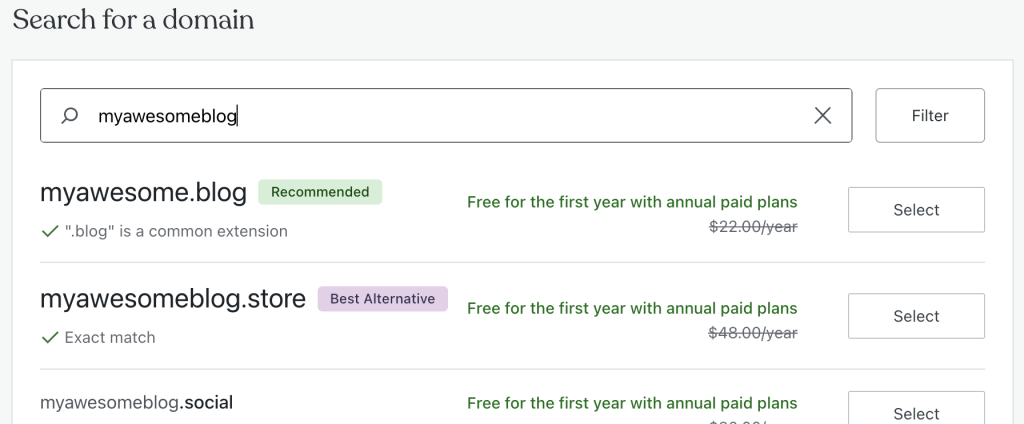
Visit WordPress.com and click on Get Started to create your new account in a few quick steps. Start by choosing your domain, or blog’s site address. You can start with a custom domain or choose the WordPress.com free address if you want to pick your domain later. Tell us a little bit about your goals, so we can tailor your experience.
Choose a name for your blog that tells visitors what your blog is about. Once you decide on the perfect name, make it your Site Title by going to your site’s General Settings. You can add a catchy Tagline too!
By signing up, you already have a site address like myawesomeblog.wordpress.com. Go further with your very own domain like myawesomeblog.com. Your domain is free for the first year with an annual or multi-year WordPress.com plan. Register any available domain at Upgrades → Domains:
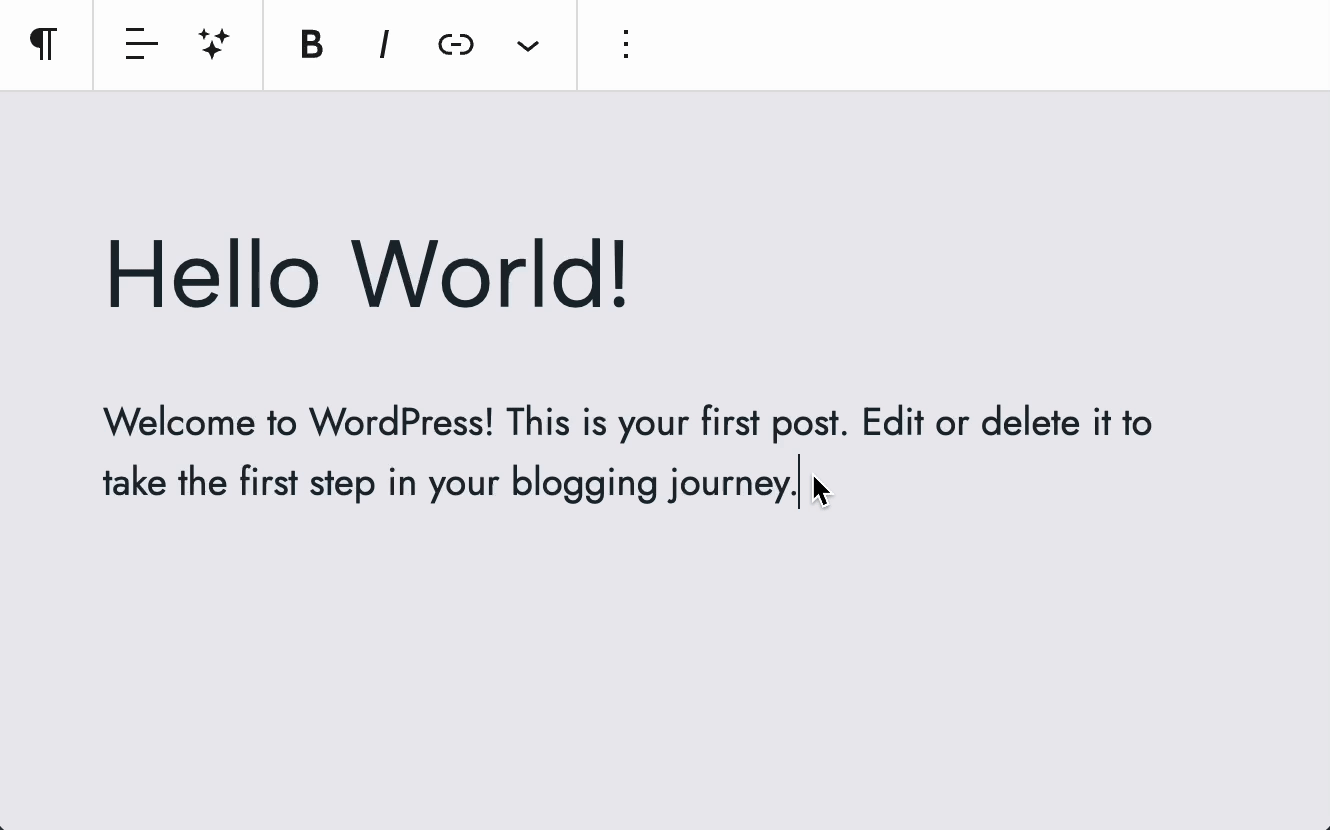
Now it’s time to flex those writing muscles! From your dashboard, click on Posts and click “Add New Post” to start drafting your first introduction to the world. In your post, tell people who you are and what your blog will be about, and ask them to join you on this new journey.
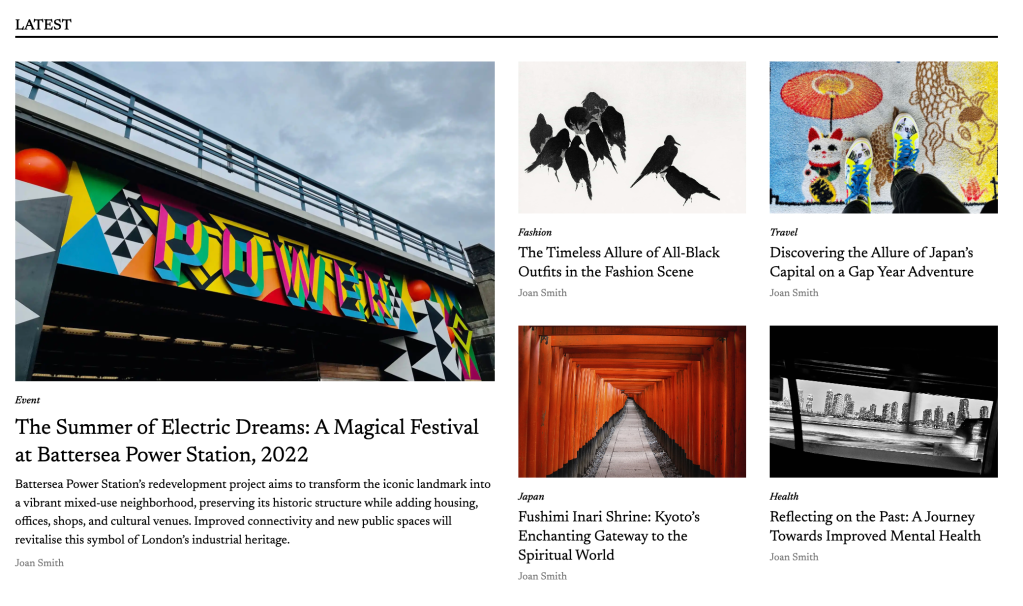
Now that you have published your first post, it’s time to think about how to present your writing on your blog. Choose one of these gorgeous designs and then change, add, or remove any elements to make the design your own.
Your chosen design will display your posts on the homepage or a separate blog page. You can also use specific pages for different categories of posts, such as a Desserts page that only shows posts categorized as Desserts. Learn more about working with categories.
💡
You can explore other ways to display posts as well, such as in a carousel, using the Latest Posts block, or displaying Related Posts.
The menu at the top of a website contains the links readers can click to find their way around your blog. You can add your pages (like Home, About, and Contact), categories, specific posts, and links to other websites. Get started by going to Appearance → Editor and editing the Navigation block (or Appearance → Menus for classic themes).
Now that your blog is ready for the world, how do you get people to read it? First, add a prominent follow button using the Subscribe block to any page, post, sidebar, and/or footer:

Then, invite friends and family to click that follow button to be notified of your new posts. You can also connect your social networks to automatically share new posts to Facebook, Tumblr, and more for extra exposure.
Happy blogging!
Gain all the fundamental (and a few advanced) skills you need to create a blog you’re proud of. Define your audience. Then build, publish, and grow your blog with an on-demand, go-at-your-own-pace course taught by the best bloggers on the internet.

