While most changes can be made with settings in the WordPress editor, you may prefer to use CSS to customize your site if you have experience writing CSS code. This guide will show you how to edit your website with CSS.
This feature is available on sites with our WordPress.com Explorer, Creator, and Entrepreneur plans. If your site has one of our legacy plans, it is available on the Pro plan.
In this guide
CSS stands for Cascading Style Sheets. It is a markup language that controls the appearance of HTML elements on a web page. WordPress includes a CSS editor to add your own CSS styles to override the default styles of your theme.
There is almost endless potential for what you can do with CSS to modify the design of a website. However, it requires knowledge of how CSS and HTML work (or at least a willingness to learn.) The CSS guide from MDN web docs is a great place to start learning CSS.
If you’re not interested in learning CSS, choose a block theme for your site. These themes provide the most flexible options to customize any aspect of your website’s design without any knowledge of computer code.
There are two methods to access your site’s CSS editor, depending on your theme. Each method is explained below.
If your site uses a theme that supports the site editor, you can customize the site with CSS using this method. A quick way to determine if your site uses the site editor is to check under Appearance in your dashboard. If you see Editor here, you can access the CSS editor by following these steps:
- Visit your site’s dashboard.
- Navigate to Appearance → Editor.
- Click Styles in the Design menu on the left.
- If your theme includes Style Variations, you must then click the pencil icon to open the Styles options:

- Click the three dots to the right of the “Styles” heading and choose “Additional CSS“:

- Type or paste your CSS into the text box provided.
- Click the “Save” button at the top right of the screen to save the CSS to your site.
You can preview the impact of your CSS changes on any block type by loading the Style Book. Click on the eye icon to open the style book.
In Site Editor themes, you can apply CSS code to specific blocks site-wide by following the steps below.
- Visit your site’s dashboard.
- Navigate to Appearance → Editor.
- Click Styles in the Design menu on the left.
- If your theme includes Style Variations, you must then click the pencil icon to open the Styles options.
- This time, select the “Blocks” section to access settings to customize the appearance of specific blocks for the whole site.
- Click the name of the block you want to add CSS to. You can also locate your desired block type using the search box.
- Scroll down to the bottom and click on “Advanced“.
- In the box labeled “Additional CSS“, type CSS that will apply to all instances of that block type. When adding per-block CSS, you do not need to include a CSS selector — just add the property and value. An example is included in the video above.
- Click the “Save” button at the top right of the screen to save the CSS to your site.
For themes that do not use the Site Editor, including classic themes and many third-party themes, you can add CSS following these steps:
- Visit your site’s dashboard.
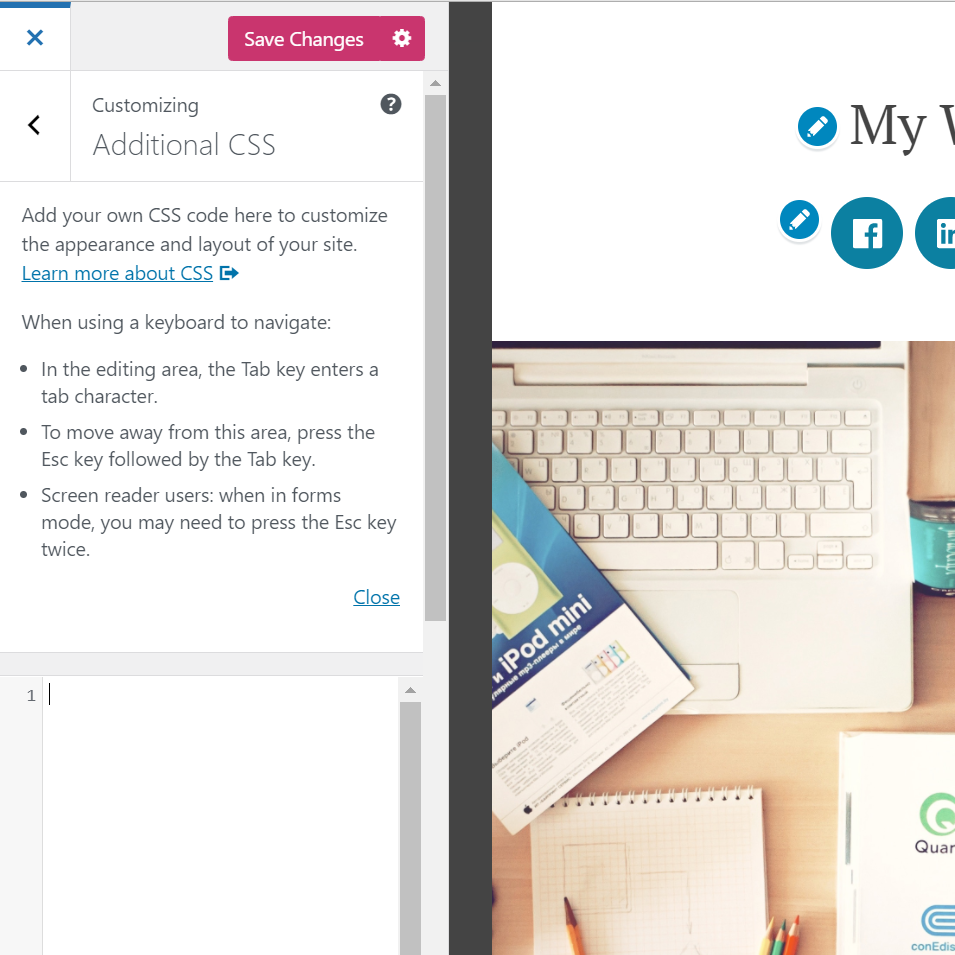
- Navigate to Appearance → Customize → Additional CSS.
- Type or paste your CSS into the text box provided. The preview window on the right will reflect your changes.
- Click the “Save Changes” button to save the CSS to your site.
The latest 25 versions of your CSS edits are saved and can be accessed by clicking “See full history” at the bottom of the CSS editor. You can restore previous versions of your CSS here.
If the option does not appear, there is no CSS history to restore.

The “Media Width” option should be used if you have modified the width of the primary content area using custom CSS. The “Media Width” setting is the default size for full-size images when inserted into your site.
Note that it will not affect the size of some images you added before changing the setting, depending on how they were inserted, and you may have to re-insert some of them after changing the setting.
By default, the custom CSS you add to the CSS editor will be loaded after the theme’s original CSS, which means that your rules can take precedence and override the theme’s styles.
You can turn the theme’s original CSS off entirely by clicking the “Don’t use the theme’s original CSS” checkbox. This will allow you to use any WordPress.com theme as a blank canvas for designing with CSS. This is an advanced option and should only be used if you want to start over and design the CSS for your theme from scratch.
If you want to build on top of the existing CSS rules—the most common and recommended approach—then you can leave this option disabled.
WordPress.com has support for CSS preprocessors LESS and Sass (SCSS Syntax). This is an advanced option for users who wish to use CSS extensions like variables and mixins. See the LESS and Sass websites for more information.
All WordPress.com users can choose among several options for the footer credit, from a minimalist WordPress.com logo to text options like “Website Built with WordPress.com”. The footer credit can be hidden on eligible plans.
The footer credit should not be removed with CSS. However, modifying the style of the footer text (i.e., colors and font size) is fine as long as it’s still readable. Using CSS, you can also add content like a copyright notice to the existing footer.
Yes, on plugin-enabled sites only.
You can choose your website fonts using the options with your theme. When working with CSS, you are limited to those two web fonts on the front end. However, you can add additional fonts using third-party font plugins.
Yes. You can upload an image to your Media Library and refer to it by its direct URL from within your CSS stylesheet. Here’s an example of how to use a background image in your stylesheet:
div#content {
background-image: url('http://example.files.wordpress.com/1999/09/example.jpg');
}
We recommend making CSS edits using the CSS editor, as explained in this guide above. When you add CSS using this method, it overrides CSS rules from your theme’s stylesheet. This is a safe method that makes it easier to debug CSS conflicts and restore previous versions of CSS you’ve added.
If you are proficient in editing theme files directly, you can do so via SFTP or by creating a child theme. We recommend testing changes on a staging site before applying them to your live site.
All upgrades on WordPress.com are renewed yearly. Should you cancel your subscription, your custom CSS will still be saved, but it will no longer be applied to your site for others to see. If you would like them re-applied to your site, you can repurchase your plan, and the styles will be re-applied automatically, provided you haven’t changed themes. If you have changed themes, you will find your past CSS in the CSS revisions.

