This guide explains how to shut down your WordPress.com site and erase (delete) all of its contents permanently.
⚠️
Deleting a site permanently removes it and you’ll never be able to re-use its WordPress.com address (such as
yourgroovysite.wordpress.com).
To permanently delete your WordPress.com website, follow these steps:
- Consider if you need to delete your site by reviewing these alternatives first.
- Visit your site’s dashboard and navigate to Settings → General (Or, Hosting → Settings if using WP-Admin).
- Scroll to the bottom of the screen and select “Delete your site permanently“.
- If you have any active subscriptions associated with your site (such as a plan or domain), you will be prompted to remove those first. Once you have canceled and removed all purchases for the site, you can proceed to the next step.
- You will be presented with the option to export your content. Once you delete your site, your content won’t be recoverable, so we advise exporting the content for safekeeping by clicking the “Export Content” button. See the Export Your WordPress.com Site guide for more.
- Once you have exported your content, scroll down and click the “Delete Site” button. If you have multiple sites on your account, be sure to confirm that the correct site address is listed in the alert bar.
- To confirm the deletion, type the address of the site (shown in red just above the text box) into the provided field. This is a final check to make sure you are deleting the correct site (you’d be surprised how many people delete the wrong site!)
- After typing the full site address, click the “Delete this Site” button. This is the final step – once you click “Delete this Site,” your site will be permanently deleted within a few seconds.
At this point, anyone who attempts to visit your site will see a message stating that your site is no longer available and has been deleted by the author.
Consider that you may wish to access this site in the future. Instead of deleting your website, consider these less drastic steps that may suit your situation:
- Make your site private so only you can see it.
- Cancel your purchases to revert it to a free site, ensuring no future charges from WordPress.com.
- Change your site’s address to a different name you wanted.
- Reset your site for a fresh start and continue using the same address.
- Transfer your site to another WordPress.com account.
If you attempt to delete a website that has paid upgrades associated with it (such as a plan or domain), you will be prompted to remove those first:

Click on the “Manage Purchases” button to visit your Purchases page. Once there, use the links provided on that page to cancel your upgrades. If you are unable to cancel any of the upgrades, you can also contact support for help.
Once your upgrades have been fully removed from the site, you can start the process to delete your site.
The original website owner can reverse a site deletion during the first 30 days after a site is closed. Once the 30 days have passed, all of the site’s data is purged and cannot be restored, and the site address is deleted and cannot be reused.
To restore a deleted site, take the following steps:
- Visit your Sites page at wordpress.com/sites.
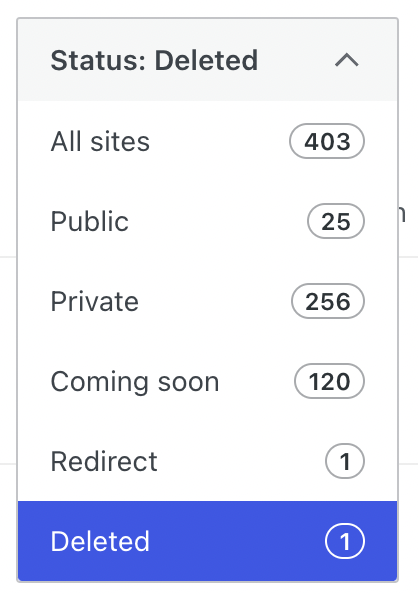
- In the “Status” filter at the top, select the “Deleted” option to view all deleted sites in the last 30 days:
- Find your site in the list and click the “Restore” link that shows under the Status column:

- After a few seconds, your site will be usable again.
If you wish to restore plugins and other Creator or Entrepreneur plan features with your site, follow the steps in the Restore Your Site After The Plan Expires guide.

