Use the Custom HTML block to add HTML code and preview it as you edit it. This guide will show you how to use this block to add code to your website.
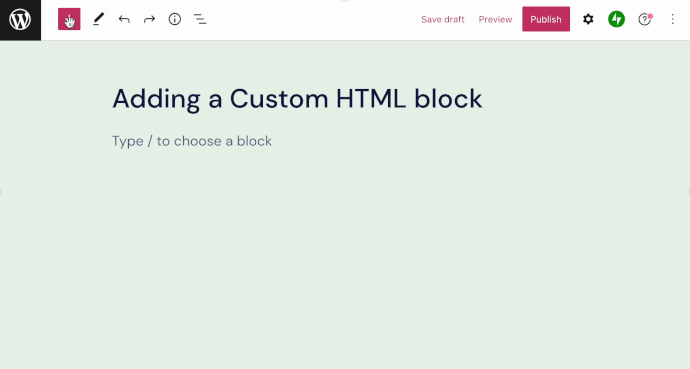
To add the Custom HTML block, click the + Block Inserter icon and search for “HTML”. Click to add the block to a page, post, or template.
💡
Using your keyboard, you can also type
/htmlon a new line and press enter to quickly add a new Custom HTML block.

For more information, visit our detailed instructions on adding blocks.
Once you’ve added the block, you can type or paste your code in the box provided, as well as edit and preview it right within the editor.

You can add code to display content from various services and platforms, including Google Maps, Facebook Pixel, and Google Docs.
HTML is a computer language that tells browsers how to display website content. WordPress.com allows the following HTML tags on all plans:
- a
- address
- abbr
- acronym
- area
- article
- aside
- b
- big
- blockquote
- br
- caption
- cite
- class
- code
- col
- del
- details
- dd
- div
- dl
- dt
- em
- figure
- figcaption
- footer
- font
- h1, h2, h3, h4, h5, h6
- header
- hgroup
- i
- img
- ins
- kbd
- li
- map
- mark
- ol
- p
- pre
- q
- rp
- rt
- rtc
- ruby
- s
- section
- small
- span
- strike
- strong
- sub
- summary
- sup
- table
- tbody
- td
- tfoot
- th
- thead
- tr
- tt
- u
- ul
- var
For security reasons, not all HTML tags are allowed in the Custom HTML block on all plans. The following tags require a plugin-enabled plan:
embed, frame, iframe, form, input, object, textarea, script, style, link
For more information on the types of code you can add to your website, as well as alternatives when a type of code is not supported, visit our guide on adding code to your website. This guide describes the various methods to add code to your site, depending on the type of code it is.
When you click on the block, a toolbar of options will appear above it:
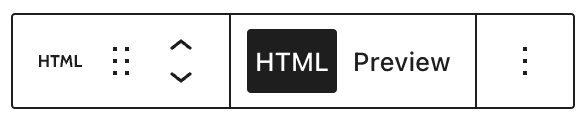
The Custom HTML block has the following options in its toolbar:
- Change block type.
- Drag the block.
- Move the block up or down.
- Display the field for adding the HTML code.
- Preview the added HTML code.
- More options.

