Do you have an existing email subscription from a third-party provider not listed on our Add Email page? This guide will show you how to set up your email services on your domain.
Your domain’s email address works with the use of DNS records. The following types of DNS records are commonly used for email:
- MX (Mail Exchange)
- A (Address)
- CNAME (Canonical Name)
- TXT (Text) records
- DKIM, SPF, and DMARC records are all stored as TXT records.
Your email will require some (but not necessarily all) of these records.
To find these records, check with your existing email provider. If the information is not available on their website and you are unsure of what to ask, contact your email provider with a message like this:
Could you please provide me with the complete MX and other DNS records I will need to enter with my DNS provider (WordPress.com) so that my email on this domain will function?
Once you have the necessary DNS records for your existing email, add them to your domain on WordPress.com by following this process:
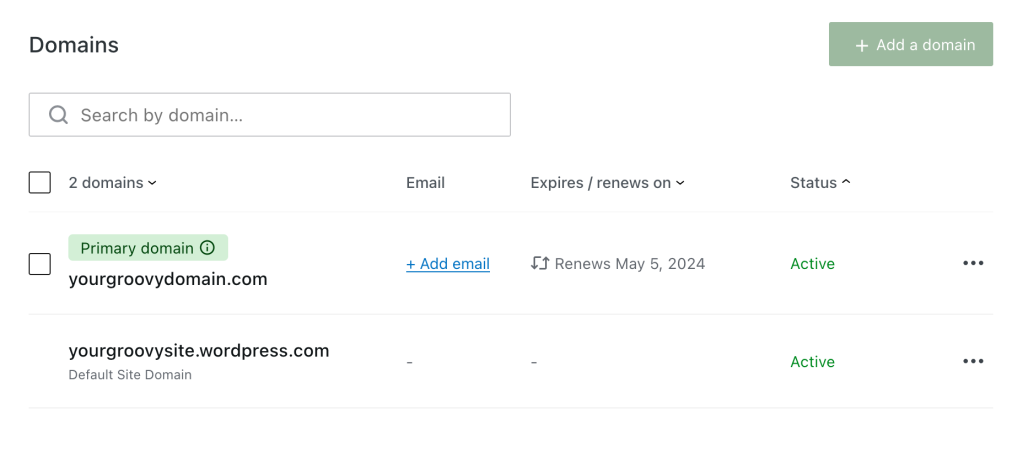
- Visit your site’s dashboard.
- Navigate to Upgrades → Domains (or Hosting → Domains if using WP-Admin)
- Click on the domain you’d like to use with your e-mail provider:
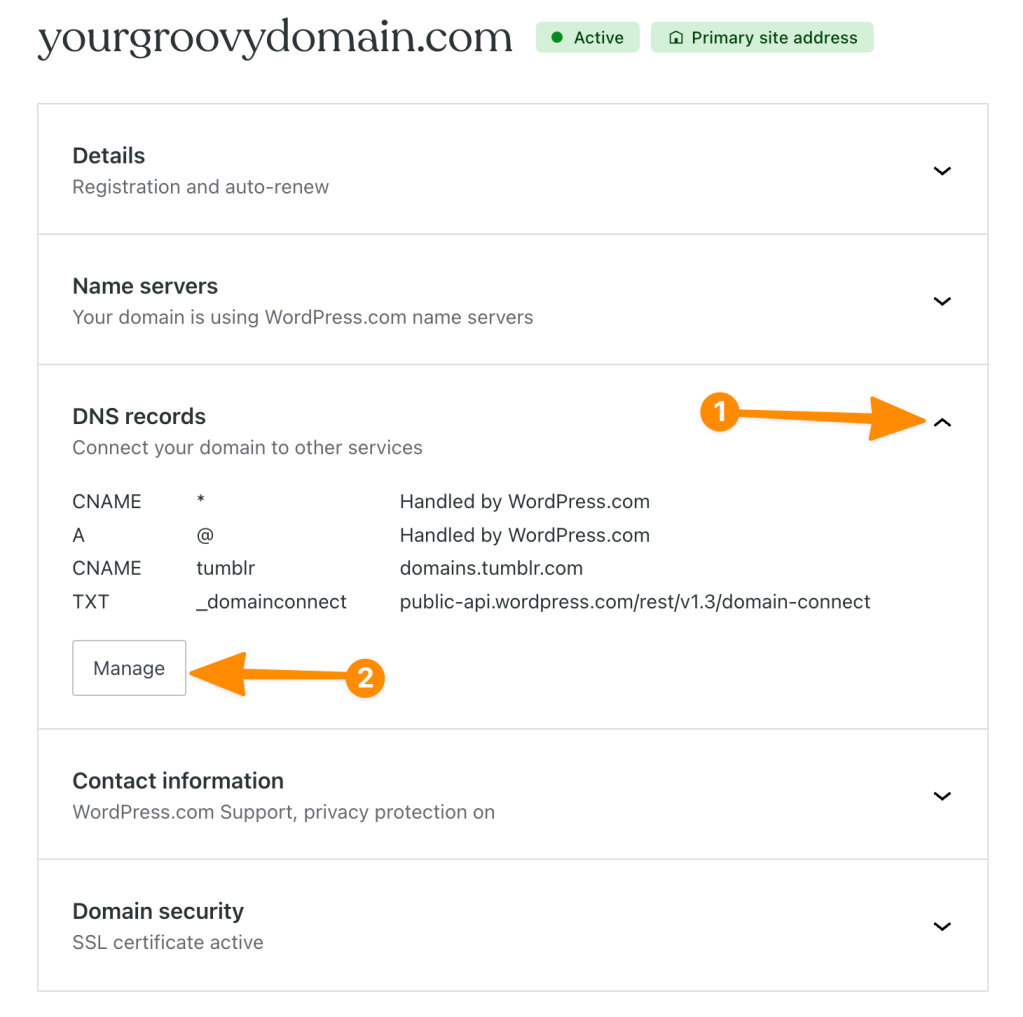
- Select “DNS records“, then click the “Manage” button:
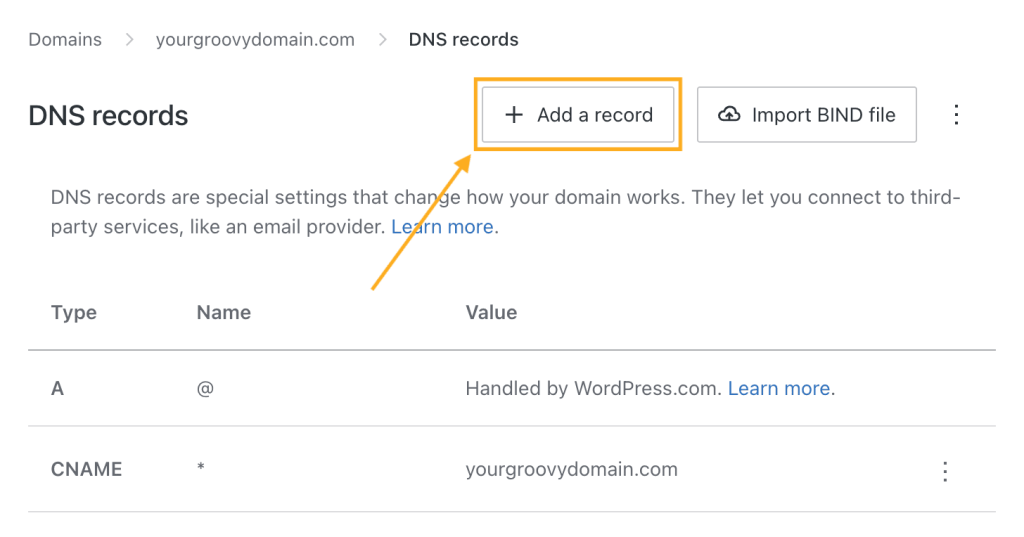
- Click the “Add a record” button at the top right to add your first DNS record:
- Select the DNS record type from the “Type” dropdown (such as MX, A, CNAME, or TXT):

- Add the DNS record details provided by your email provider. The details of DNS records vary depending on the type of DNS record selected in the “Type” box.
- In the TTL (time to live) box, enter the provided TTL value or leave the default 3600. Keep in mind that TTL is measured in seconds, so a TTL value of 3600 = 3600 seconds, or 1 hour.
- Repeat for each of the DNS records provided by your email provider.
Your email should start working within a couple of hours, but it can take up to 72 hours for everything to become fully operational.

