
Have you ever read a blog post where it was easy to find all the information you wanted? Maybe you found one that was easy to share because it had a clear title and link preview. It’s simple to spot a well-formatted blog post but a little trickier to replicate it yourself.
Keep reading to learn how to format your blog posts for better readability, discoverability, and shareability. You’ll discover the importance of good formatting, what optimal formatting looks like, and how to apply those principles to your own posts.
Table of Contents
- Why should bloggers carefully format their posts?
- What does a well-formatted blog post look like?
- 10 steps to formatting your blog post for success
- 1. Start with an engaging headline
- 2. Follow web writing best practices
- 3. Keep your introduction concise
- 4. Add a clickable table of contents
- 5. Use subheaders appropriately
- 6. Structure lists with bullets and numbers
- 7. Include visual elements
- 8. Optimize your image specs for SEO
- 9. Format your title tag and meta description
- 10. End with a call to action
- Good blog formatting and good writing go hand-in-hand
Why should bloggers carefully format their posts?
Mindful blog post formatting matters because it makes your content more:
- Findable: When you format your blog post with search engine optimization in mind, it’ll become easier for readers to discover it on the web.
- Readable: Formatting for better readability will help readers follow your writing and stay around to read your full post.
- Shareable: Optimal blog formatting simplifies the sharing process and makes people want to share so more people will find your content.
What does a well-formatted blog post look like?
Let’s look at a few examples of well-formatted blog posts and what techniques stand out:
Siege Media
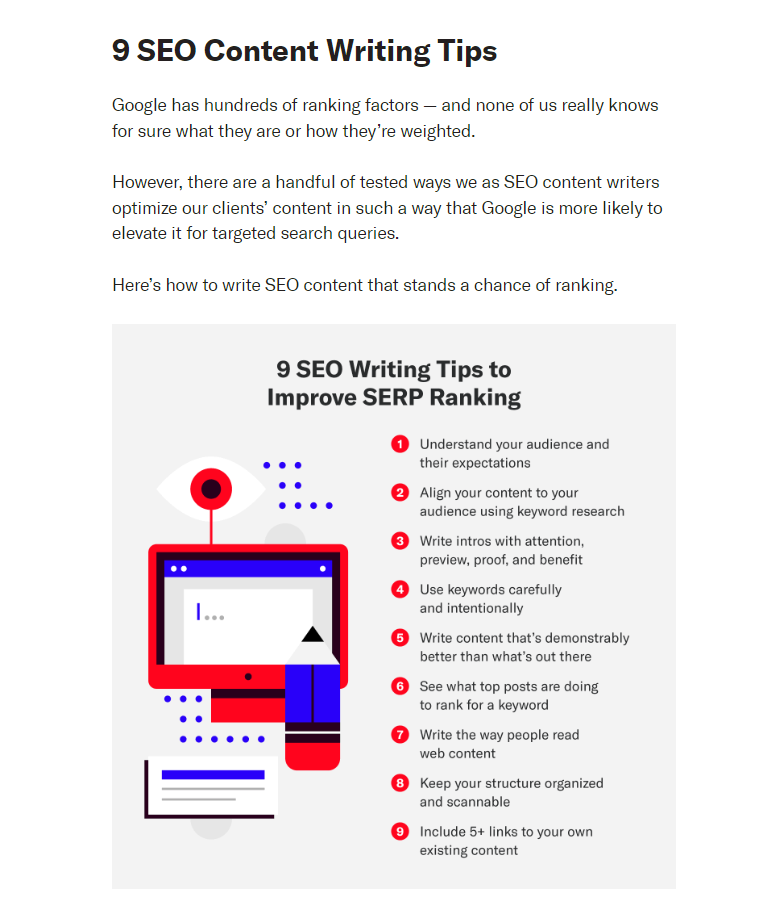
Siege Media’s 9 SEO Writing Tips for Optimizing Your Content offers a great example of a listicle blog post format. It has clear subheaders that can stand on their own as an infographic.
CoSchedule
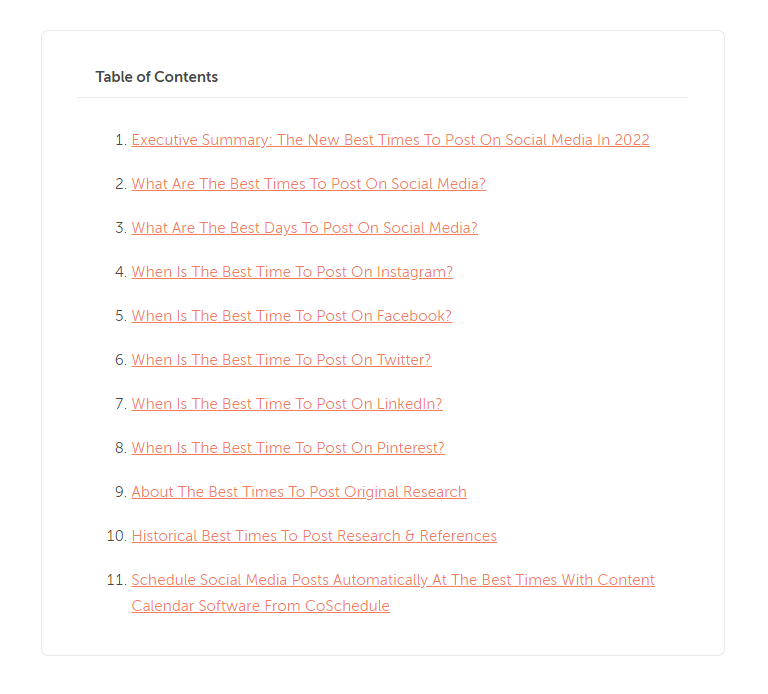
The Best Times To Post On Social Media In 2022 from CoSchedule organizes its information using a top-down approach. CoSchedule starts with top-level topics, then digs into platform-specific data. To keep things extra tidy, it organizes it all in a table of contents.
The Knot
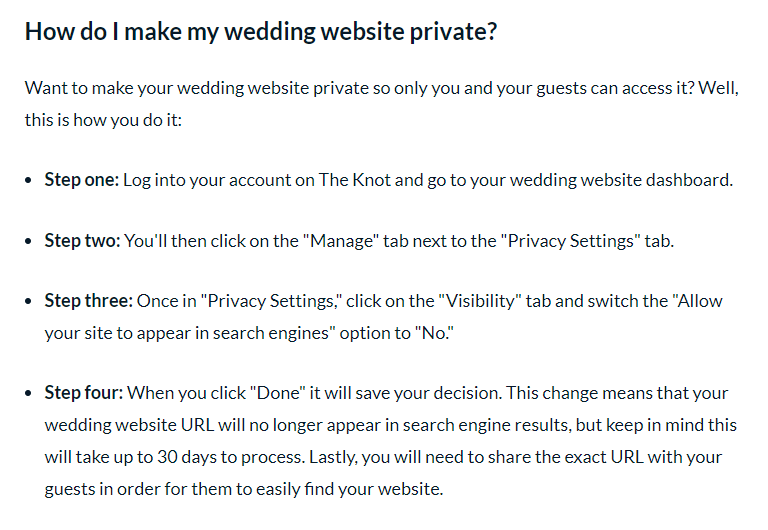
The post Here’s What to Do With Your Wedding Website After the Wedding on The Knot’s blog involves plenty of product instructions. These directions stay clear because The Knot presents them in easy-to-read bullet lists for each section.
Budget Bytes
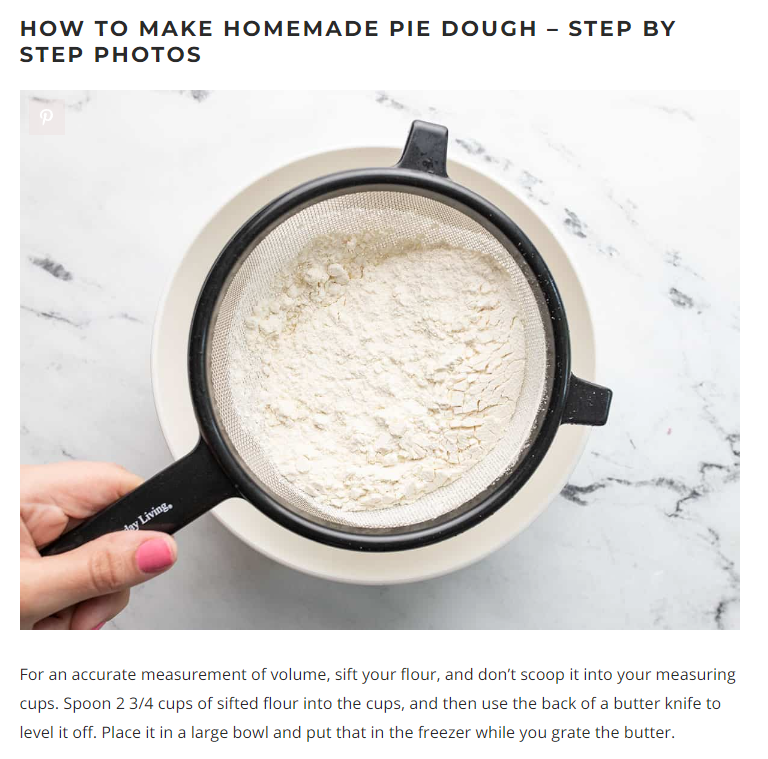
When you learn how to make an Easy 3-Ingredient Pie Crust from Budget Bytes, the process matters much more than the ingredient list. Budget Bytes walks you through each step with high-quality images for every action.
Smart Passive Income
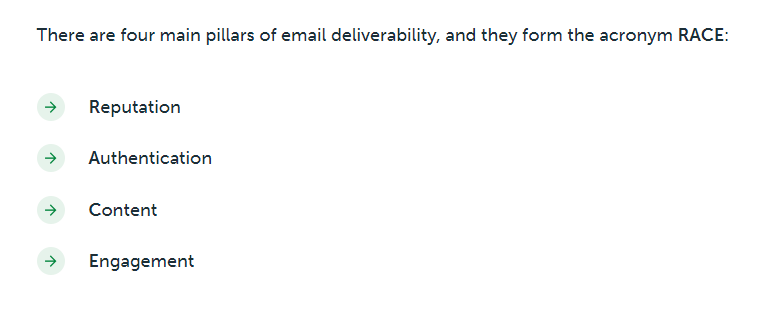
Smart Passive Income’s How to Improve Email Deliverability presents its main concept as an acronym, then sorts its information by each part of the acronym. It bakes its argument right into the subheaders for easy-to-follow advice.
10 steps to formatting your blog post for success
Follow these steps to format your blog post for better performance and an improved reader experience.
1. Start with an engaging headline
Readers use headlines to gauge what to expect from your blog post. Your post’s headline should grab their attention while clearly expressing the topic you’ll cover.
First things first — use the title case from your style guide. The two most popular guides, the Chicago Manual of Style and the Associated Press, have different capitalization requirements. You might also opt for sentence case for a more casual touch.
From there, you’ll need to decide what SEO keywords to include in your headline. Aim for the top keyword you want to target. Search engines look for keywords in the headline and first paragraph.
But, watch out for “keyword stuffing,” or adding too many keywords unnaturally. Aim for a headline that sounds good first, then insert keywords where they flow with that headline.
Following a headline formula can help you get a knack for writing intriguing headlines. Copyblogger offers plenty of examples to start with. WordPress also has analyzer plugins like All in One SEO or CoSchedule Headline Analyzer that rate your headlines based on headline writing and SEO best practices.
2. Follow web writing best practices
The internet follows different writing principles than paper documents. Sentences and paragraphs start to look blocky faster in this medium. Plus, when people search the internet for information, they want to find it quickly.
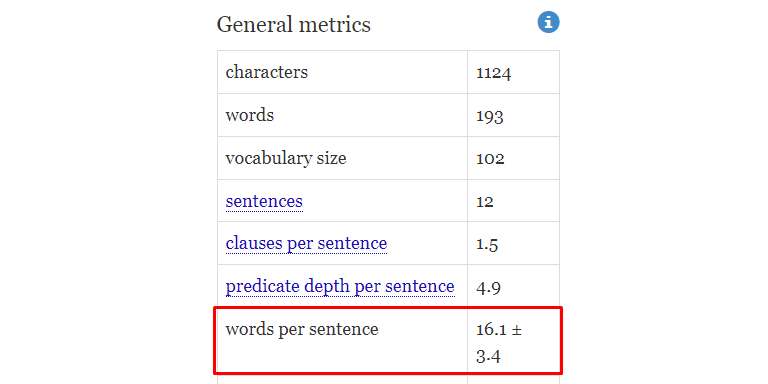
Web writing best practices follow two simple rules: Keep sentences to 25 words or fewer and paragraphs to three sentences or fewer.
It’s an easy practice to remember, but it can be tricky to perform if you tend to write long sentences. Start by keeping track of your word count and paragraph structure and looking for ways to break them up. For example, you might find a long compound sentence you could turn into two sentences.
Keep in mind that you don’t always have to follow these principles to the letter. I can guarantee you’ll find a sentence longer than 25 words in this blog post. But, having most of your blog follow these best practices will make your writing much easier to read.
Tools like Expresso and Hemingway will help you keep an eye out for long-winded sentences. Expresso tracks the average length of your sentences, and Hemingway highlights long or complicated ones.
3. Keep your introduction concise
Write your introduction in three paragraphs maximum.
A shorter introduction helps you get to the point of your blog post quickly. When your introduction goes on for too long, readers can get confused about the content you’ll cover in your post.
Remember that a lot of readers come to a post with a question in mind. They’ll move on to the next post in search results if they can’t find an answer to that question fast.
To keep your introduction focused, try providing a quick summary of your blog post before you move on to your main content. You’ll see that I took that approach with the intro for this blog post.
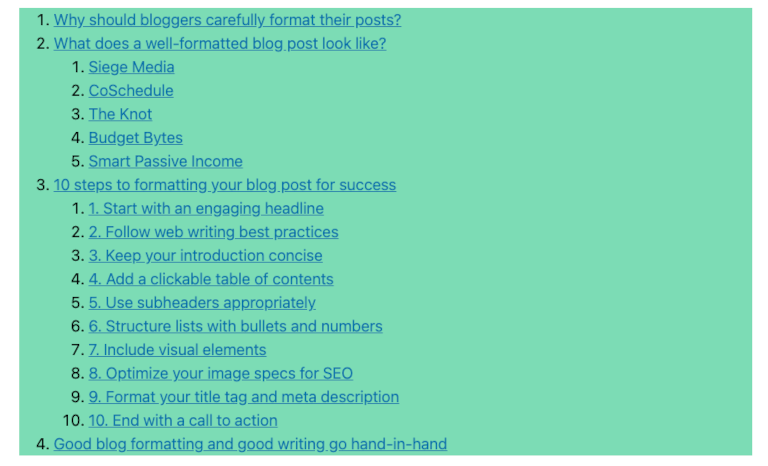
4. Add a clickable table of contents
If you plan on writing more than 1,000 words in your blog post, consider adding a clickable table of contents. This technique helps visitors navigate longer posts.
Plus, it helps search engines provide links to specific sections of your content in search results. When someone searches a term related to one of your sections, the search engine will take them directly to the part of your post relevant to them.
WordPress’s block editor makes it easy to create a table of contents for your blog post.
Start by creating a list of your blog sections:

Then, highlight one of the list items and press CTRL/CMD + K to create a link from that text. Instead of entering a URL, enter “#” followed by a one-word name for that section. I used “1” for Paragraph 1:

Now, click on the header for the section you want to link to. In the right-hand column, click on the Block tab, then open the Advanced section. There, you’ll want to enter the name you used in your link without the pound symbol, like so:

Preview the blog post, and click on the link you made. It should jump you to the section you designated.
You can also use the Table of Contents block within the block editor to create a table of contents automatically:
5. Use subheaders appropriately
As you write a blog post in Google Docs or WordPress, you’ll notice the option to format your text as “Header 2” or “Header 3.” What do these header numbers mean, and where do you use them?
Headers help humans and search engines understand your blog post. You’ll often see each header type abbreviated with an H and its number. So, for example, Header 1 is H1.
H1 is the biggest size header that you reserve for headlines. Search engines register this text as the main header for your blog post.
From there, you have the subheaders — H2 and H3. They organize your text into sections, and search engines crawl them to understand the main points in your post.
The most logical way to order your subheaders is to make your subpoints H2s and subsections for your subpoints H3s. In this blog post, you’ll see that the “10 steps to formatting a blog post” subheader is an H2, and “Use subheaders appropriately” is an H3.
6. Structure lists with bullets and numbers
Bulleted and numbered lists break up long sequences of information for better reading. When you see the chance to format your lists in bullets or numbers, take it.
Some examples of list opportunities include the reasons for doing something, tips for doing an action, and the steps in a process. Use a numbered list instead of a bulleted list when you mention a number or have a list with a set order.
WordPress offers a few ways to create a bulleted or numbered list. It automatically creates a bulleted when you start a new line with a dash and press space, like so:

When you want to create a numbered list, enter “1.” followed by a space, like this:

You can also add a list block the standard way by entering “/” on a new line and clicking the List option.
7. Include visual elements
Add a visual element to your blog post, such as an image, table, or callout, about every 200 to 300 words. Like web writing best practices, this tip is a loose rule of thumb. Insert visuals when they add value, not just for the sake of adding a visual.
These graphics break up text to make it easier to process large amounts of text. Plus, they can help you make a point or explain how to do a task.
If you cover topics related to using computers and the internet, screenshots are one of the most accessible image options. Use a screenshot app to show readers how to use a tool or showcase part of a website.
A smartphone works well enough to snap blog-worthy pictures, too. Take a picture of your daily life for your personal blog. Or, photograph the steps involved when you teach someone how to do something.
Callouts — shout-outs to your content — also count as visuals. Try making one that links to another blog post for recommended reading. You can also use the Click to Tweet tool to enable readers to tweet a quote or message related to your post.
Some blogs, like the HubSpot blog, keep their highlights pretty simple, and they do a great job of making the content flow more dynamic:

After you decide on a callout style that works for your blog, turn it into a reusable block for easy formatting.

8. Optimize your image specs for SEO
Once you add images to your blog post, set them up for SEO success. Write meaningful file names and alt text so search engines fit your images into context.
As Moz points out, alt text helps search engines catalog your images and display them in relevant results. It also counts as content for them to process on your page. The same rules apply to file names.
Even more importantly, alt text makes your images more accessible. People who use screen readers count on alt text to understand what’s going on in your pictures. When you neglect to add alt text, they can’t experience the image at all.
ACES provides some great tips on writing useful alt text. Good alt text helps people truly understand what’s going on in your pictures.
To add alt text in WordPress, click on your image block, then go to the Block tab in the right-hand menu. You’ll find the Alt Text section under Settings.

(Here’s the image I wrote alt text for, if you’re curious.)
9. Format your title tag and meta description
A blog post’s title tag and meta description determine the title and description, respectively, that appear in its search results.
By default, WordPress uses your post headline as the title tag and excerpt as the meta description. But, when they aren’t the proper length, they can get cut off in results. Plus, you miss out on the chance to optimize your SEO with a compelling search result.
You have two ways to edit your title tag and meta description: fiddle directly with your HTML code or use a plugin. For most folks, a plugin is the easiest option. (Keep in mind that only users with Premium and above plans can use plugins.)
The most popular SEO plugin on WordPress is Yoast. Once you have it set up, you can write your own title tag and meta description at the bottom of your editor.
[Screenshot request: A screenshot of the Yoast plugin being used in the WordPress editor.]
Yoast provides a preview of how your title and meta description will appear in search results. It also displays a bar below each entry field that turns green when you have the ideal length.
Include your primary keyword in your title and meta description whenever possible. But just like with your headline, make sure readability comes first.
10. End with a call to action
Finish your blog post with a compelling call to action. You might ask readers to subscribe to your newsletter, start a free trial, or follow you on social media. Some calls to action are a little softer, such as reading another blog post.
A call to action lets you link your blog post back to your overall content strategy. If you want to get more subscribers from your blog, for example, you can encourage readers to subscribe at the end of posts.
Whenever possible, look for ways to connect the point of your blog post back to your call to action. Write a conclusion that brings your content together, then connect your call to action to that conclusion.
Good blog formatting and good writing go hand-in-hand
Now that you know what goes into a well-formatted blog post, it’s time to try making your own. As you read other authors’ posts, you’ll catch how they formatted their writing to improve their performance and your reading experience. Take note of what makes their approach good, but don’t be afraid to experiment with approaches you think will improve your blog posts.
If you want to enhance every aspect of your blog posts’ quality, don’t stop at formatting — the writing itself matters, too. Read our article on writing a good blog post, and you’ll see how good writing and formatting principles overlap.
Want more tips? Get new post notifications emailed to you.

