Five simple ways to make striking improvements to your photography, without the need for fancy equipment.

“It is the photographer, not the camera, that is the instrument.” – Eve Arnold
Whether you are a photoblogger or use your blog to showcase your writing, photos enhance every story. They are a critical part of the visual appeal of content on the web. Many people feel frustrated with their photography style or skills, or feel that they need expensive equipment to create attractive photographs. Today, I’m sharing five easy ways to improve your photography without the need for anything other than a phone camera and minimal use of built-in editing tools.
All of the images in today’s post were taken with my iPhone 5s, and I did minimal editing using the native editing tools on the phone.
Tip #1: Change Your Angle
“If I saw something in my viewfinder that looked familiar to me, I would do something to shake it up.” – Garry Winogrand
When we’re taking photos on the fly, it doesn’t really occur to us to ensure that we have a technically-pleasing composition. We point, we shoot, we have a photo of our desired subject. But changing the angle from which you take a photo is a quick and easy way to create a much more interesting photograph.
In the first images I’ve shared below, the one on the left is just a straight-down shot of the leaf on the railing of my deck, and the one on the right was taken by putting my phone into contact with the railing, and shooting down the rail toward the leaf. This photo obeys the Rule of Thirds. I noticed that there was some lovely sunset light coming from the trees far in the background, and wanted to include it in the shot. To make sure my focus was on the leaf, I framed the shot in my phone camera, and clicked the leaf so the focus locked on it.

An easy way to improve your photography is to use the Rule of Thirds, framing your subject in a unique way. Photo by Jen Hooks.
“Beauty can be seen in all things, seeing and composing the beauty is what separates the snapshot from the photograph.” – Matt Hardy
Tip #2: Straighten Your Horizon
This is a tip that seems simple and obvious, but makes a bit impact on the appeal of a landscape photo, or a portrait of a person or pet. When you’re composing an image in your viewfinder or phone camera screen, adjust your gear so that the horizon in the background is level. Built-in phone camera tools can allow you to straighten a crooked horizon, but it is good practice to try to get it right in-camera.
In the images below, the only difference between them is that I straightened my phone to put the horizon parallel with the bottom of the photo, and included more of the sky, as the lovely clouds were the focus of my image.
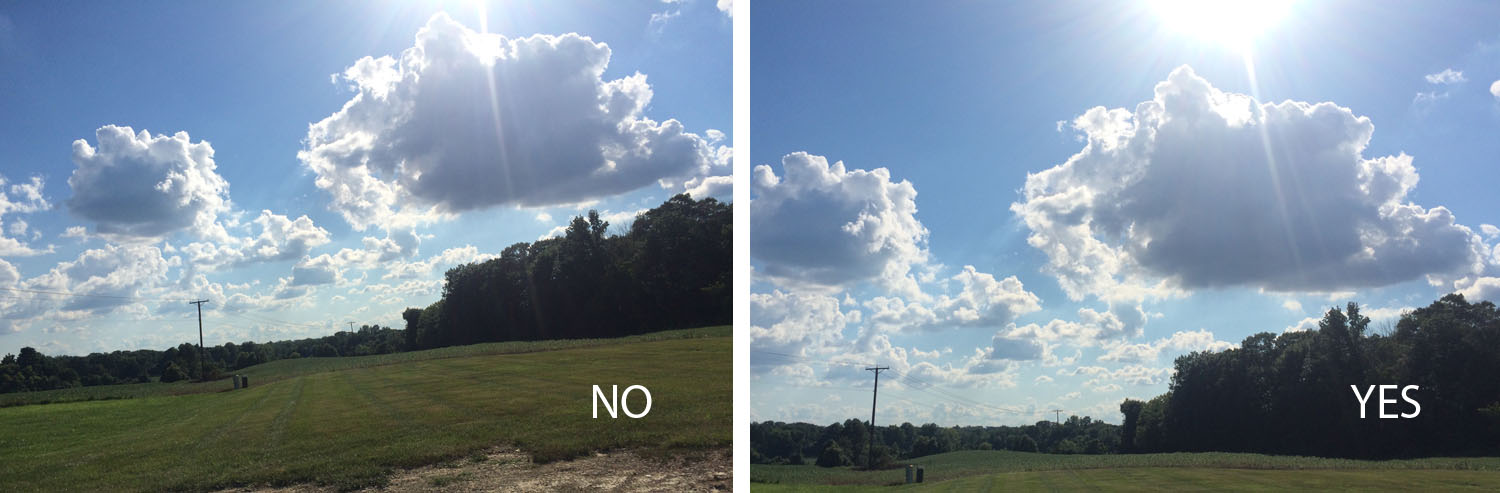
Straighten your horizon for a more natural-looking image with a greater impact. Photo by Jen Hooks.
Tip #3: Get Stable
“Noodly arms make for blurry photographs.”
To minimize camera-shake and make sure you have crisp photos, you can use your own body as a tripod. This is especially important when shooting with a heavier piece of equipment, but the benefits extend to any camera. Make sure your feet are placed a bit apart, and pull your elbows in to hug your sides, rather than allowing your elbows to “float.” Noodly arms make for blurry photographs. My husband demonstrates improper and proper technique in the images below.

Make your body a tripod by tucking your arms tight to your body. Photos by Jen Hooks, model, Keith Hooks.
Tip #4: Find The Light
“If you want to be a better photographer, stand in front of more interesting stuff.” — Jim Richardson
I am a light lover. Interesting light-play enhances an otherwise mundane image, so always be on the lookout for it. If you’re photographing a person, play around with where you place them in your environment, to find where the light makes them glow.
I took the image below with my phone as we were going to dinner recently, because I loved the way the dusk light was shining off of the high-rise in the background. This same shot, taken at midday, would not be nearly as interesting

Find the light. Photo by Jen Hooks.
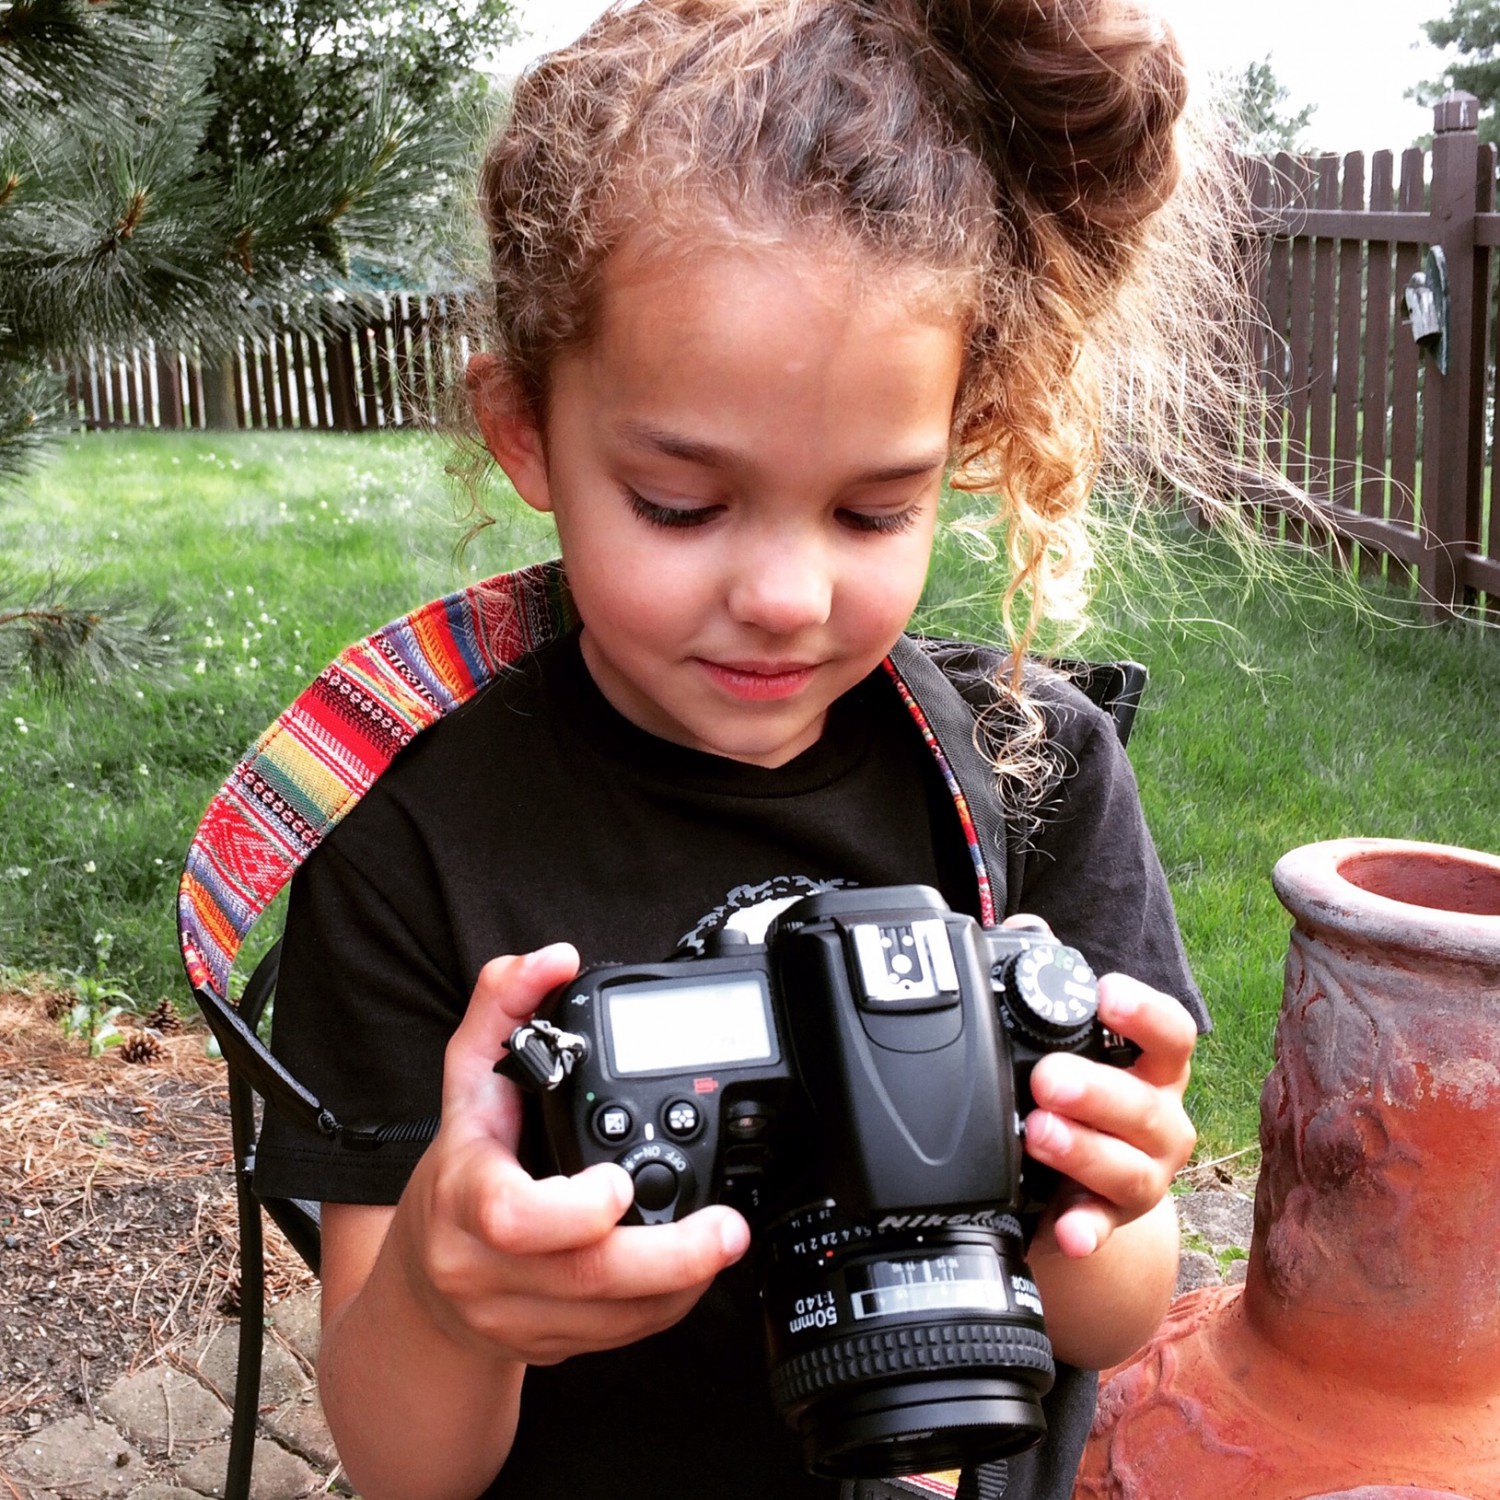
Tip #5: Edit, But Don’t Overdo

In a world of instant vintage filters, HDR apps and oversaturated hues in digital photography, it is easy to give into the allure of the power of digital editing, and go overboard. I’m guilty of it, myself. But, by definition, the word “edit” simply means to modify, not necessarily to enhance. Learning to use the tools available to you to modify your photos (whether it is the full Adobe Creative Suite, or simply the native editing tools on your phone) can give your photos a powerful impact that they might not otherwise have. In most cases, less is definitely more, and remember; just because you can doesn’t necessarily mean that you should.
Unless you’re doing a color conversion, the best edit is a subtle edit. Resist the urge to overdo it, as in the oversaturated photo above.
In the edited image below, I chose to convert to black and white, to place the emphasis on my daughter’s silly face, and it needed a bit of brightening since the original was underexposed. The logo on her shirt was a bit distracting to me, and I didn’t like the expanse of green from the grass in the other part of the frame.

With great editing power comes great responsibility to not make your images look artificial. Photo by Jen Hooks.
Get Out and Shoot!
Bonus tip: if you’re looking to perfect your craft, don’t leave your camera behind. Have it with you always, and photograph everything. Anton Chekhov said, “Knowledge is of no value unless you put it into practice.” For homework, put some (or all!) of these tips into practice, and write a blog post sharing your before and after photos. Enjoy!
Get out and shoot! Photo by Jen Hooks.
Currently blogless? You’re a click away from sharing your story.
Create your blog at WordPress.com


looking for right light is the most obvious (though not always successful), but I think change of angle is the most effective – you have to take the time to move around to see what works best
LikeLiked by 2 people
I have a friend who’s very good at photography, he is super tall and I’m very short. Once, we were standing on a balcony and he was looking for a good photo. I pointed at the view I had to which he replied “oh wow, I couldn’t see that from up there!” Sometimes ducking and weaving about also helps with finding the light!
LikeLiked by 3 people
very funny! I’ll bear in mind when I’m with my tall friends 🙂
LikeLiked by 2 people
It’s funny to think of different perspectives and how the world looks to other people 🙂
LikeLiked by 1 person
I really enjoyed these tips. Simple and yet, Some of them I hadn’t thought of. Thank you. Sarah
LikeLiked by 1 person
Good tips
LikeLiked by 1 person
Awesome ideas! Love the difference in the leaf pic. Inspiring….thank you so much.
LikeLiked by 3 people
Thank you. Basic but so easily neglected.
LikeLiked by 1 person
thank you…I will bring attention to those “noodle arms”
LikeLiked by 2 people
Nice and simple tips. Thanks. Also, you may add this one: When shooting people, or just street photography, try to be discrete. Natural expressions make the photo much better compared to posed shots.
LikeLiked by 4 people
So true, I normally try to ambush my children when I want to take a picture of them and it works out best then.
LikeLiked by 2 people
Absolutely. 🙂 People are most interesting when they are completely being themselves.
LikeLiked by 2 people
auto correction override…”noodly”
LikeLiked by 1 person
Yep, “noodly” was definitely intentional. 🙂
LikeLiked by 1 person
Great article!
LikeLiked by 2 people
Awesome entry. My photo taking skills are, to put it mildly, atrocious. Tip #1 and #3 are going to make a huge difference in improving my results in the future. Thank you so much.
LikeLiked by 2 people
Please share your befores and afters. 🙂
LikeLiked by 1 person
This seems simple enough to do, I must remember it next time. Tx for the post
LikeLiked by 2 people
Thank you for sharing this, great tips 😊
LikeLiked by 2 people
This is awesome! 😀 Great advice!
LikeLiked by 2 people
Thank you!! I’m a novice and loved learning from your simple tips to help me provide artful photos + videos with creative impact on my Instagram, Facebook, and G+ : Find me – Cynthia Komlo
LikeLiked by 2 people
Excellent advice…love your examples as well. 🙂
LikeLiked by 2 people
Some great tips – my biggest weaknesses are holding the camera crooked (pity there are no prizes for that!) or having my handbag swinging round my neck as I stoop to capture a flower. I’ll redouble my efforts as you’re right – it shouldn’t be that hard to get the basics right.
LikeLiked by 2 people
A great post! I totally agree with all of the filters out there, it’s so easy to overdo the photo. I rarely take out my digital camera nowadays because the iPhone takes good pictures, but you’ve inspired me to dig out my camera again to start snapping! Please continue to post more tips and tricks!
LikeLiked by 2 people
Very helpful. Thanks!
LikeLiked by 1 person
Thank you for sharing! I just purchased my first Canon EOS Rebel and I can’t wait to put it to use! Great post!
LikeLiked by 1 person
Good tips. I loved the first and the second tip very much. Will try to apply them when I take a photograph. It will be great if someone gives us tips on how to best take photographs in dim light situations. Thanks 🙂
LikeLiked by 1 person
Great tips. But it is also good to learn the settings of your camera do better quality
blueexpress16.wordpress.com
LikeLiked by 1 person
loved this. Thanks. 🙂
LikeLiked by 1 person
A good set of clear to understand and straightforward to implement tips….nice use of quotes and examples as well.
LikeLiked by 1 person
Thank you so much, very helpful!
LikeLiked by 1 person
Very good tips, especially on how to avoid blurred photos. I’ll definitely try not to have the noodly arms. My big problem is how do I get my photos I take with my iphone to go onto my blog? I can’t figure it out. I try, and it says it’s loading, then all I get is a ‘failed’ notice. Why? If anyone has suggestions, I’d appreciate it. Thanks for a great post!
LikeLike
what are you actually doing?
LikeLike
Oh, thanks for responding, dehggial. I have the WP app on my phone, I go to my blog, find the picture I want, push the done icon, it starts uploading, then it’s finished and it puts a “failed” notice on the picture. Every single time. Am I missing a step? What is the problem? thanks for any help.
LikeLike
sounds to me like the app is malfunctioning? Why not get the pics onto your laptop first and upload that way?
LikeLiked by 1 person
Thanks dehggial and Jen H. I never thought about a malfunction in the app I had on my phone, so I re-did it, and it seems to have worked this time! 🙂
LikeLiked by 1 person
Are you using the mobile app? Go ahead and send a message to help@wordpress.com, and let the Happiness Engineers help you out!
LikeLiked by 1 person
So glad this post showed how well you can make a phone camera work for you. I often think they get a bad press but with some simple tips like these they can produce stunning images. If you feel comfortable using it and you’re getting the desired results, that should be what matters, whatever the kit is you’re using.
LikeLike
Great tips, thanks : that Richardson quote has me smiling.
LikeLiked by 1 person
uselfull stuff..thnkx
LikeLiked by 1 person
Every thing about this is really inspiring, at i learnt much about the angles you take your photos and many other things.It seems like you gave five million tips.thanks
LikeLiked by 1 person
Fabulous post, I hadn’t realised the importance of light until i started using photos in my blog.
LikeLiked by 1 person